
Yuta Okkotsu from Jujutsu Kaisen is recognisable for his disheveled black hair, large soft eyes and the dark circles that make him look worn out. In this guide you will learn how to draw yuta okkotsu face in 7 clear steps, from a simple circle to clean line art of his head, messy hair and loose jacket.
In each picture the new lines are black and the lines from earlier steps fade to grey, so you can see what changed. Keep the circle and guides light so you can erase them before inking. This lesson draws the main-series look, with relaxed medium-length hair rather than the short spikes of his earlier design.
Materials Needed
- Paper or a drawing tablet
- A light pencil (HB or 2H) for the circle and guidelines
- A darker pencil (2B) or a fine liner pen for the final lines
- An eraser
- Optional: markers for black hair, dark blue eyes and a white jacket
Step-by-Step Yuta Okkotsu Face Drawing Guide
Step 1: Sketch the Cranial Circle and Guidelines
Draw a slightly tall circle in the upper-middle of the page for the cranium. Leave room above it for messy hair and room below for the jaw, neck and shoulders. Add a vertical centre line through the circle and extend it below the circle by about one-quarter of the circle’s height. Then draw a horizontal eye line across the circle’s lower third, extending a little past both sides. Once the chin is added, this line will sit close to the halfway point of the whole head. Keep every line light.
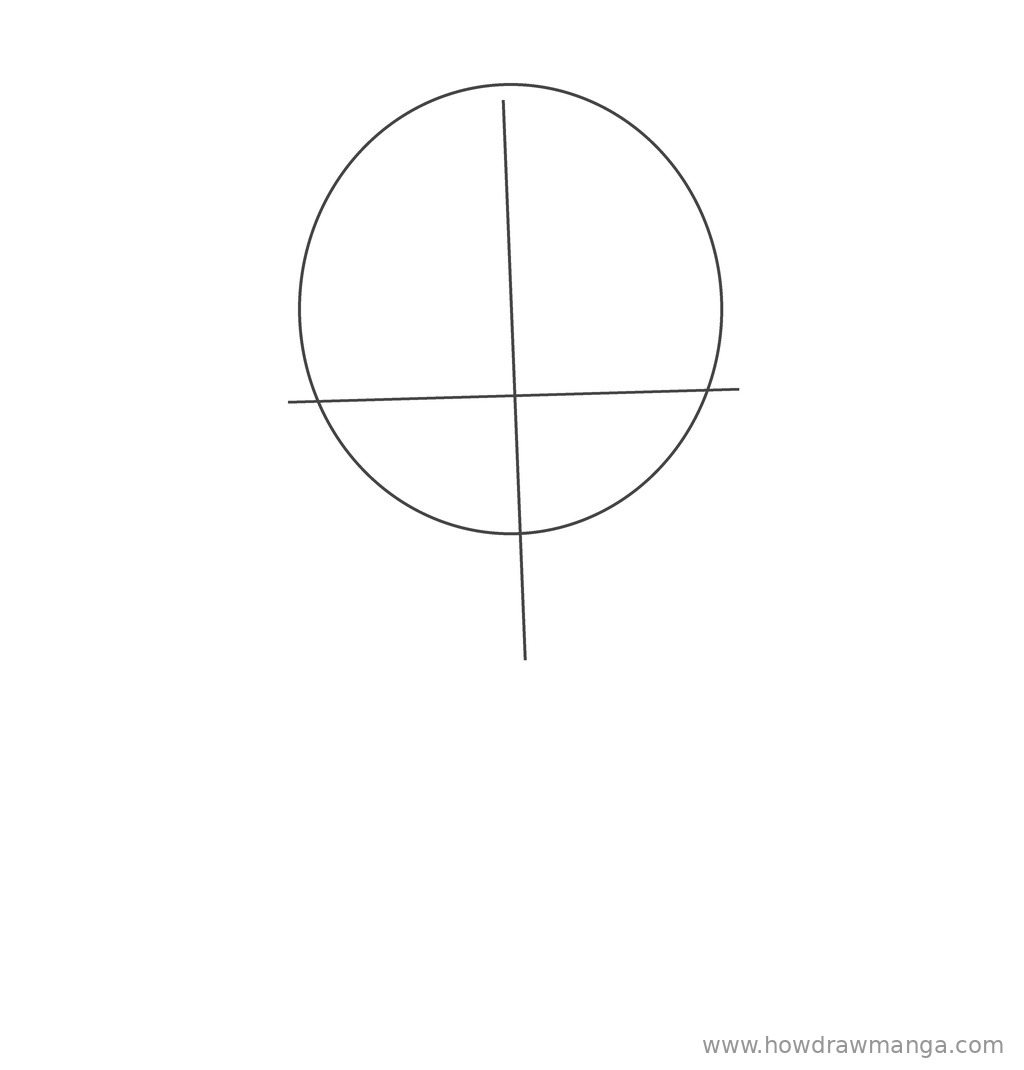
Step 2: Shape the Jaw, Chin and Neck
From each side of the circle, at the eye line, draw a smooth line that slopes down and inward. Both lines meet in a soft, slightly pointed chin on the centre line, about one-quarter of the circle’s height below its bottom edge. Yuta’s face is gentle rather than sharp, so keep the chin soft. Drop two neck lines from the jaw corners, set a little more than half as far apart as the head is wide. Add two short curved strokes at the base of the neck for the collarbones.
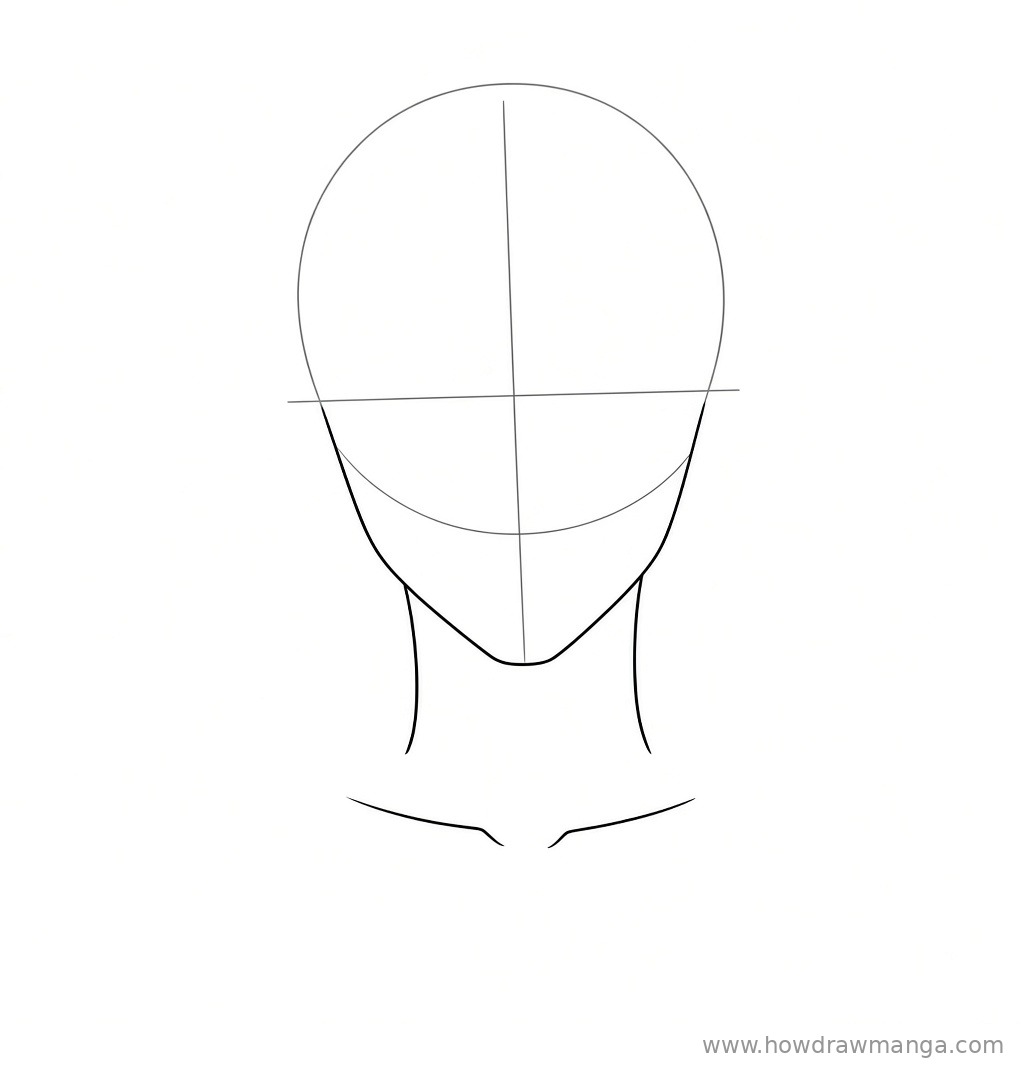
Step 3: Sketch the Large Eyes, Dark Circles and Thin Brows
Draw two large, soft, round eyes centred on the eye line, with about one eye-width of space between them. Give each a round iris, a small dark pupil and a curved upper lid. Under each eye, draw two or three short curved lines that follow the lower lid; these are the dark circles that make him look tired. Above each eye, add a thin, gently arched brow about one eye-height above the lid.
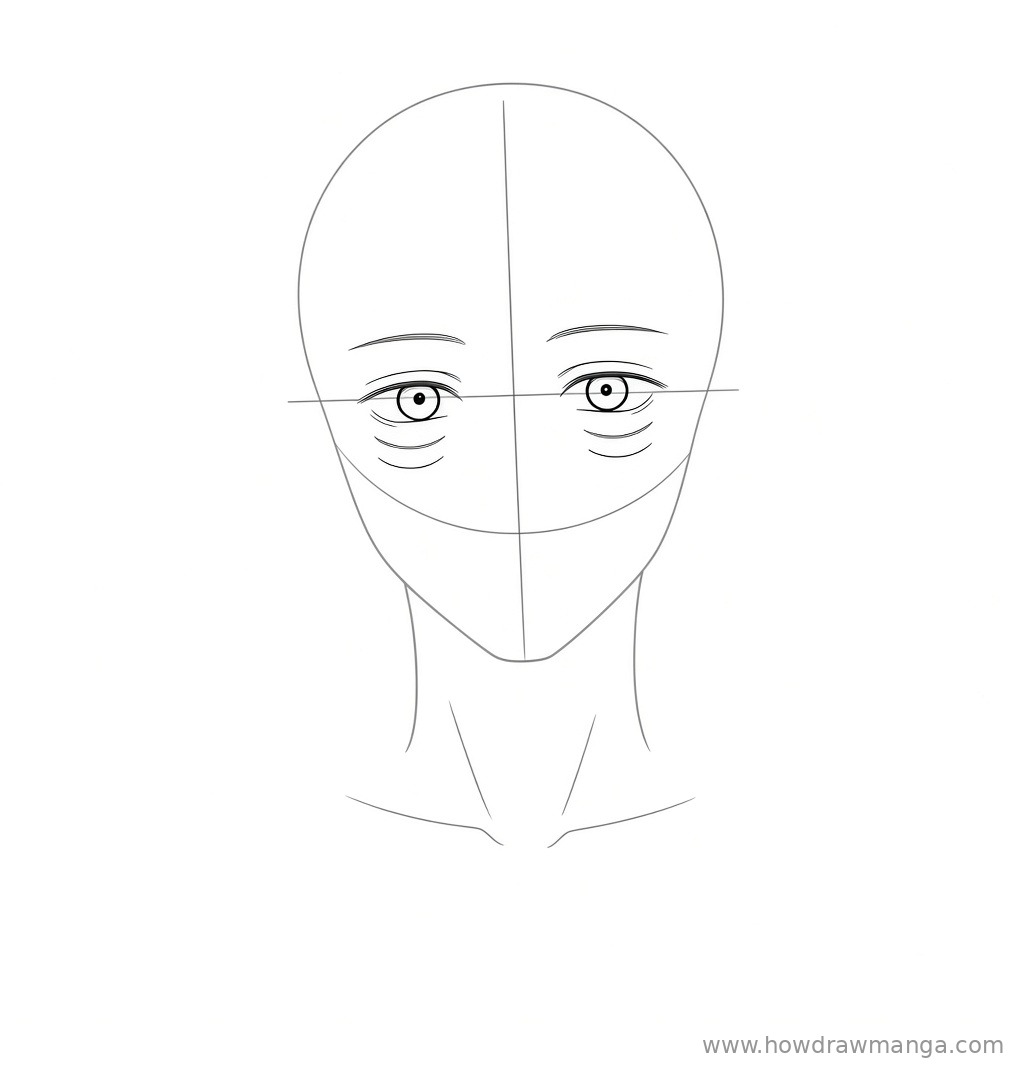
Step 4: Add the Nose, Calm Smile and Ears
On the centre line, about halfway between the eye line and the chin, draw a small nose mark. Below it, draw a calm, slightly upturned closed mouth about one eye-width wide, plus a tiny short line under it for the lower lip. On each side of the head, draw a simple C-shaped ear that runs from the eye line down to about the level of the nose. Keep the ears small. Hair will cover part of them in the next step.
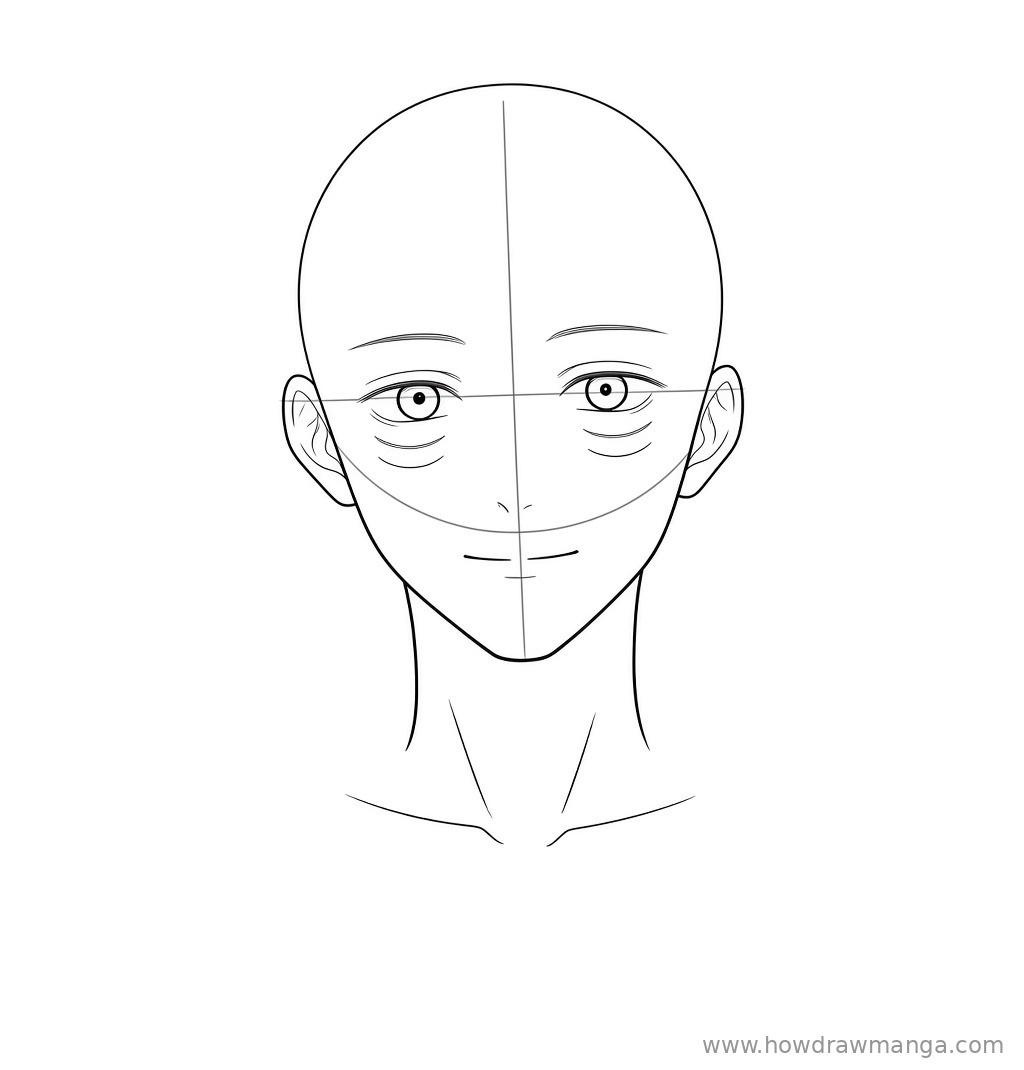
Step 5: Draw the Messy Medium-Length Hair
Mark a centre part just above the forehead. From it, sweep uneven locks down and outward over the skull, and let a few bangs fall across the forehead and brush the tops of the brows. Add a few wispy locks that stick out in different directions from the crown. Along each side of the face, draw ragged locks that cover the top of each ear and end around the jaw. Use many thin strand lines and vary their lengths so the hair looks disheveled.
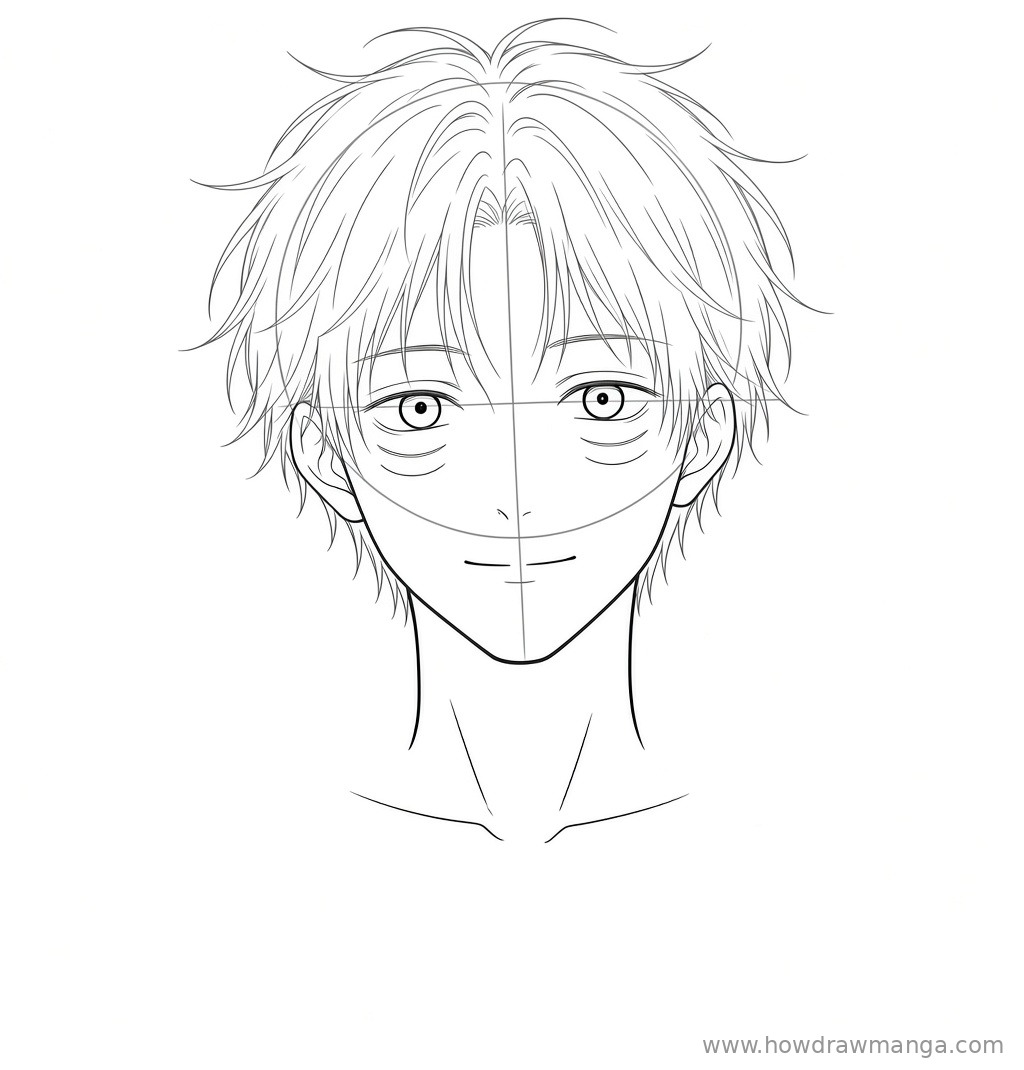
Step 6: Add the Loose Jacket and Open Collar
Below the neck, draw two folded collar flaps that angle outward and down from each side of the neck. They form a wide, open V in front. From the neck, let the shoulder lines slope outward and downward in a relaxed curve to the edges of the page. Keep the jacket loose by leaving a generous gap between the neck and the fabric. Add a few long, slightly curved fold lines on each sleeve.
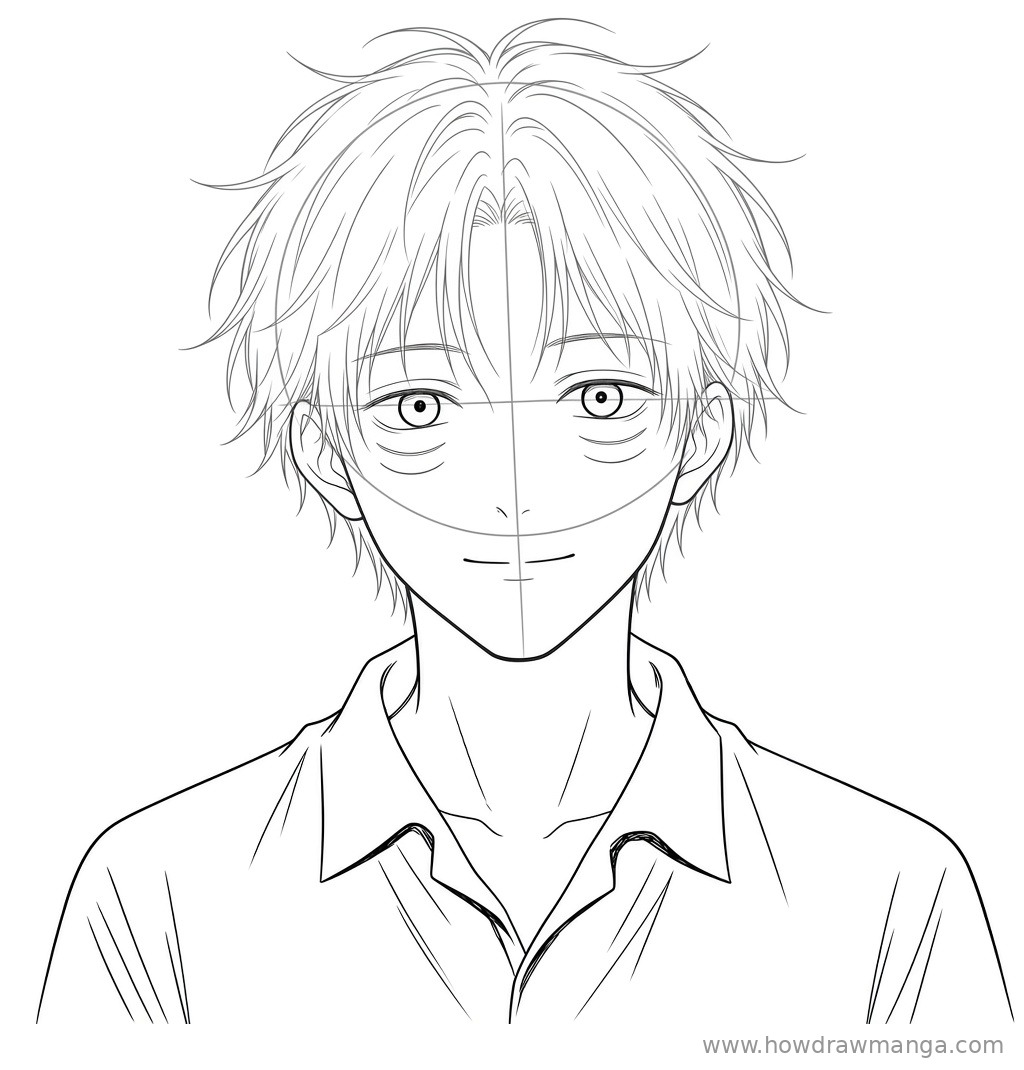
Step 7: Ink the Final Line Art
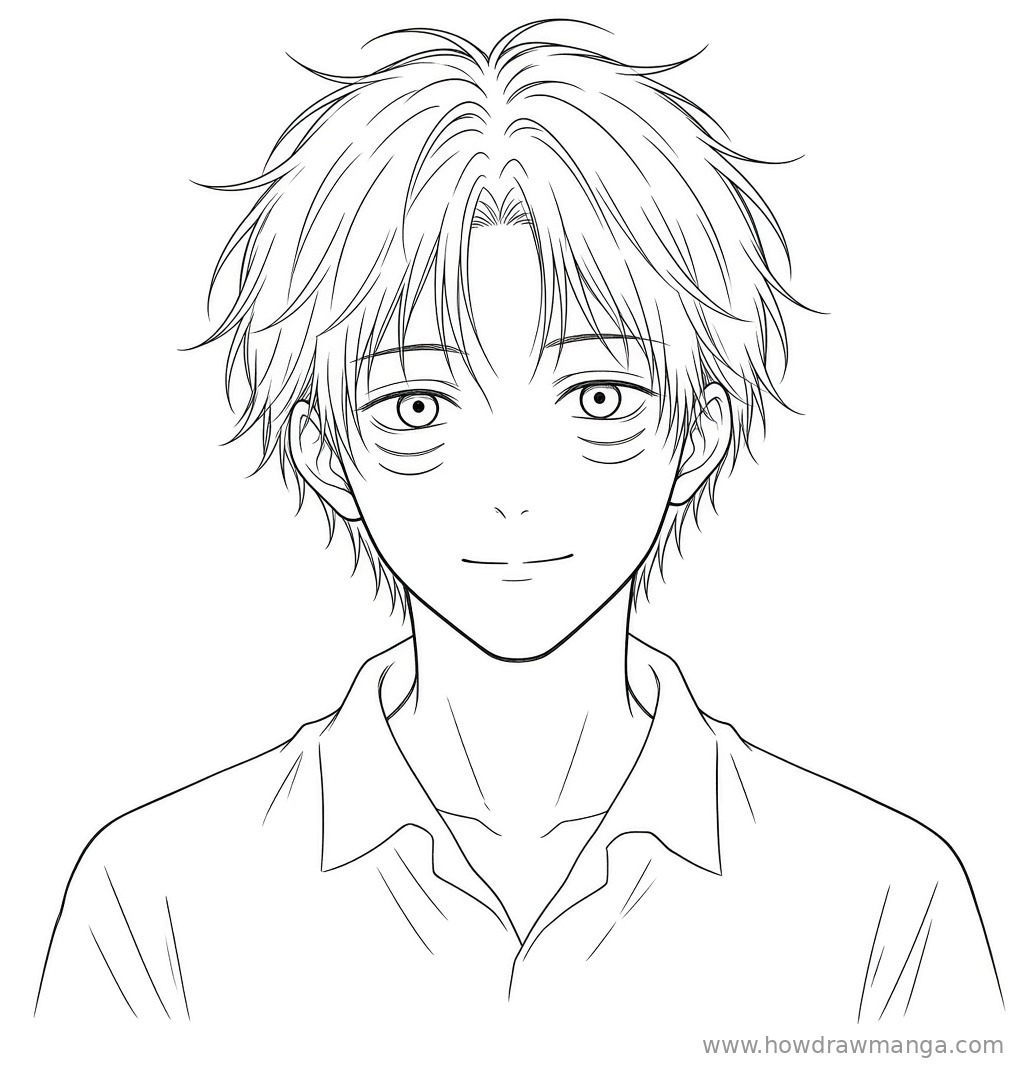
Trace your best lines with a fine liner or a darker pencil. Make the face outline, the outer edge of the hair and the jacket silhouette the boldest lines, and keep the strand lines, dark circles and fold lines thinner. Erase the circle, the centre line and the eye line once the ink is dry. This step only cleans up the drawing, so do not add new shapes.
Key Pro Tips for Drawing Yuta’s Face
- Do not skip the dark circles. Character notes mention dark circles from lack of sleep. A few curved lines under the eyes carry most of his tired expression.
- Keep the eyes large and soft. One character profile describes large, soft eyes that give a gentle impression. Narrow, sharp eyes would turn him into a different character, such as Megumi.
- Make the hair messy, not neat. Disheveled locks of different lengths matter more than any single strand. Leave the hair as an outline with thin strand lines instead of filling it solid.
- Use the right hairstyle for the version. His earlier design has short spikes, while the main series gives him longer, more relaxed hair. This lesson follows the longer look.
- Keep the jacket loose. A loose jacket with sleeves that stop around the forearm is part of his school outfit, so leave a generous gap around the neck and shoulders.
FAQ
Why does Yuta’s hair look different in the movie?
The film-era design uses short, sharp spikes. The author later changed it for the main series because it looked too close to Megumi’s, according to the character’s wiki entry, so this lesson uses the longer look.
What color is his jacket?
Character notes describe a loose white uniform jacket. Since this is line art, you can leave it unshaded or color it white with light grey folds.