
Tanjiro Kamado, the earnest hero of Demon Slayer: Kimetsu no Yaiba, is built from a few shapes that survive a silhouette test: ruffled hair swept back so the forehead stays open, a scar high on the left side of that forehead, and a pair of rectangular hanafuda earrings. In this guide you will learn how to draw tanjiro kamado face in 7 clear steps, starting from a cranial circle and finishing with clean line art of his kind expression and checkered collar.
New strokes in each picture are black, and the lines from earlier steps fade to grey, so you can follow the change. Draw the circle and guides lightly enough to erase before you ink. This lesson is the human face, not a later flame-shaped mark across the whole brow and not a full-body pose.
Materials Needed
- Paper or a drawing tablet
- A light pencil (HB or 2H) for the circle and guidelines
- A darker pencil (2B) or a fine liner pen for the final lines
- An eraser
- Optional: colored pencils or markers for dark hair with burgundy tips, deep red eyes, and a black-and-green checkered haori
Step-by-Step Tanjiro Kamado Face Drawing Guide
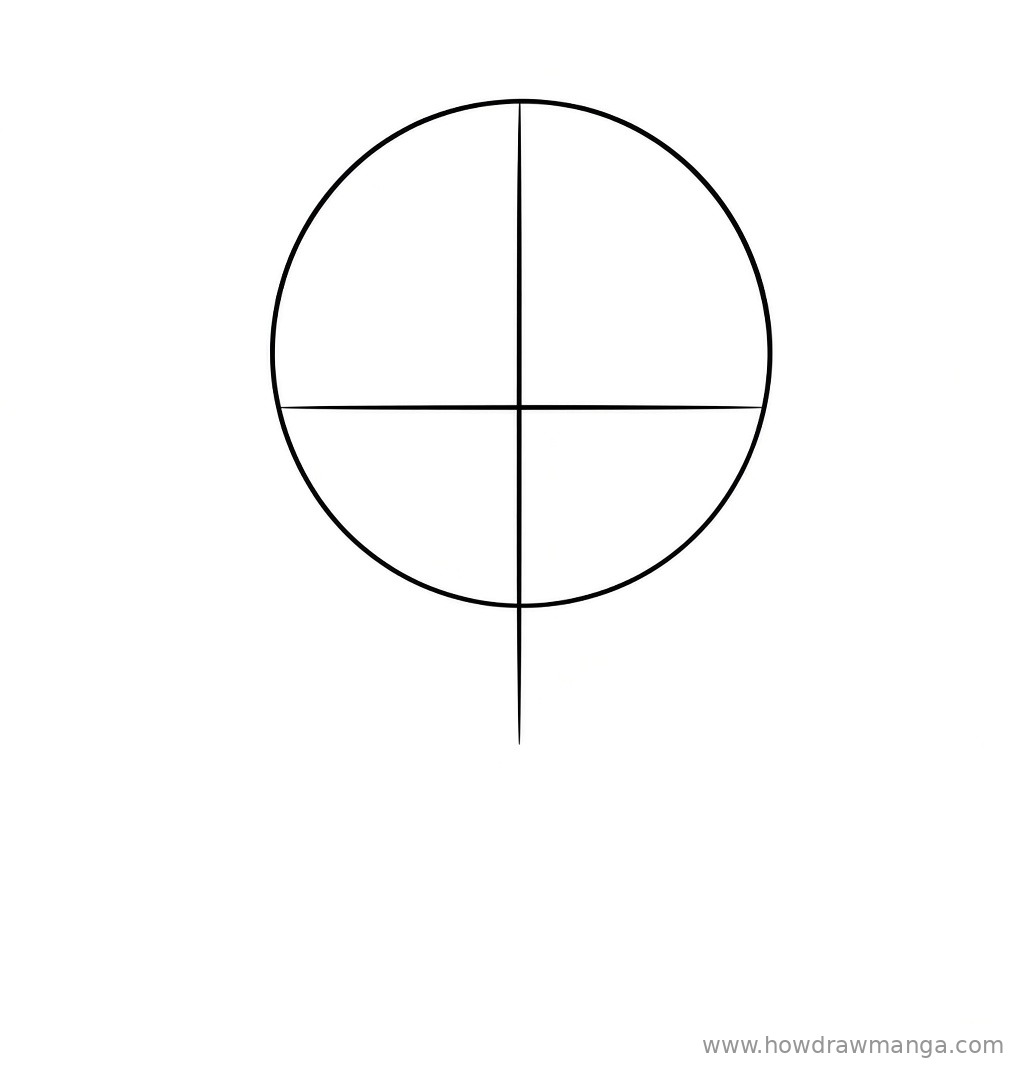
Step 1: Sketch the Cranial Circle and Guidelines
Draw a circle in the upper-center of the page for the cranium. Leave empty space above it for the swept-back hair and empty space below it for the jaw, neck and collar. Add a vertical center line through the middle of the circle and let it run a short way underneath, about one-third of the circle’s height, to mark the neck. Then draw a horizontal eye line across the circle a little below its midpoint. Keep all three marks light so they are easy to remove later.
Step 2: Shape the Jaw, Chin and Neck
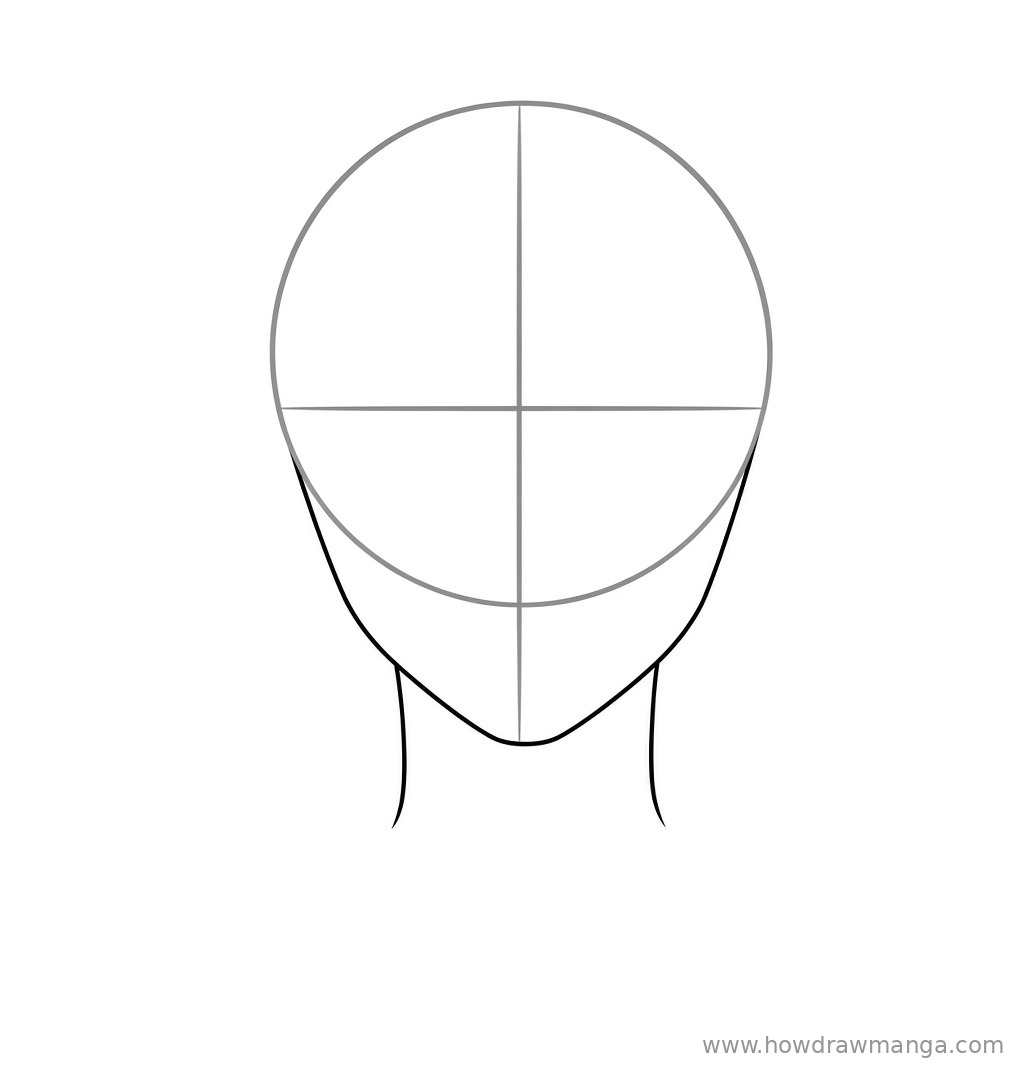
From the left and right sides of the circle, just below the eye line, draw a line that slopes down and inward. The two sides should meet in a rounded, slightly pointed chin about one-third of the circle’s height below the bottom of the circle. Tanjiro’s jaw is softer than a squared hero chin, so keep the corners gentle. From each corner of the jaw, drop a short neck line that runs nearly straight down.
Step 3: Sketch the Swept-Back Ruffled Hair
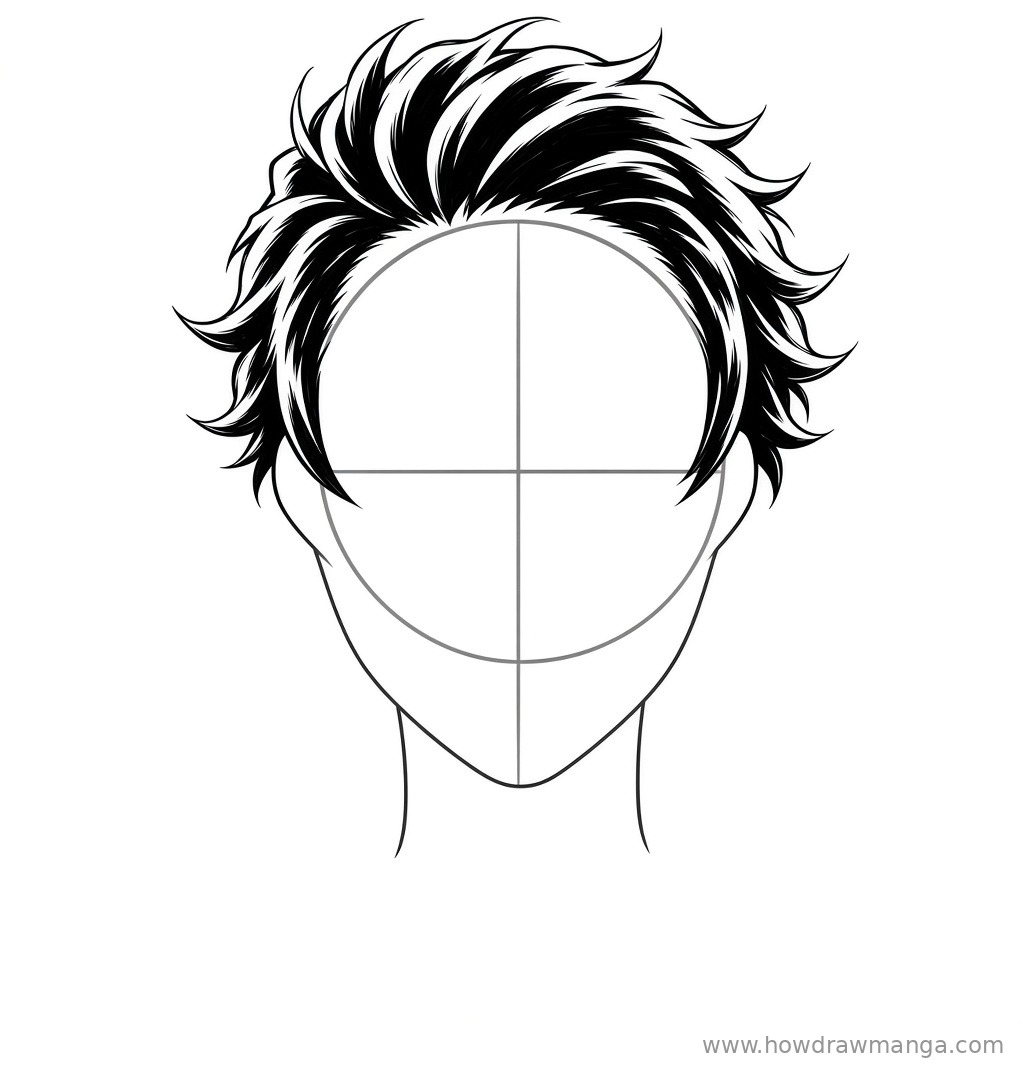
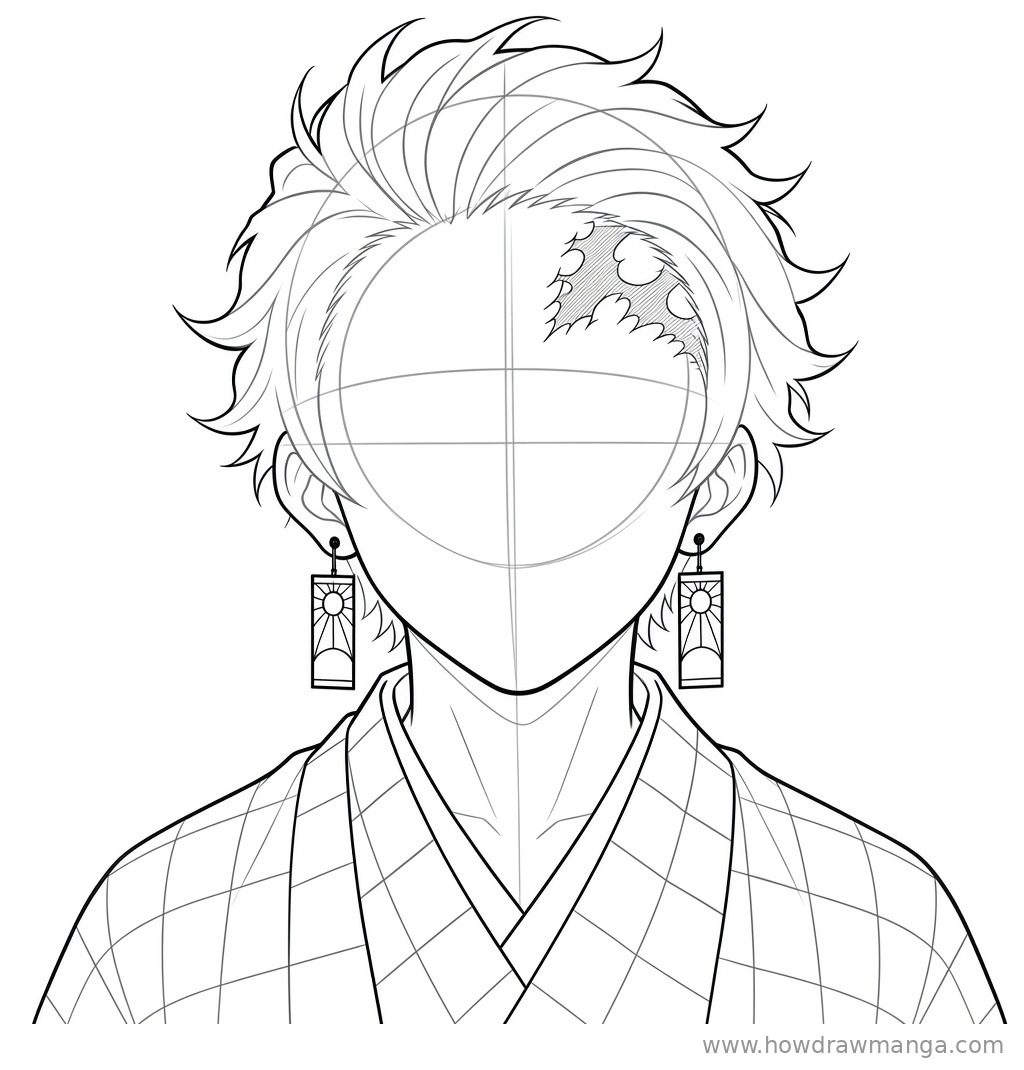
Around the top and sides of the circle, draw uneven clumps of hair that push up and back, leaving the forehead wide open. The hair should rise above the skull by about one-quarter to one-third of the circle’s height, with pointed tufts of different lengths rather than a smooth helmet. Add inner flow lines that follow each clump backward. A few shorter locks can sit beside the jaw, but do not let bangs fall over the forehead, because the scar needs that open space in the next step.
Step 4: Add the Forehead Scar
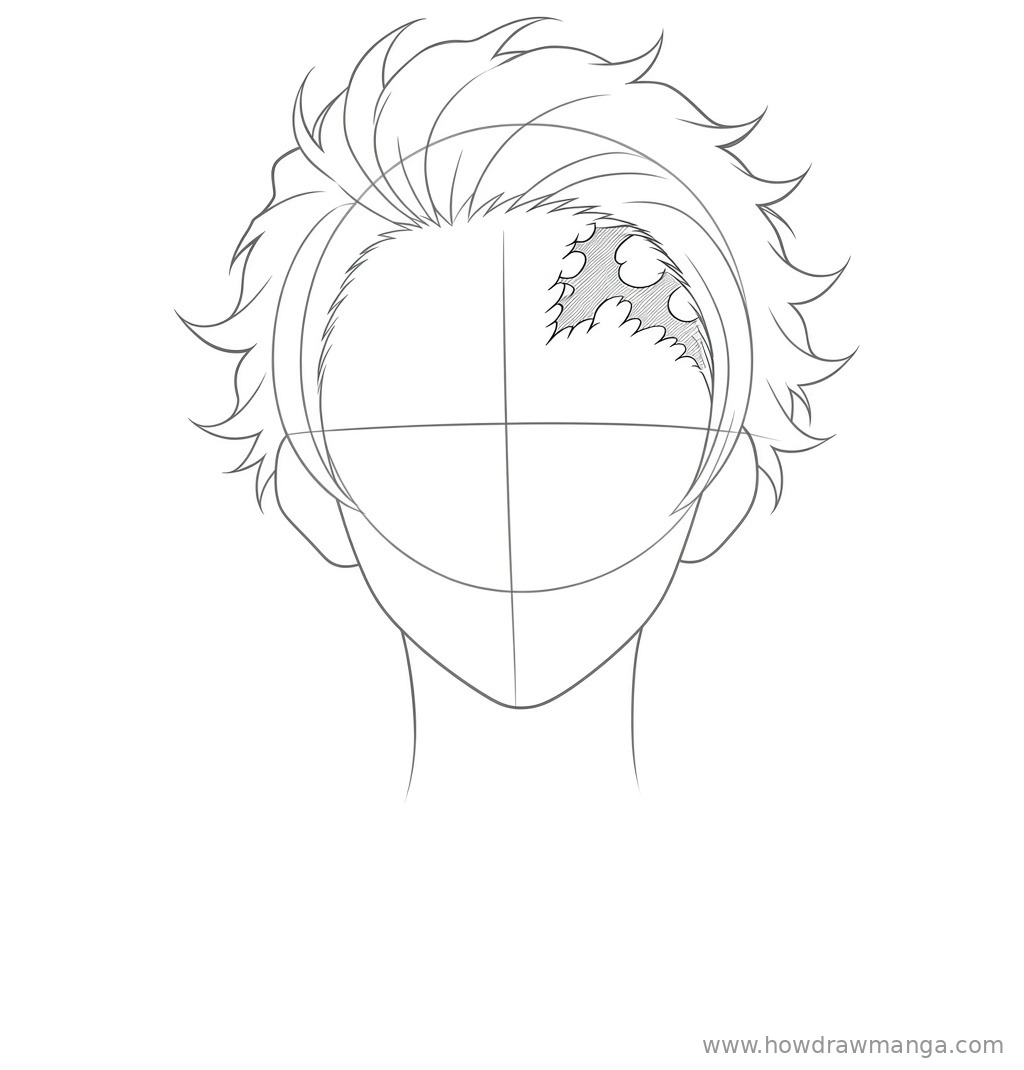
On the upper left of his forehead — the side on the right as you look at the page, because he is facing you — draw a distinct patch-like scar. Place it above his left eyebrow and just under the hairline, covering only that upper-left area rather than the whole brow. The outer edge can be slightly jagged, and you can suggest a little inner texture with short strokes or small rounded spots. Putting the scar on the opposite side is a common mix-up, so check the center line before you ink.
Step 5: Add the Ears, Hanafuda Earrings and Checkered Collar
On each side of the head, draw a C-shaped ear that sits on the eye line, partly tucked into the hair. From each earlobe, hang a small rectangular earring about as tall as one of his eyes. On each rectangle, draw a simple sun near the top and a hill or mountain shape near the bottom, which reads as a hanafuda-style sun-over-mountain design. Below the neck, draw the folded collar of his haori and sloping shoulders. Across the visible fabric, sketch a diamond grid of crossing lines; you will fill every other square when you ink, so do not invent a fixed number of checks.
Step 6: Draw the Wide Eyes, Nose and Gentle Smile
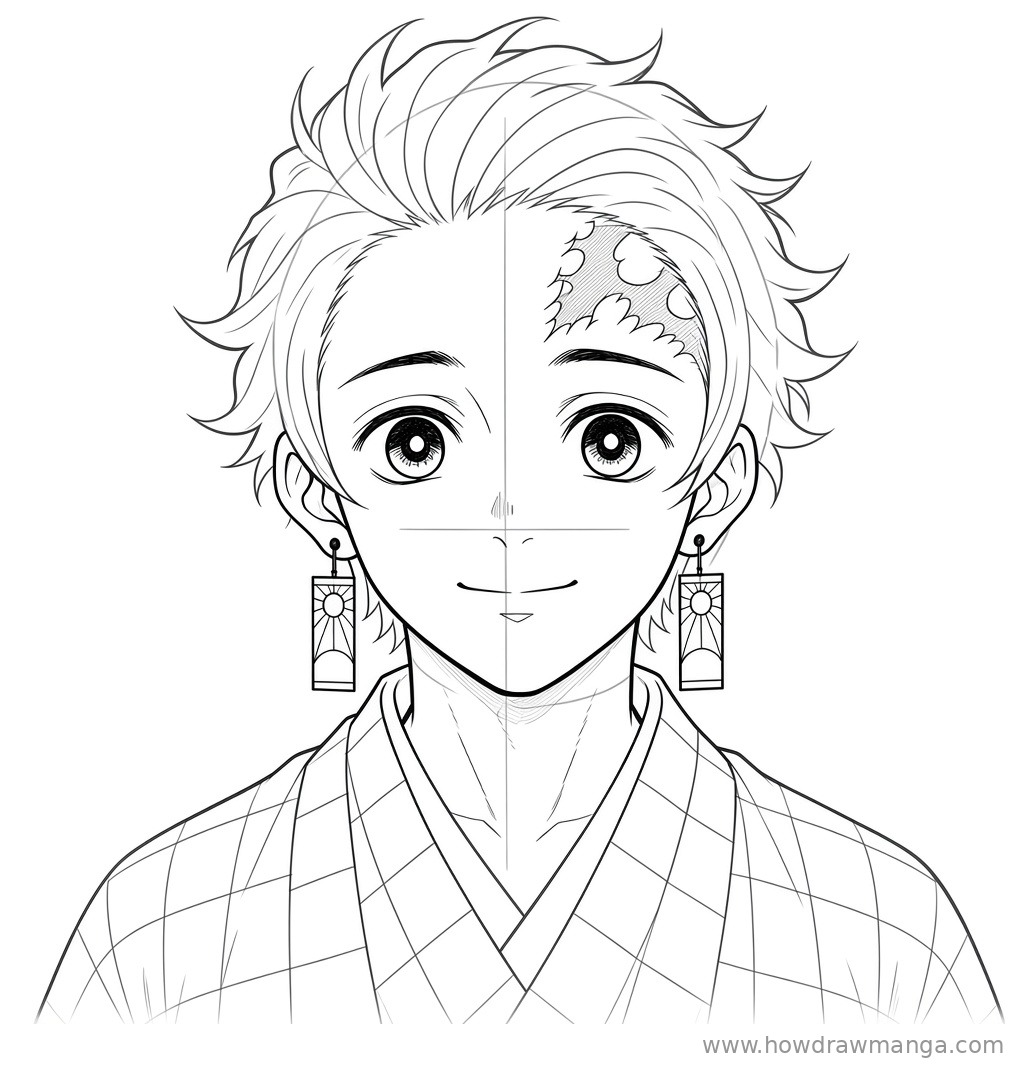
On the eye line, draw two large, wide eyes, one on each side of the center line, with about one eye-width of space between them. Each eye is a full rounded shape with a clear iris and a dark pupil, leaving a small unshaded highlight. Tanjiro’s eyes read as kind, so keep them open rather than half-lidded. Add a gentle brow above each eye. On the center line, about halfway from the eye line down to the chin, draw a short, simple nose. Below it, add a closed, slightly curved smile that stays modest rather than stretching across the whole face.
Step 7: Ink the Final Line Art
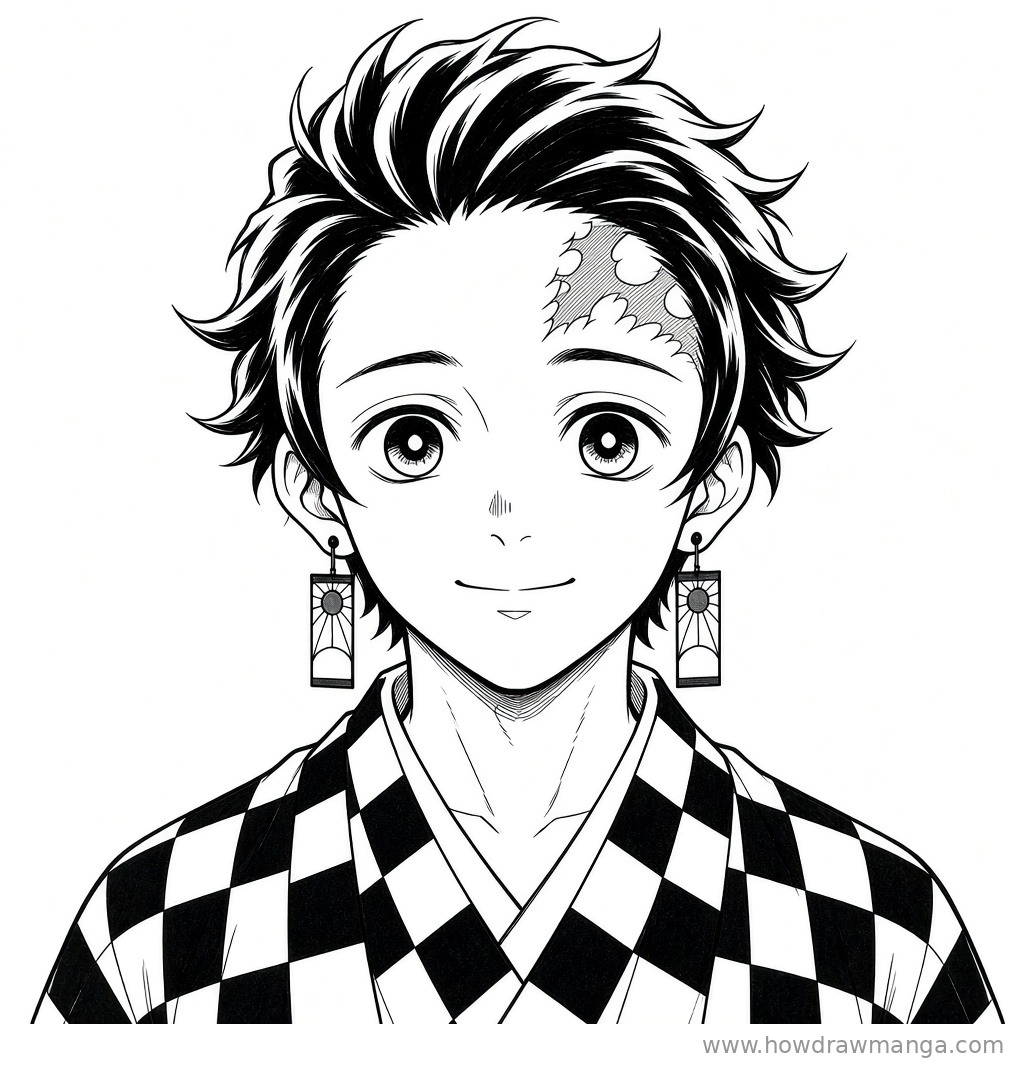
Trace over your best lines with a darker pencil or a fine liner. Make the hair outline, the jaw, the earring rectangles and the collar the boldest lines. Darken the inner hair flow and fill every other square of the haori grid so the checker pattern reads clearly. Keep the scar texture, the inner ear curves and the individual earring marks thinner. Erase the cranial circle and the two guide lines once the ink is dry. This step only cleans up what you already drew, so do not introduce new shapes.
Key Pro Tips for Drawing Tanjiro Kamado’s Face
- Sweep the hair back. Heavy bangs hide the forehead and hide the scar. The hair should pile up and back so the brow stays open.
- Put the scar on his left. When Tanjiro faces you, that mark sits on the right side of the picture, above his left eyebrow. A scar on the other side makes the face look mirrored.
- Keep the earrings rectangular. They are hanafuda-like cards hanging from the lobes, with a simple sun-over-mountain design. Round studs or long teardrops lose the silhouette.
- Draw kind, wide eyes. Narrow or sharp eyes fight the gentle look sources describe. A full iris and a small highlight do more than extra eyelashes.
- Fill the checkers at the end. Lay down a loose diamond grid first, then shade every other square when you ink. Counting an official number of squares is not needed.
FAQ
Which side is Tanjiro’s forehead scar on?
It sits on the upper left of his forehead. Because he is facing you in this tutorial, that area is on the right side of the page, above the left eyebrow and under the hairline.
Should I draw the later flame-shaped Demon Slayer Mark?
No. This lesson uses the distinct forehead scar that makes him easy to recognise. The later flame-like pattern changes shape through the story, so it belongs in a different drawing if you want that version.