
This guide shows you how to draw Sasuke Uchiha face in his classic Part I look, the way he appears as a young member of Team 7. You will build the head from a circle, wrap the Leaf forehead protector around it, and finish with his long bangs, the sharp spikes of black hair around his head and his high collar.
Sasuke reads best through contrast. His eyes are narrow and calm, his jaw is slim, and almost all of the energy sits in the hair. Get the spiky silhouette right and the rest of the face can stay quiet and simple.
Materials Needed
- An HB or 2B pencil for light construction lines
- A kneaded or plastic eraser
- A fine black liner (0.3 mm) and a thicker one (0.5 mm or brush pen)
- Smooth drawing paper, or a drawing app with a pencil and an ink layer
Step-by-Step Sasuke Uchiha Face Drawing Guide
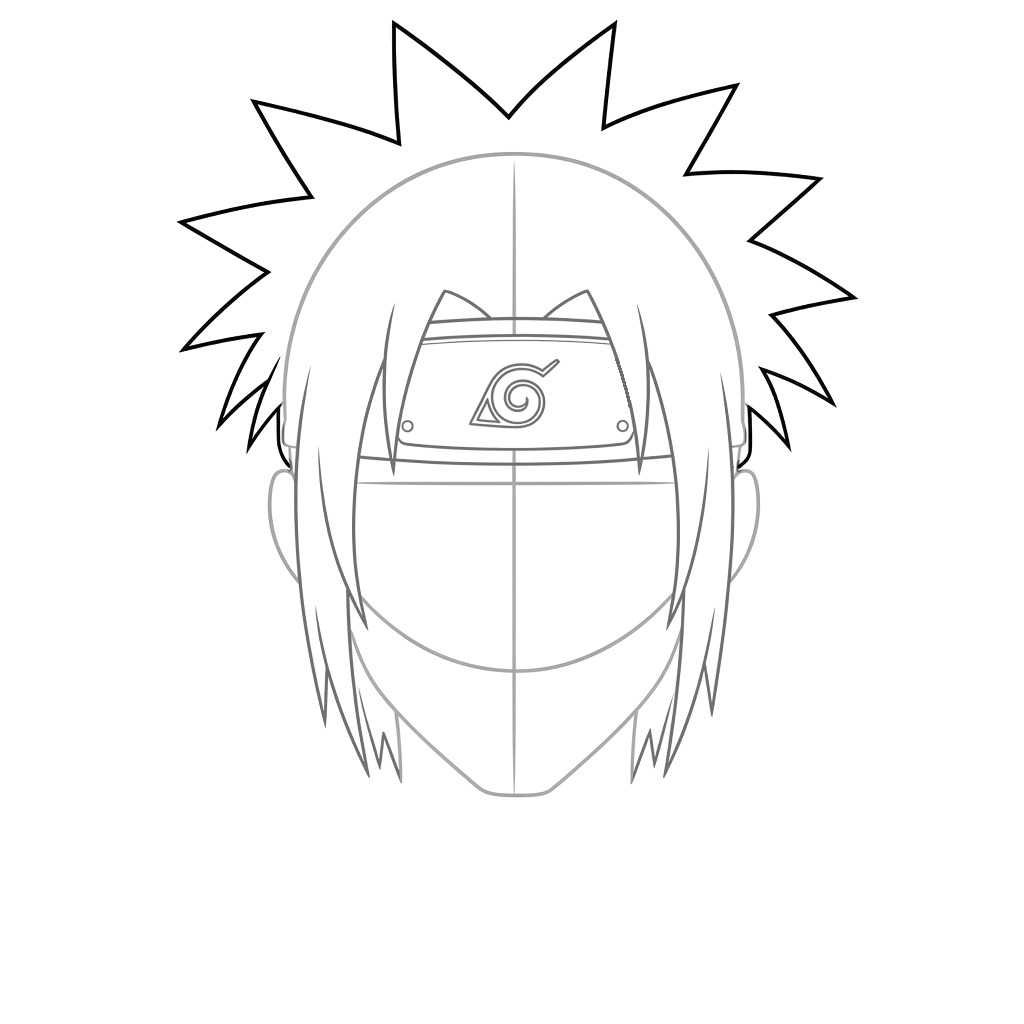
Step 1: Sketch the Head Circle and Guidelines
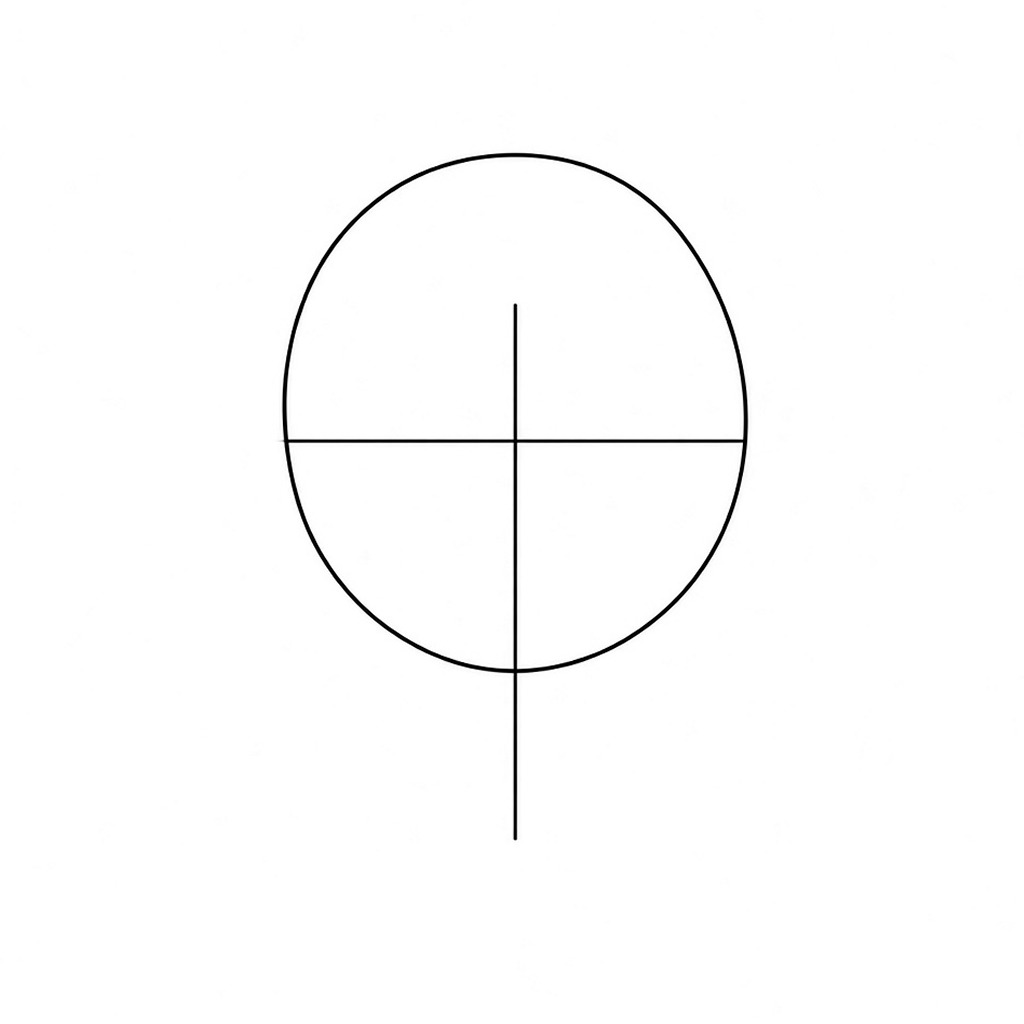
Draw a circle in the upper half of your page, a little less than half the page width across. Cross it with a horizontal line slightly below the middle of the circle. That line is where the eyes will sit. Add a light vertical centre line that starts inside the top third of the circle and runs down past the bottom edge by about one-third of the circle’s height.
Step 2: Shape the Jaw, Chin and Ears
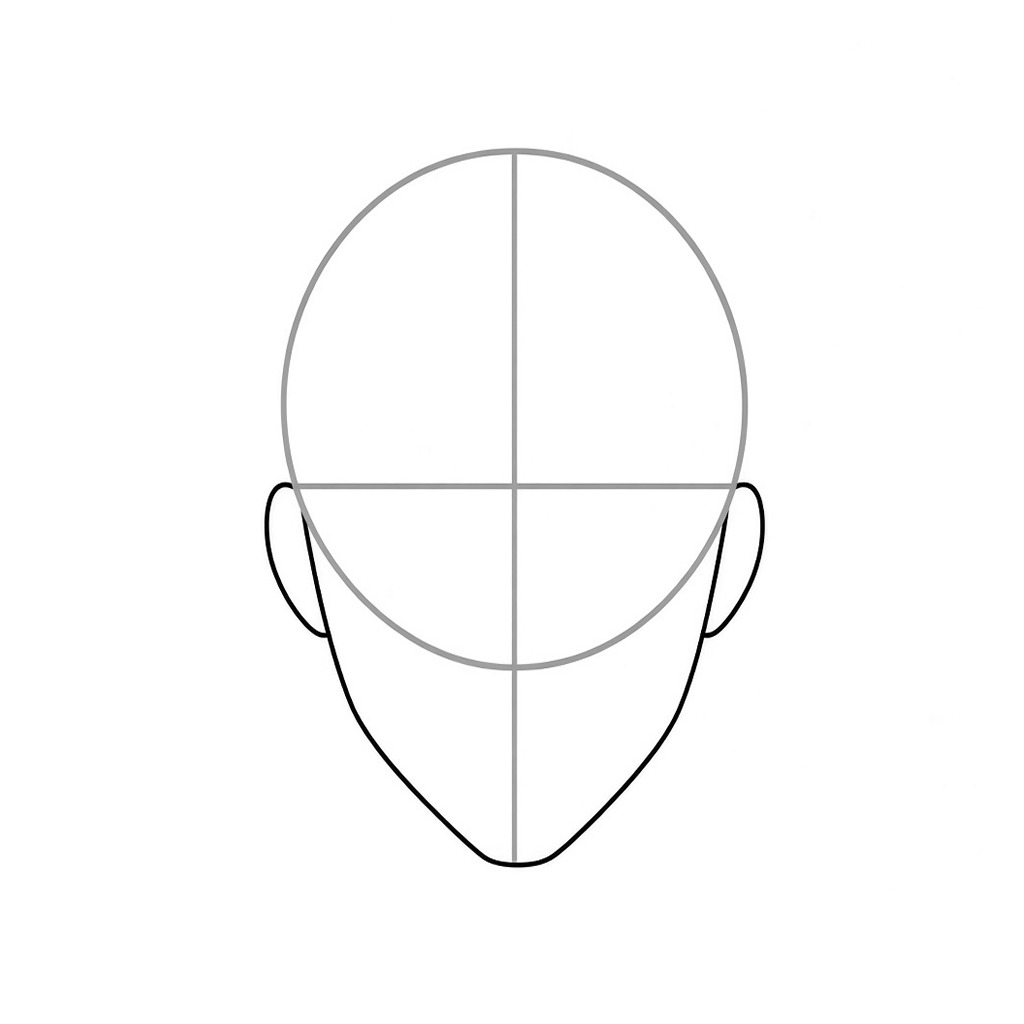
From each side of the circle, just under the eye line, draw a line that slants inward toward the end of the vertical guide. Meet the two lines in a small, slightly rounded chin. Keep the jaw slim; it should be clearly narrower than the circle. Add a small C-curve on each side for the ears, with the top of each ear level with the eye line and the bottom about two-fifths of the way down to the chin.
Step 3: Draw the Leaf Forehead Protector
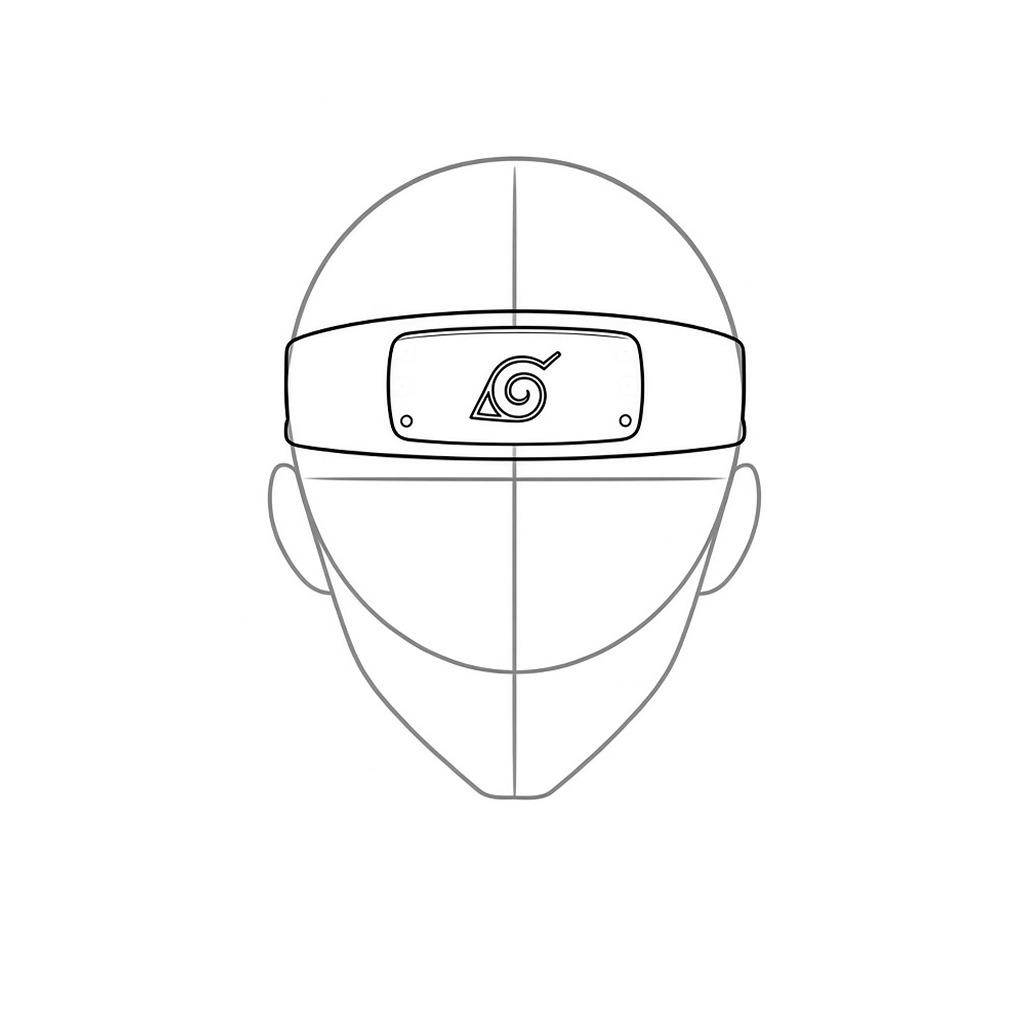
Draw two curved lines across the head just above the eye line, about one-third of the circle’s height apart, to make a wide cloth band that follows the round shape of the head. In the middle of the band, draw a rounded rectangle about half the head width for the metal plate. Inside the plate, sketch the Leaf Village symbol as a small spiral with a pointed tip. Add one small round rivet near each lower corner of the plate.
Step 4: Add the Long Bangs
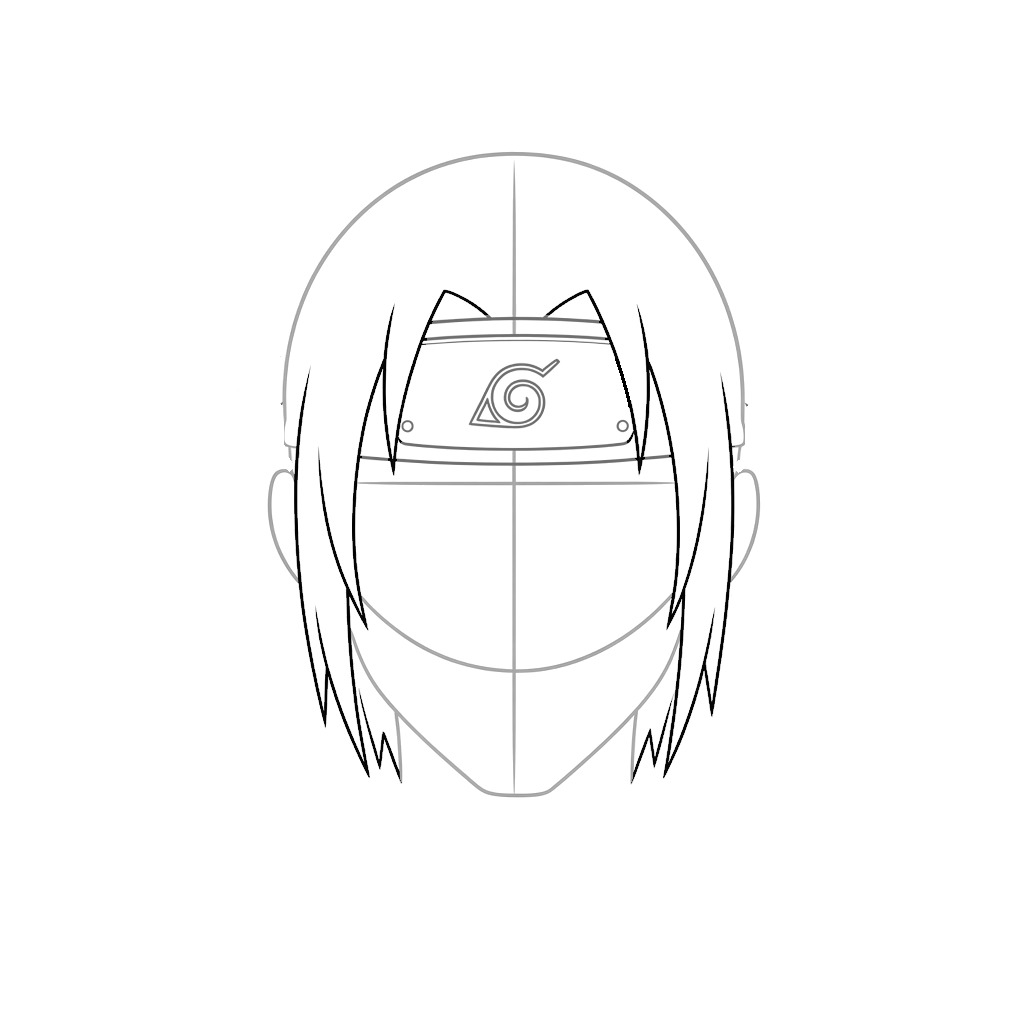
On each side of the plate, draw two or three long, narrow, pointed locks. Each lock starts at the top edge of the band and hangs down past the cheek, ending in jagged points close to chin level. Let two short pointed tips peek over the top edge of the plate. Leave the area between the eyes open so the face stays readable.
Step 5: Draw the Spiky Back Hair
Around the top of the head, draw a ring of large spikes that point up and outward. Make the biggest spikes about one-third of the circle’s height and let them poke out past the sides of the head down to ear level. Use sharp V-shaped points and straight sides so the hair feels stiff rather than soft. This shape is what makes Sasuke recognisable even as a silhouette.
Step 6: Add the Eyes, Brows, Nose and Mouth
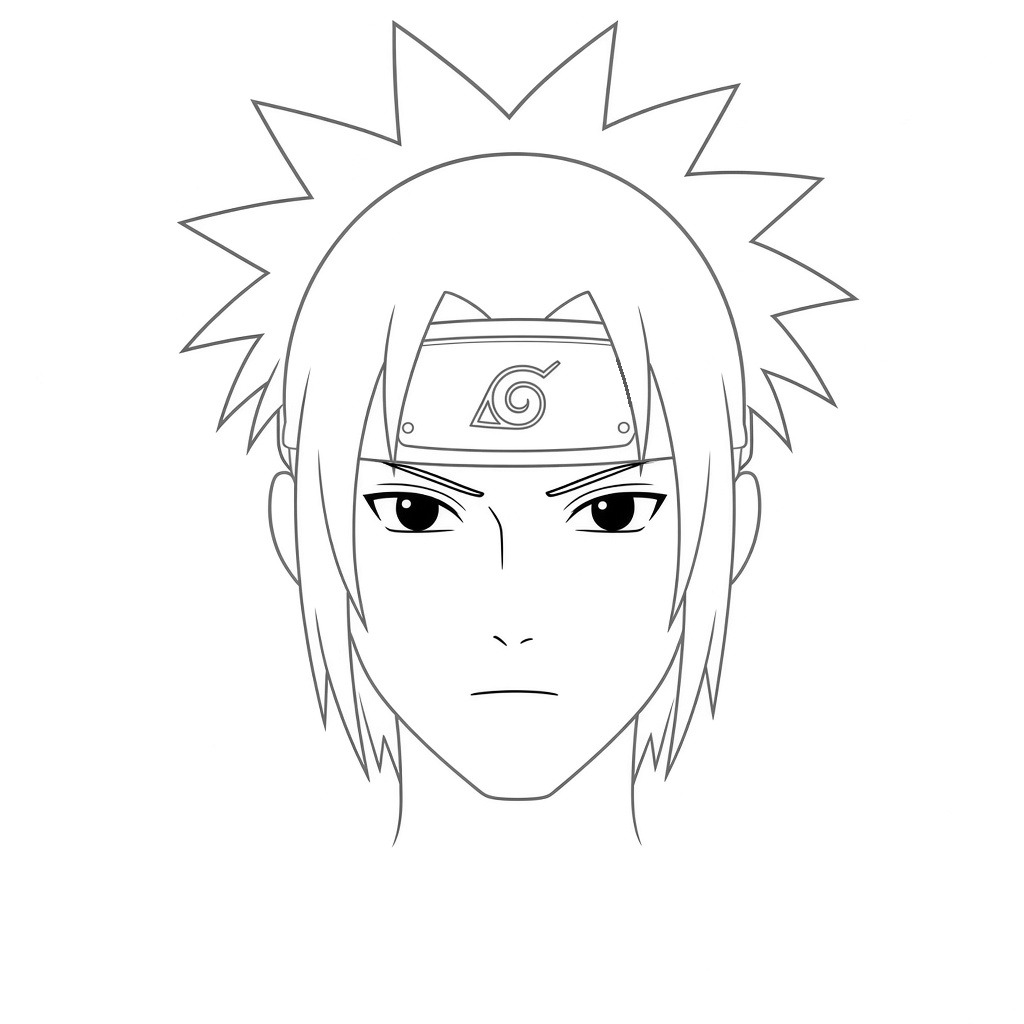
First, lightly erase the guidelines and the lower curve of the circle, and sketch two short neck lines under the jaw. On the old eye line, draw two narrow almond shapes about one eye-width apart. Fill most of each eye with a dark iris and leave a tiny white highlight. Above them, draw short, angled brows that slant down toward the nose. Add a thin nose line from the inner corner of one eye, a small tick about halfway between the eyes and the chin, and a short flat line for the mouth just below it.
Step 7: Draw the High Collar and Shoulders
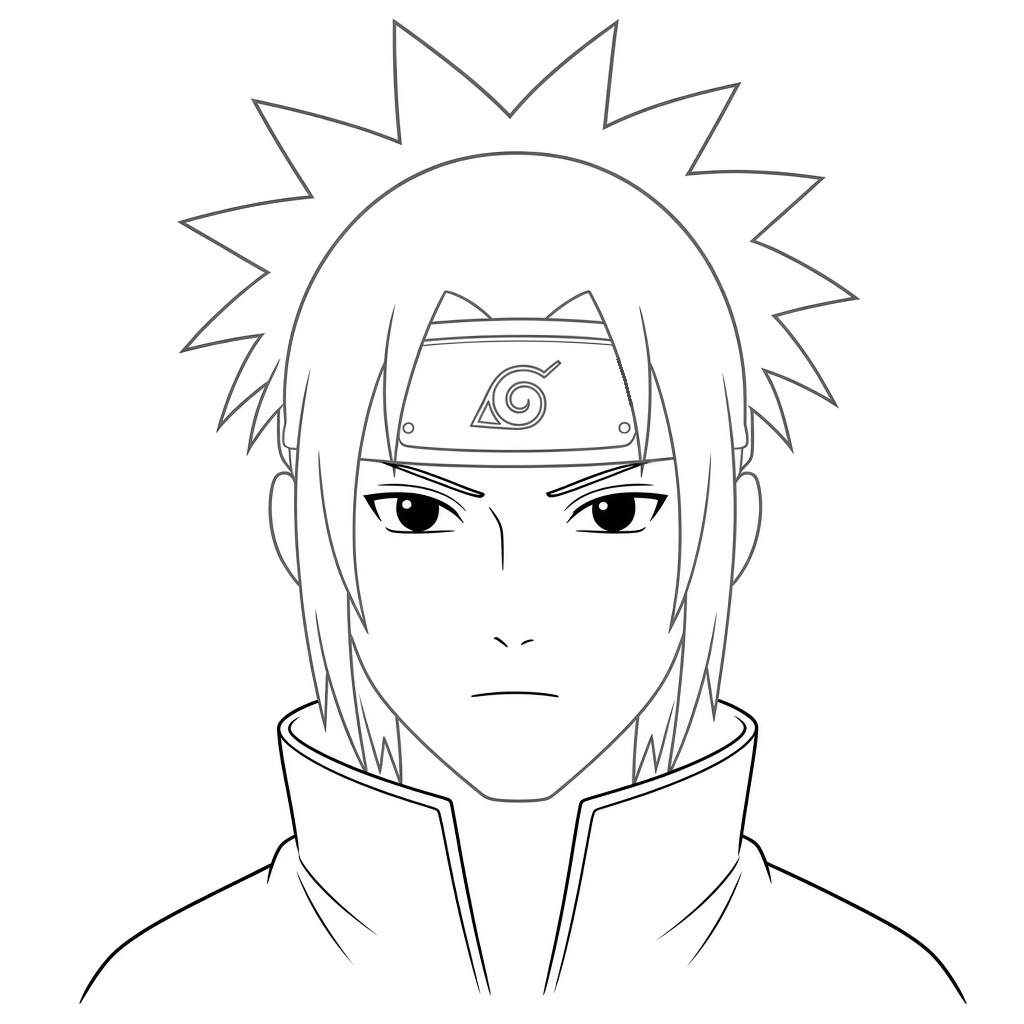
Behind the jaw and neck, draw a tall stand-up collar whose outer edges rise to about mouth level. Leave a V-shaped opening at the front that comes to a point well below the chin. Draw a second line just inside the collar’s top edge to show its thickness. Finish with two long shoulder lines that slope down and outward from the collar toward the edges of the page.
Step 8: Ink the Lines and Erase the Guides
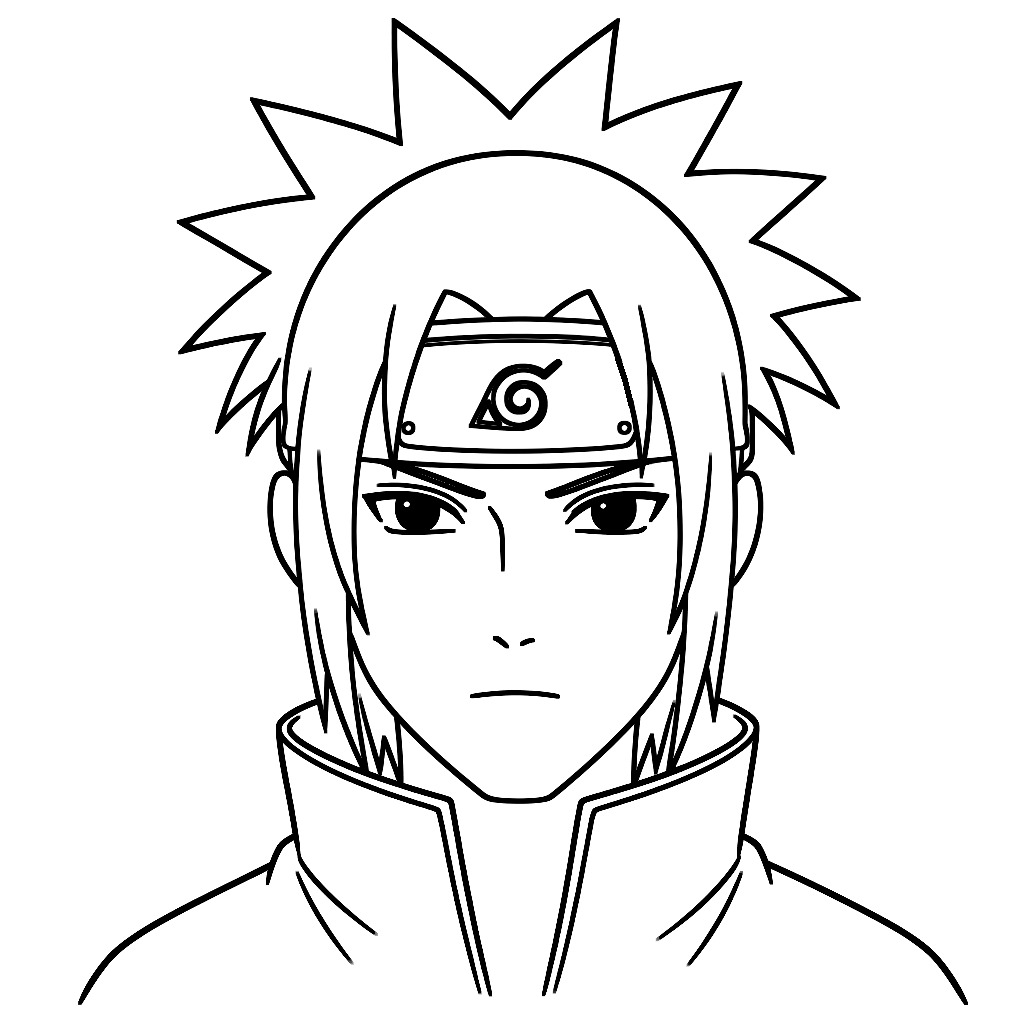
Trace every pencil line you want to keep with a fine black pen, going over the hair spikes, bangs, band, plate, collar and jaw with a slightly heavier stroke. Keep the eyes, brows, nose, mouth, leaf spiral and the two rivets on the plate exactly as you drew them; inking only makes them darker and cleaner. Once the ink is dry, erase the circle, the guidelines and any stray pencil marks.
Key Pro Tips for Drawing Sasuke Uchiha
- Draw the back spikes larger than feels natural. When they are timid, the head loses its outline and could belong to any character.
- Keep the eyes narrow and the brows low and angled. A calm, serious expression suits him better than wide, round eyes.
- Draw the band so it curves with the head. A perfectly straight band makes the face look flat.
- Vary your line weight: thick outside, thin inside. It separates the busy hair from the simple face.
- If you colour your drawing, keep the hair and eyes black and give the forehead protector a blue cloth band, as he wears in Part I.
FAQ
Which version of Sasuke does this tutorial show?
It shows his Part I look as a young ninja, with the Leaf forehead protector and the high collar. In later arcs his hair grows longer and he stops wearing the protector.
What should I draw next?
Pair this drawing with his teammates. Try our Naruto Uzumaki tutorial or the Sakura Haruno guide to complete Team 7.