
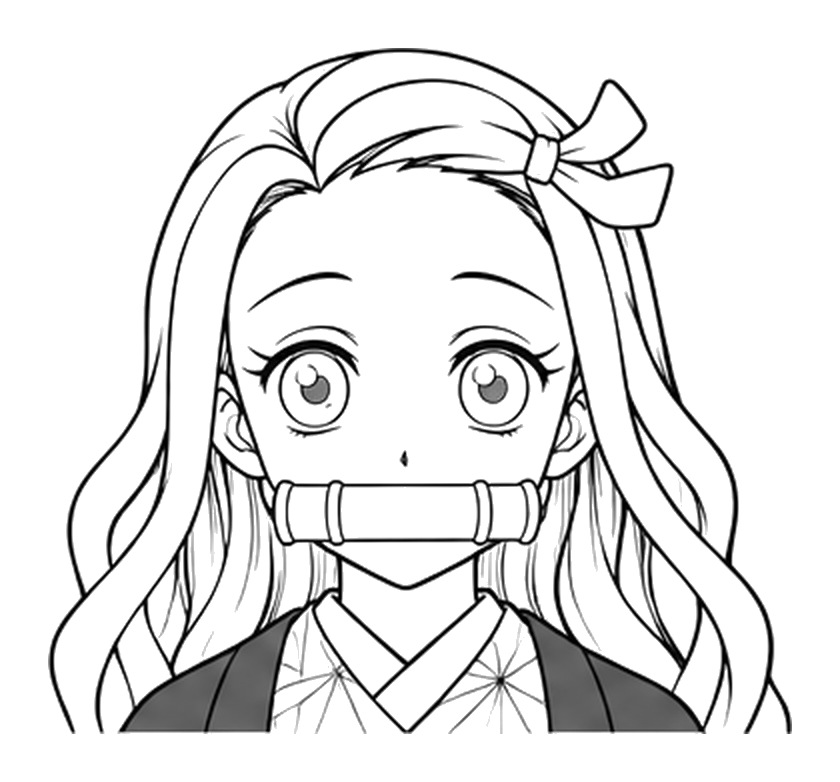
Nezuko Kamado is Tanjiro’s younger sister in Demon Slayer: Kimetsu no Yaiba, and the bamboo muzzle makes her one of the easiest anime faces to recognise. In this guide you will learn how to draw Nezuko Kamado face in 14 steps, from a head circle to her long wavy hair, ribbon, muzzle, kimono collar and haori.
The drawing takes more steps than a typical face because her hair is long and layered. Most of the later steps are about the hair, while the face itself stays simple: big round eyes, a tiny nose and the muzzle across the mouth. Keep early lines light so they are easy to erase.
Materials Needed
- Paper or a drawing tablet
- A light pencil (HB or 2H) for the circle and guidelines
- A darker pencil (2B) or a fine liner for the final lines
- An eraser
- Optional: coloured pencils or markers for her hair, eyes and clothes
Step-by-Step Nezuko Kamado Face Drawing Guide
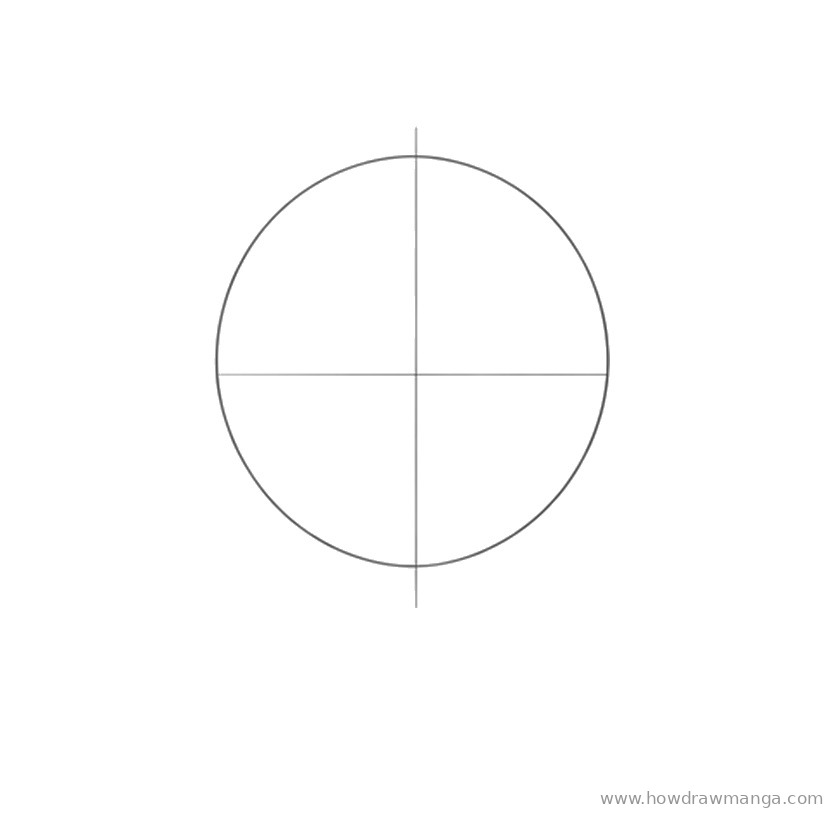
Step 1: Sketch the Head Circle and Guidelines
Draw a large circle near the top half of your page. Add a light vertical centre line that runs a little past the circle at the top and bottom, then a horizontal eye line through the middle. These are construction lines, so keep them faint.
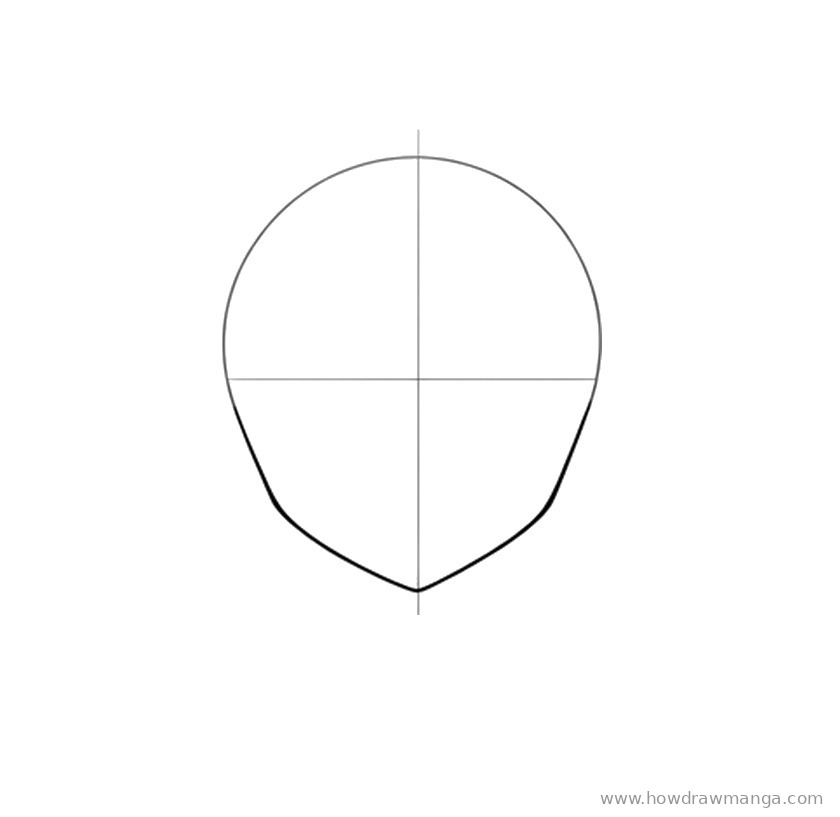
Step 2: Shape the Lower Face and Chin
Starting a little above the eye line on each side, curve the cheeks down and inward. Bring them together in a small, soft point on the centre line, about a quarter of the circle’s height below it. Nezuko has a young, rounded face, so keep the jaw short.
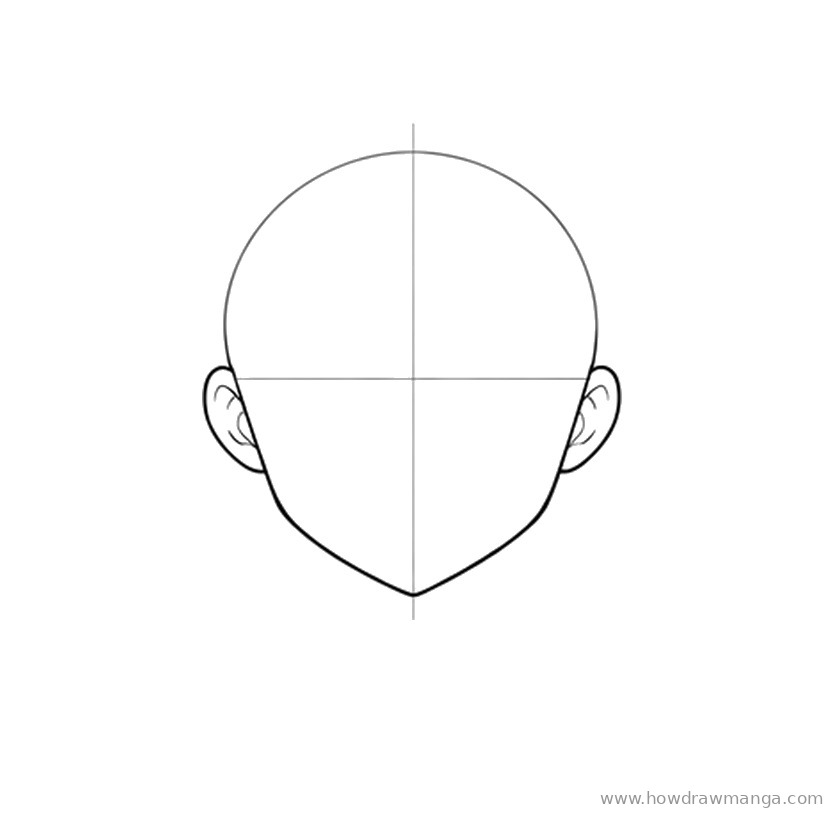
Step 3: Add the Ears
Draw a small C-shaped ear on each side of the head, with the top just above the eye line and the bottom about one-third of the way down the cheek. Add a short inner curve to each ear. Keep both ears level with each other.
Step 4: Mark the Nose and Mouth
Put a tiny dot-like nose on the centre line, roughly halfway between the eye line and the chin. Under it, draw a very short curved mouth line. You will cover the mouth with the bamboo muzzle later, so a light mark is enough.
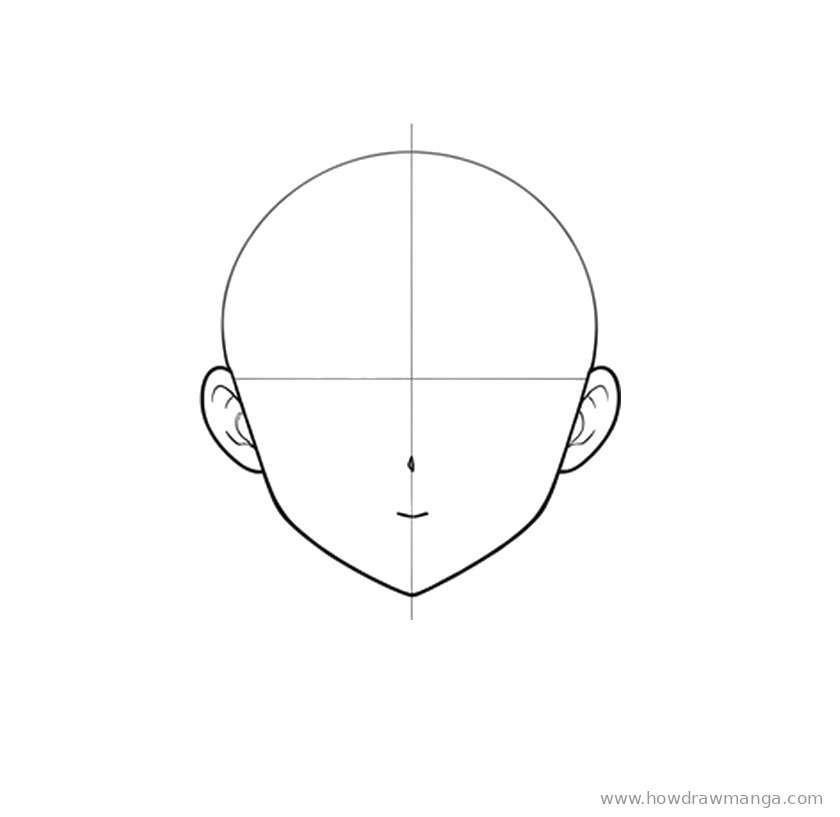
Step 5: Draw the Eyebrows and Eye Outlines
Place two large, rounded eye shapes on the eye line, about one eye-width apart. Make each upper lid a thick arc with a few lashes flicking out at the outer corner, and add a thin crease line above it. Draw a short lower lid with tiny lashes. Then add a long, gently arched eyebrow well above each eye.
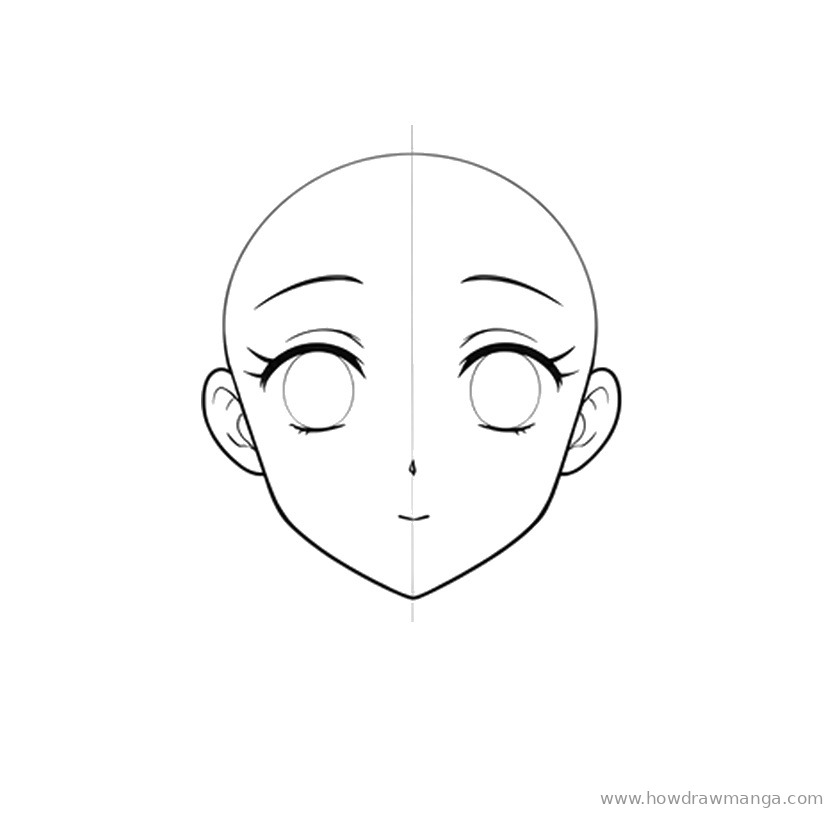
Step 6: Add the Round Irises
Inside each eye, draw a big circular iris that fills most of the eye and touches the upper lid. Add a small curved highlight mark near the top of each iris. Large, round irises keep her expression soft and innocent.
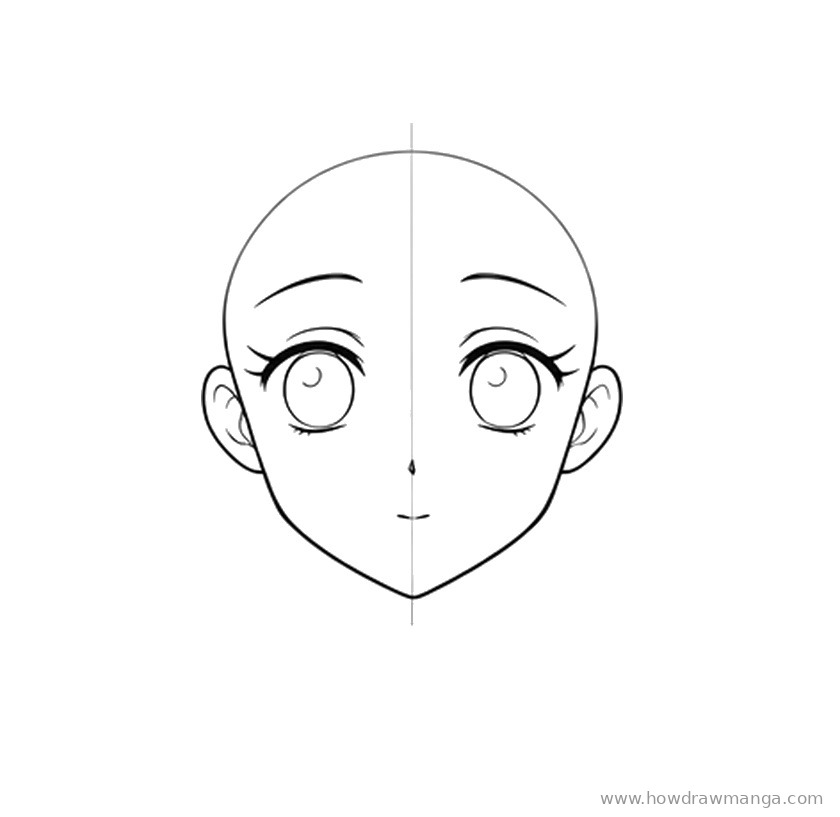
Step 7: Fill In the Pupils
Draw a smaller circle in the centre of each iris and shade it dark, leaving the highlight white. Add a thin ring around the pupil if you want extra depth. Check that both pupils look in the same direction.
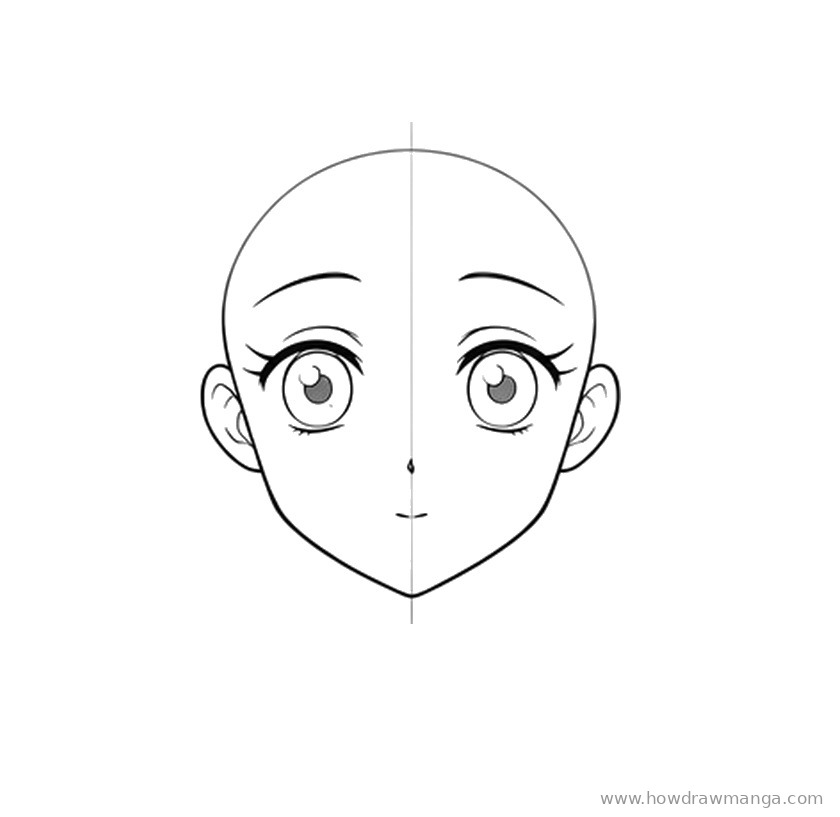
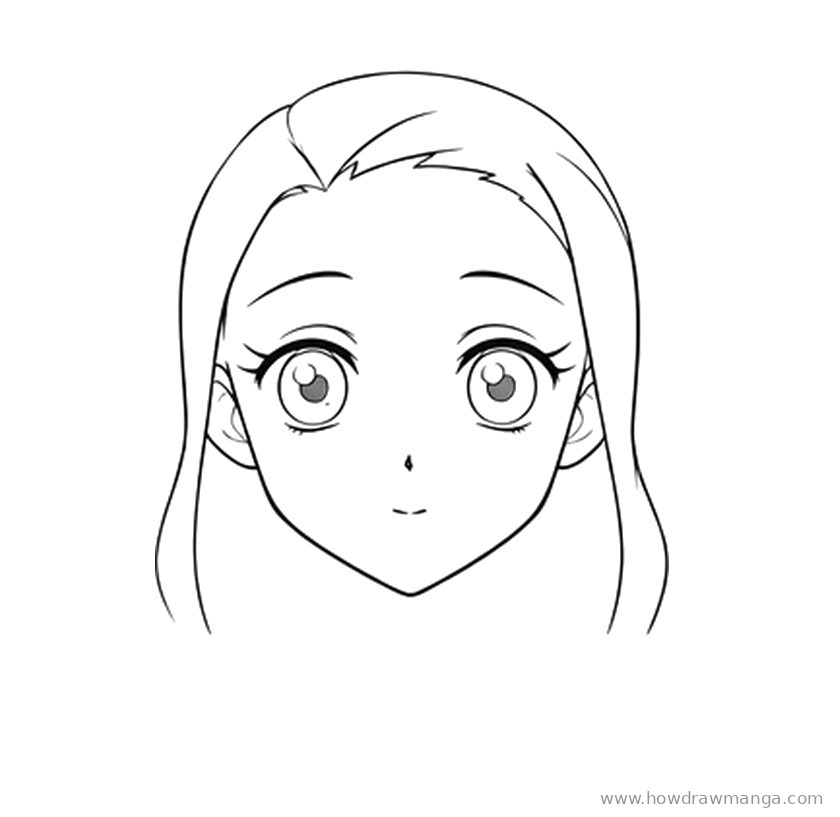
Step 8: Draw the Long Hair Outline
Erase the centre line inside the face. Draw a hair outline that rises a little above the circle, with a parting slightly off-centre and a curved lock sweeping across the forehead. Let the hair fall on both sides past the ears and down to about shoulder level, framing the face with long, smooth curves.
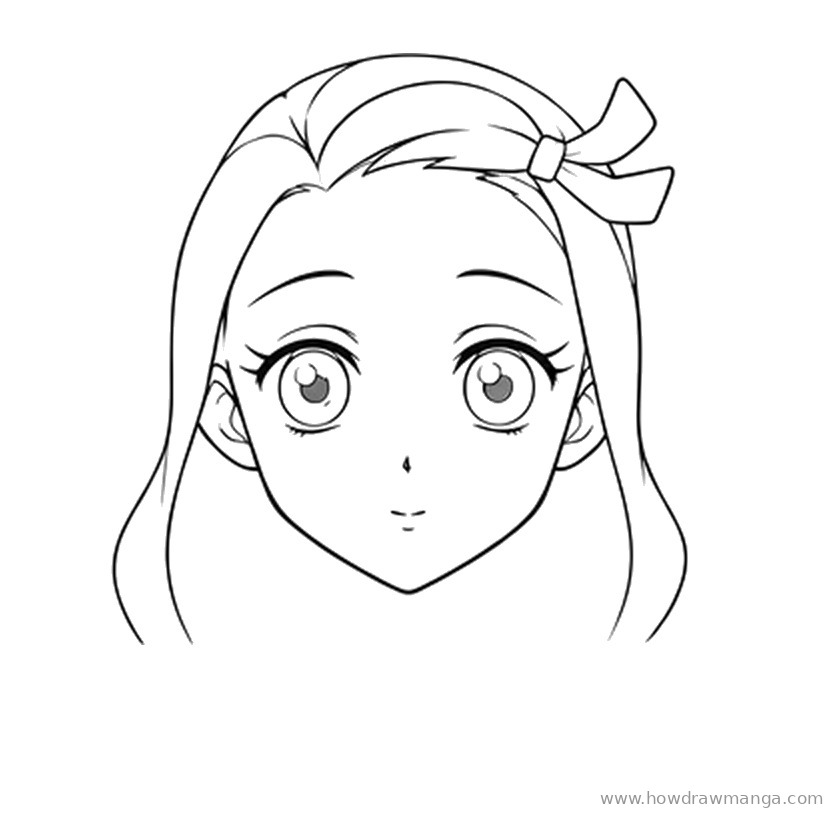
Step 9: Add the Ribbon and Side Locks
On the right side of the drawing, near the top of the head, draw a small band with a bow that has two pointed loops. Nezuko is shown with a light pink ribbon in her hair. Then add extra side locks next to the cheeks so the hair looks thicker around the face.
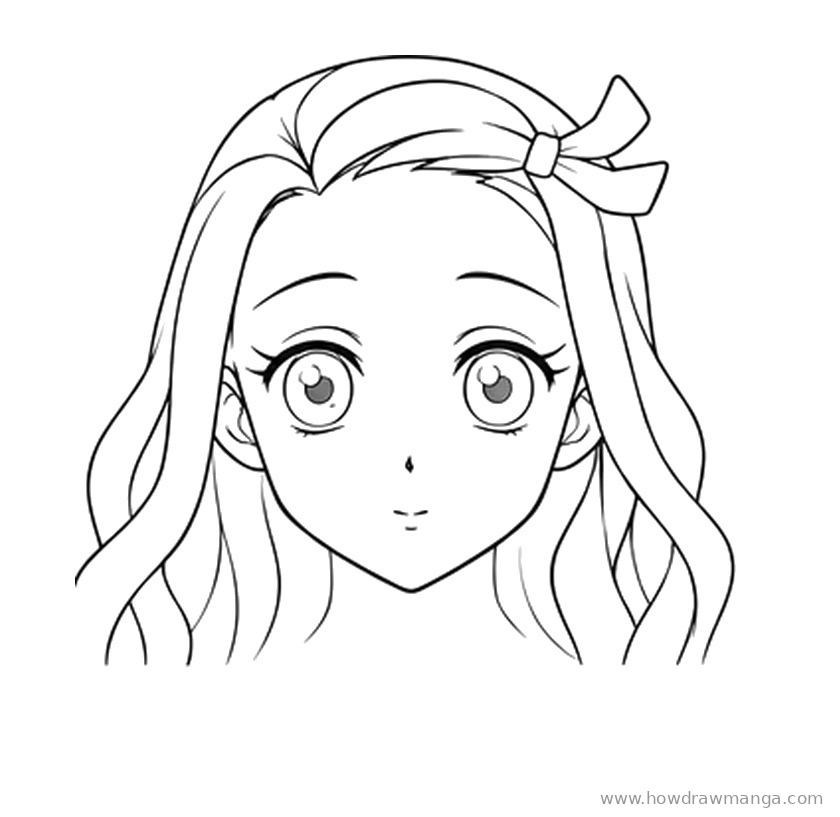
Step 10: Lengthen the Hair into Waves
Extend the hair on both sides well below the chin. Turn each lock into a gentle S-curve with pointed tips that flare outward. Her hair is long, wavy and crimped, so let the waves stack in loose layers rather than hanging straight.
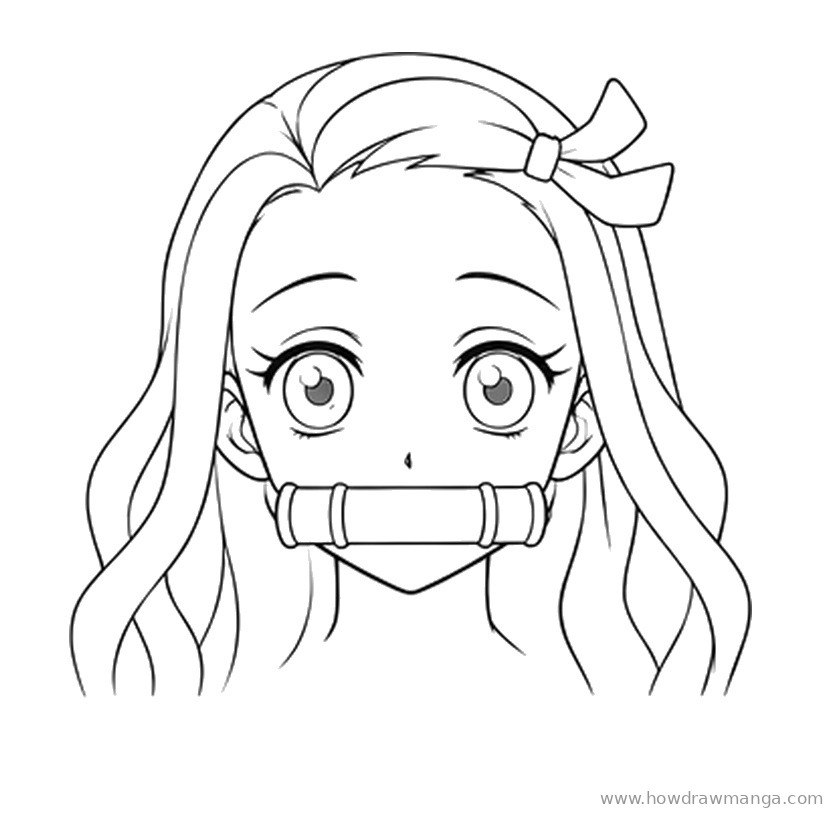
Step 11: Draw the Bamboo Muzzle
Draw a horizontal bar across the mouth area, about as wide as the space between the outer corners of the eyes. Add a slightly thicker band near each end and a short cap on each side, like a section of bamboo. Erase the mouth line hidden behind it. The muzzle is the feature most people recognise her by.
Step 12: Add Strand Lines Inside the Hair
Draw thin lines inside each wavy lock that follow its curve from top to tip. Keep them shorter and lighter than the outline. This step changes the drawing only slightly, so focus on the direction of each line.
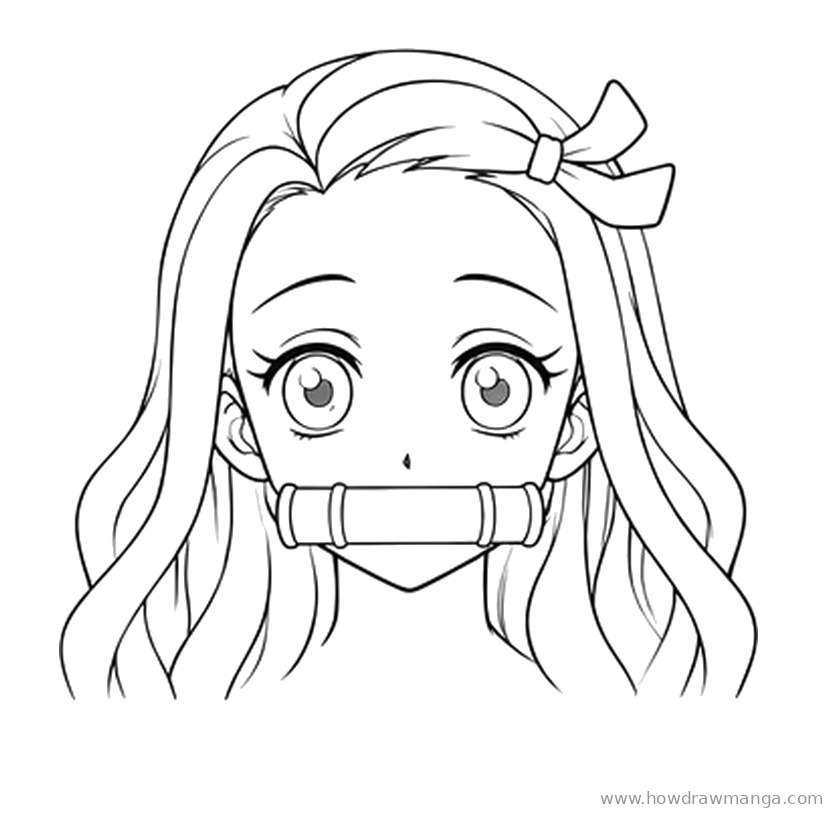
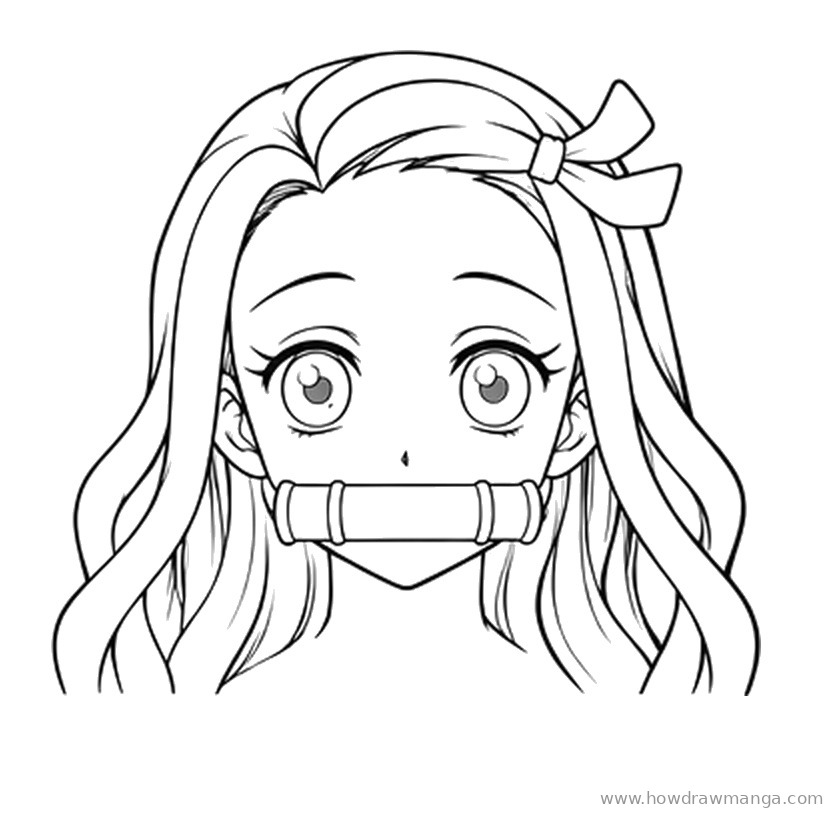
Step 13: Refine the Hair Waves
Go over the hair once more and add a few extra strand lines where the locks overlap, especially near the bottom tips. Tidy any ends that look blunt into clean points. This is another small refinement before the final pass.
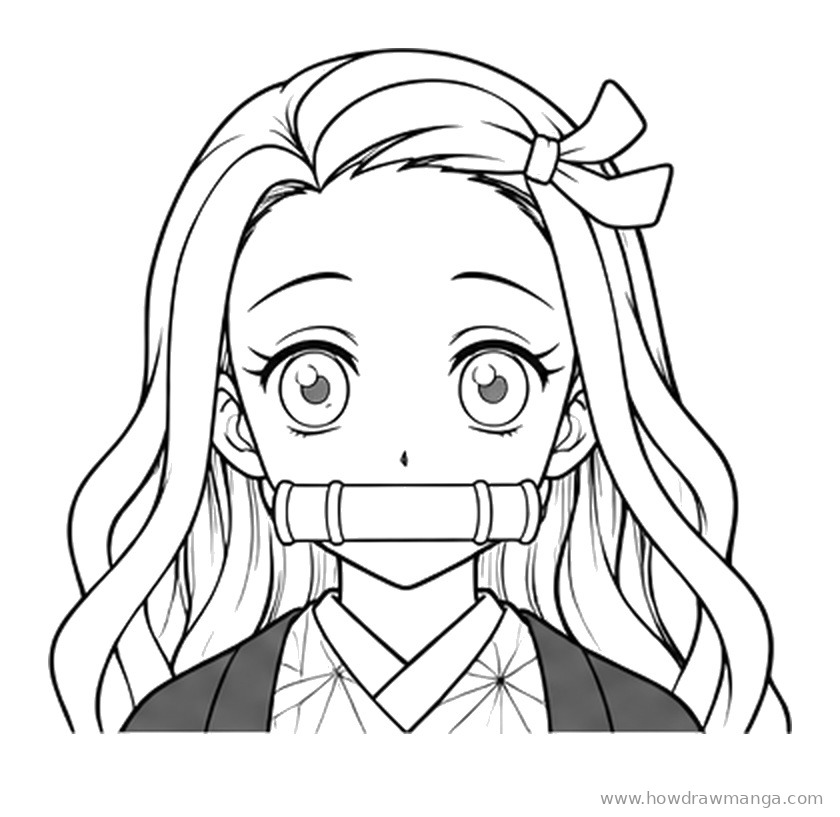
Step 14: Draw the Kimono and Haori, Then Clean Up
Add a short neck and a crossed kimono collar below the muzzle, with a simple hemp-leaf pattern of small star-like lines on the kimono. Draw the darker haori jacket on both sides over the shoulders and shade it in. Ink the lines you want to keep, with thicker lines for the outer hair and face, and erase any leftover guidelines.
Key Pro Tips for Drawing Nezuko’s Face
- Keep the muzzle straight. Draw it as one horizontal tube across the mouth. If it tilts, the whole face looks off balance.
- Draw the face before the hair. Eyes, nose and ears first make it much easier to place the parting and side locks in the right spots.
- Give the hair rhythm. Alternate wide and narrow waves, and do not make every lock end at the same height.
- Colour tip. Her hair is black and turns flame-orange toward the ends, her eyes are pink, her ribbon is light pink, and her kimono is light pink under a dark-brown haori.
FAQ
Why does Nezuko wear a bamboo muzzle?
After she becomes a demon, she wears a bamboo muzzle that Giyu Tomioka gives her, and it is part of her standard look for most of the story.
Which side does her ribbon go on?
Her hair is side-swept to her left and held back with a light pink ribbon. In this drawing the ribbon sits on the right side of the page, which is her left.
Character details checked against Wikipedia and the Kimetsu no Yaiba Wiki.