
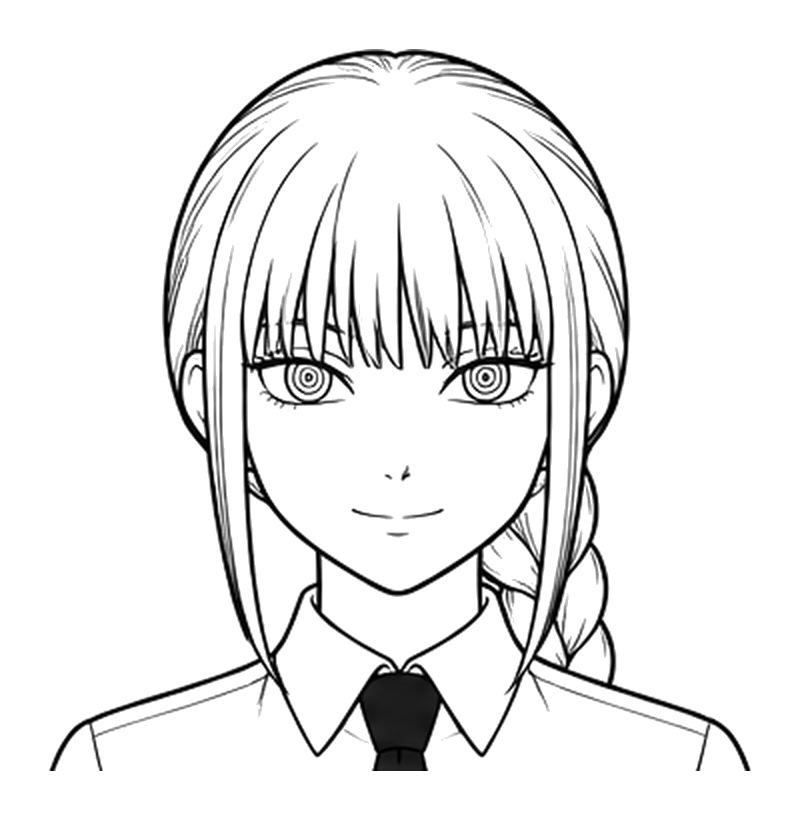
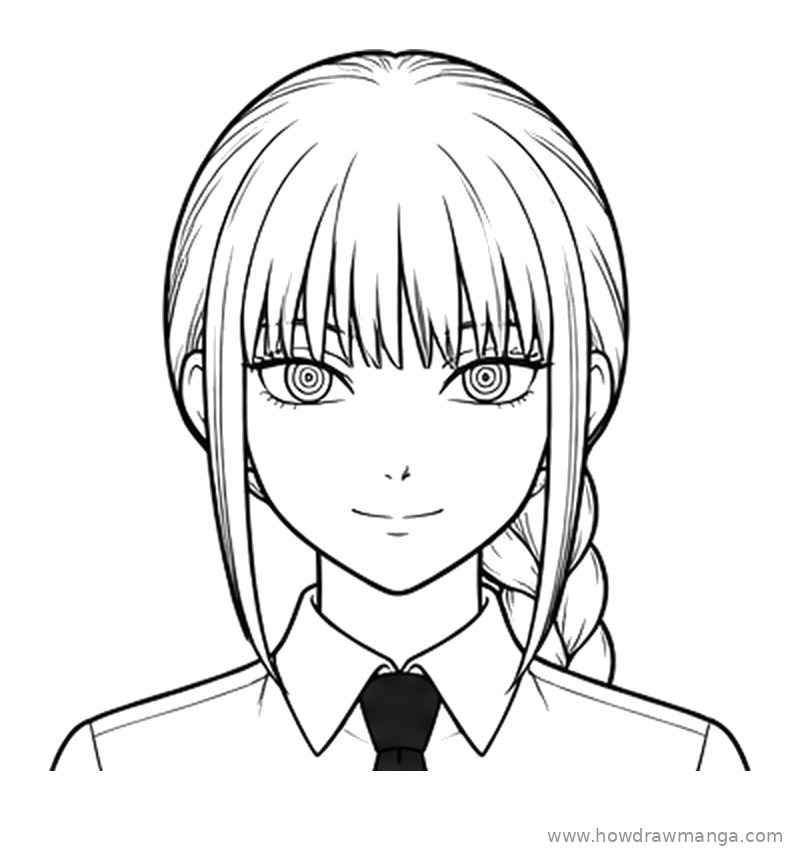
Makima is the calm, quietly unsettling Public Safety devil hunter from Chainsaw Man. In this guide you will learn how to draw Makima face in 12 steps, from a plain head circle to her straight bangs, ringed eyes, braid, white shirt collar and black tie.
Her look is simple on purpose. Most of the drawing is clean, straight lines, and the eyes do the heavy lifting. If the rings in her irises are neat and the smile stays soft, she will read as Makima even before you add the braid. Work lightly at first and press harder only in the last step.
Materials Needed
- Paper or a drawing tablet
- A light pencil (HB or 2H) for the circle and guidelines
- A darker pencil (2B) or a fine liner for the final lines
- An eraser
- Optional: a circle template or compass for the ringed eyes
Step-by-Step Makima Face Drawing Guide
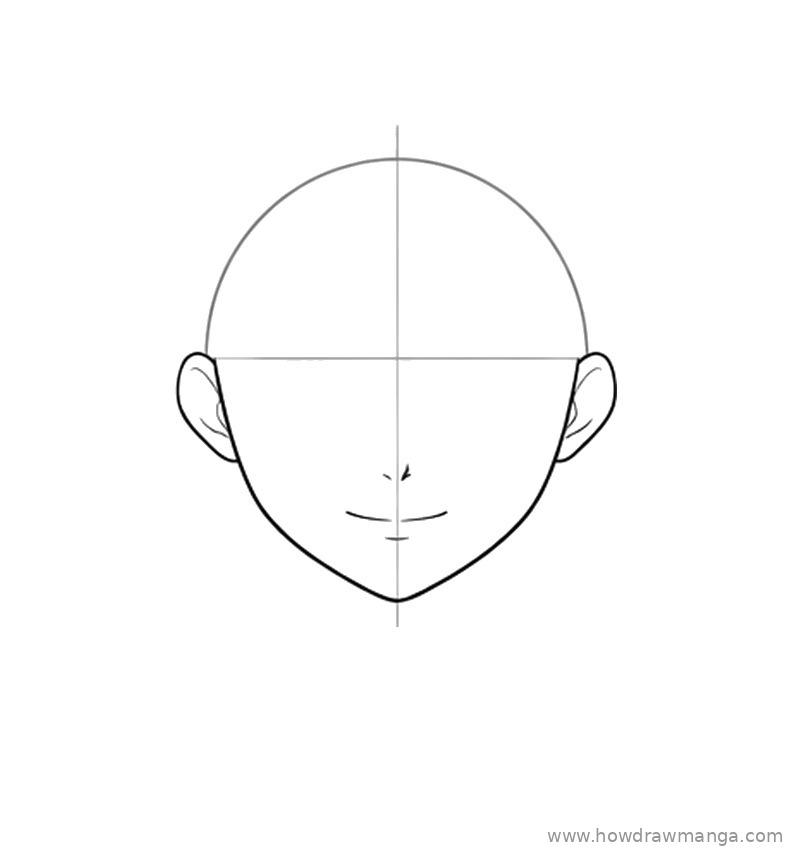
Step 1: Sketch the Head Circle and Guidelines
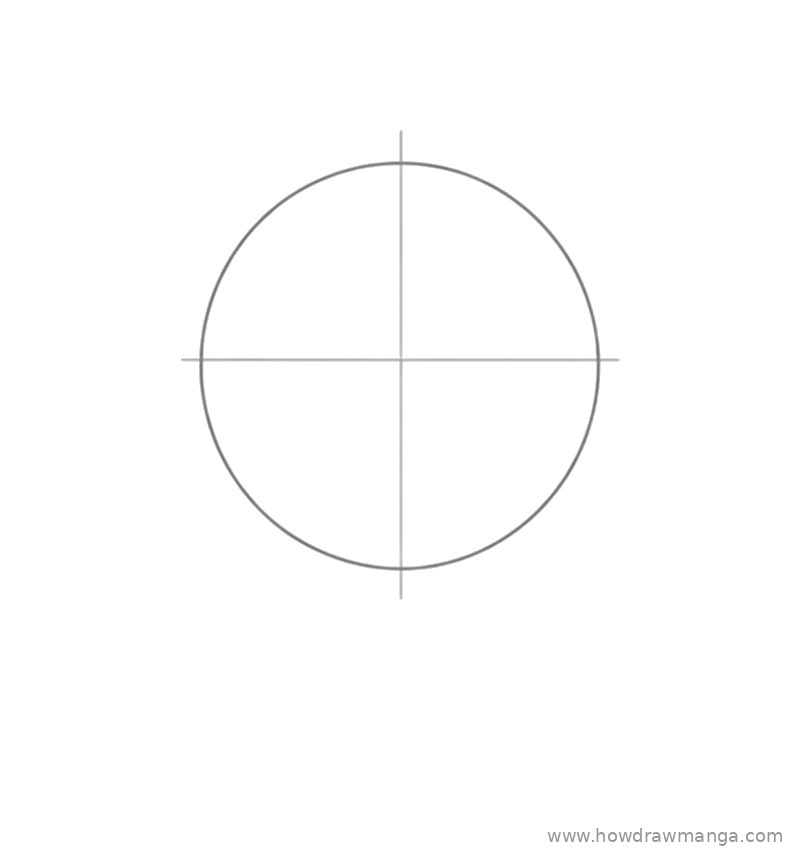
Draw a large circle in the middle of your page. Cross it with a vertical centre line that pokes out a little above and below, and a horizontal eye line just below the middle. Keep both guidelines very light, because they will be erased before the end.
Step 2: Shape the Lower Face and Chin
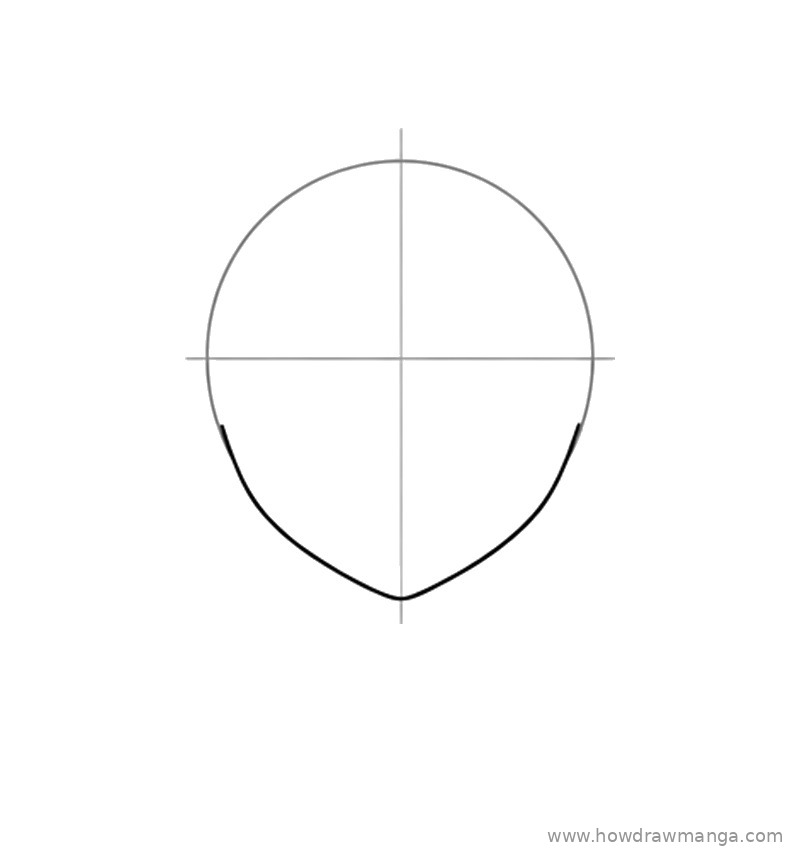
From each side of the circle, a little below the eye line, curve the cheeks down and inward. Join them in a soft point on the centre line, about one-fifth of the circle’s height below the circle. Keep the jaw slim and smooth so the face looks calm and adult rather than round and childish.
Step 3: Add the Ears
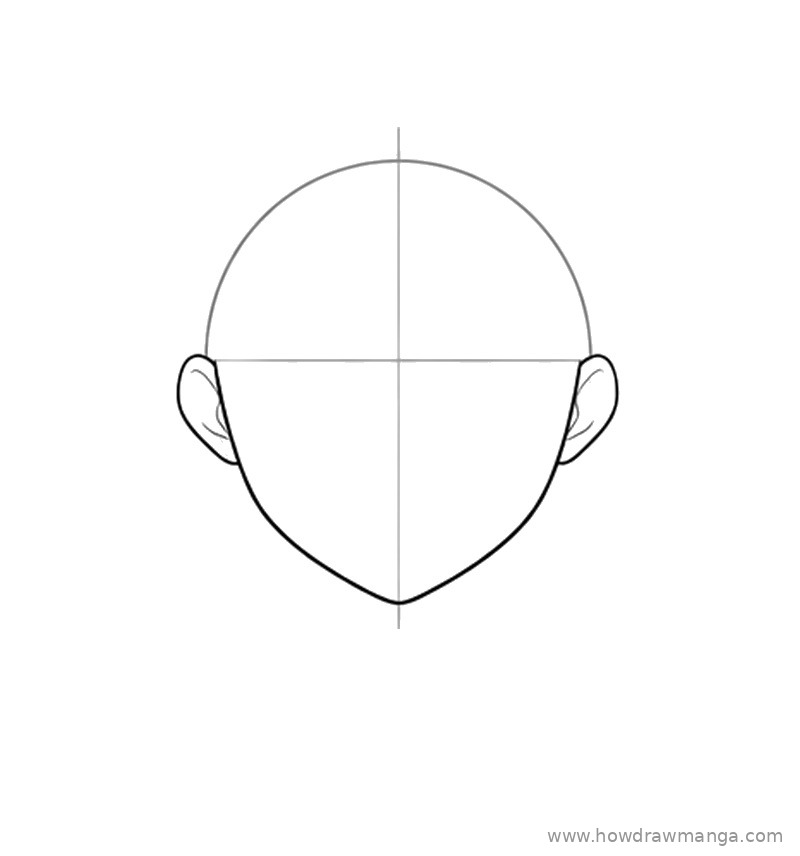
Draw a C-shaped ear on each side of the head. The top of each ear sits on the eye line and the bottom lands about halfway down the cheek. Add one small inner curve in each ear. Both ears should be the same size and height.
Step 4: Mark the Nose and Smile
Place a tiny angled nose stroke on the centre line, roughly halfway between the eye line and the chin. Below it, draw a long, shallow smile line about as wide as the gap between the eyes, with a short dash under it for the lower lip. A closed, gentle smile suits Makima, who is usually shown with a calm expression.
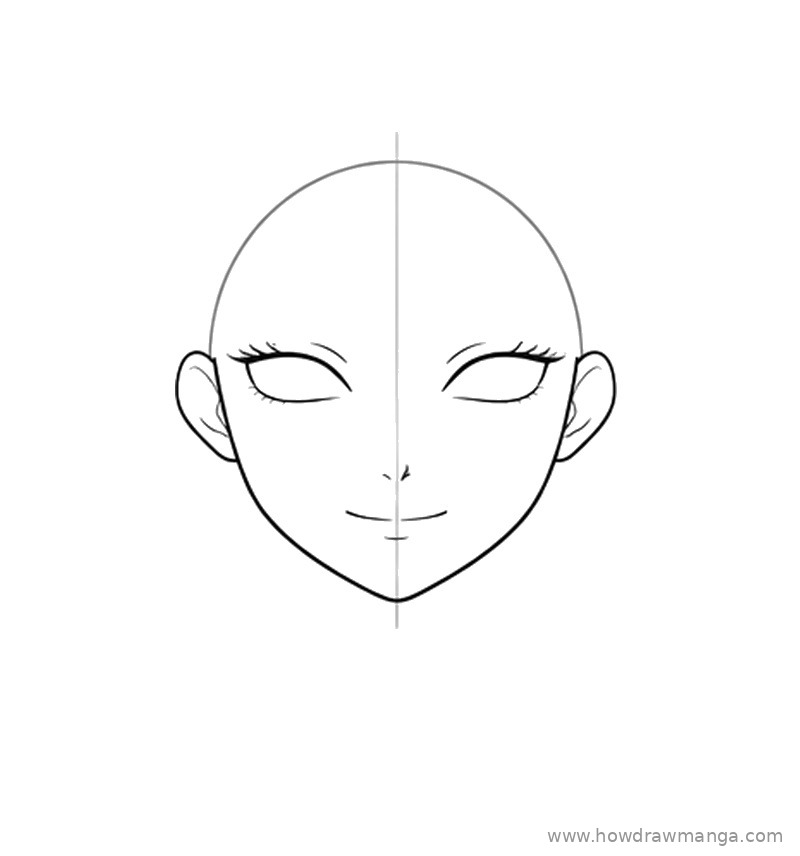
Step 5: Draw the Eye Outlines
Sit two narrow almond shapes on the eye line, leaving about one eye-width between them. Make the upper lid a thick, slightly curved line with short lashes at the outer corner. Use thinner, broken strokes for the lower lid, and add a thin crease line above each eye. Leave the eyes empty for now.
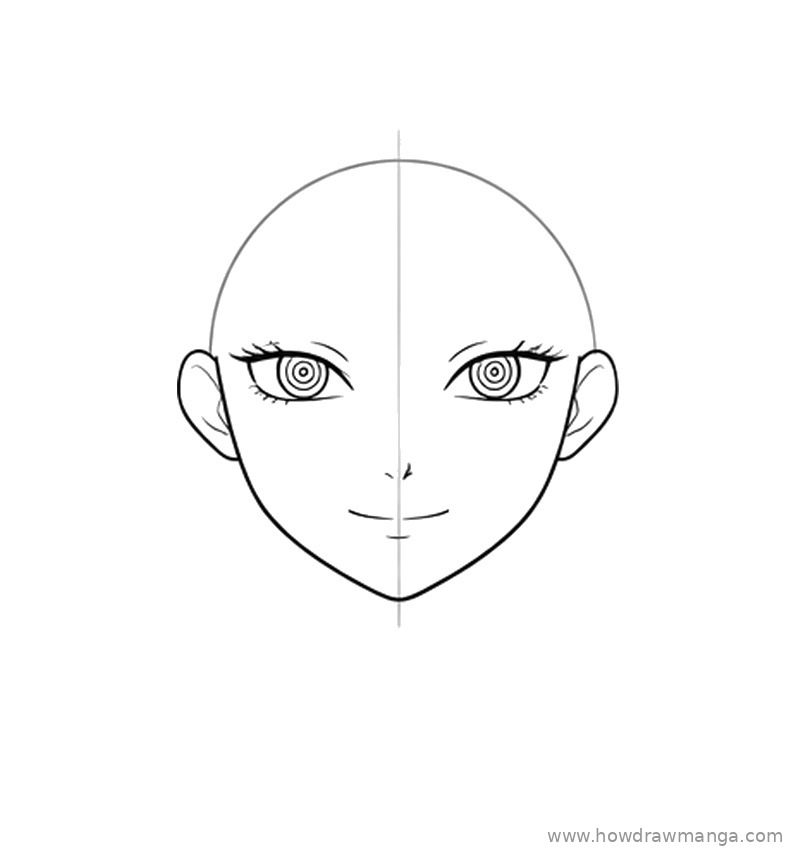
Step 6: Add the Ringed Irises
Inside each eye, draw a round iris that touches the upper lid. Fill it with three or four concentric circles around a small centre dot, like rings on a target. These rings are Makima’s signature: her eyes are yellow with red rings, so take your time and keep the circles evenly spaced.
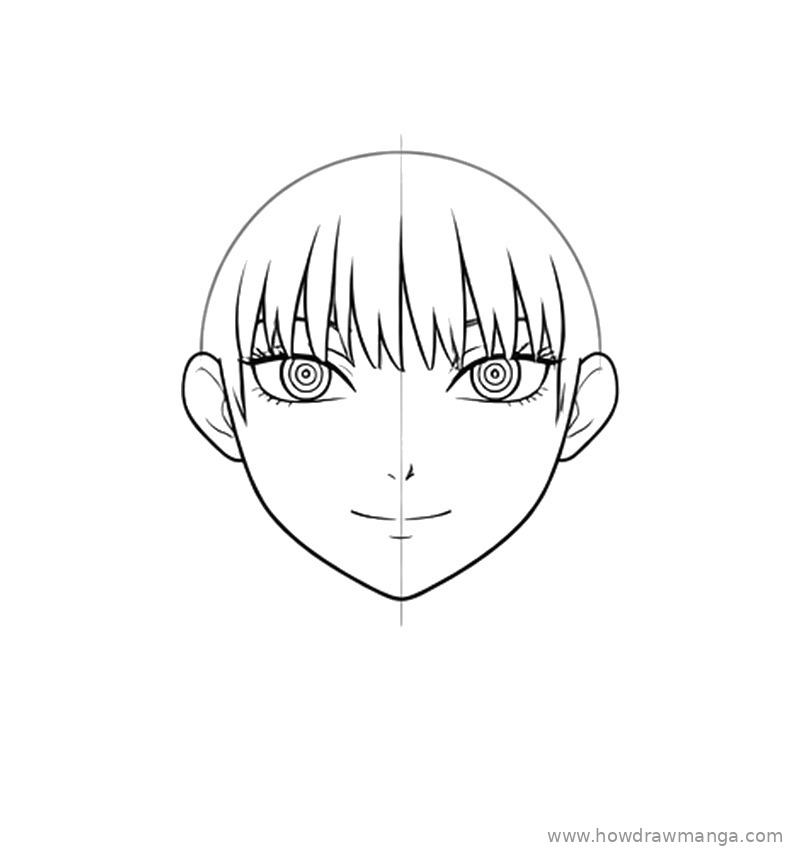
Step 7: Draw the Straight Bangs
Draw a curved hairline across the upper part of the circle. From it, drop long, pointed bangs that stop just past the eyes, with uneven tips so they look like hair rather than a fringe cut with a ruler. Let a few strands overlap the eyelids. Leave a small gap near the centre so the face stays readable.
Step 8: Add the Long Side Bangs
Draw one long lock on each side of the face, starting near the temples. Run each lock down in front of the ear and past the jaw, ending in a thin point a little below the chin. Add a short line behind each lock where the back of the hair begins.
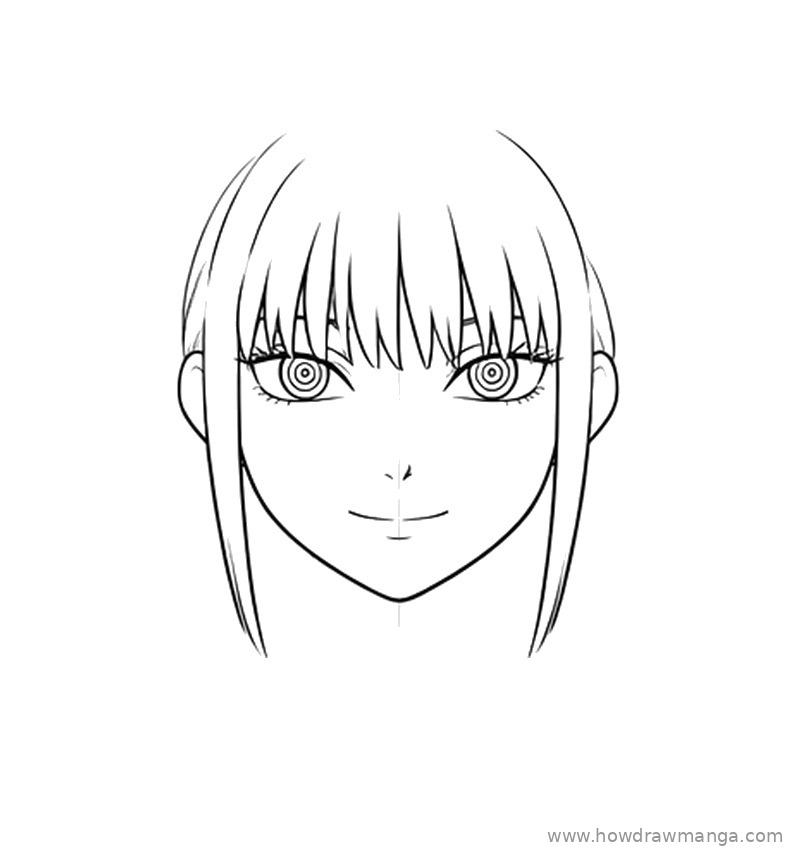
Step 9: Draw the Hair Outline and Neck
Lift a smooth, rounded hair outline slightly above the head circle, with a small parting at the top centre. Bring it down on both sides behind the ears and the side bangs. Then drop two neck lines from under the jaw, about half the face width apart, and erase the centre line where it crosses the face.
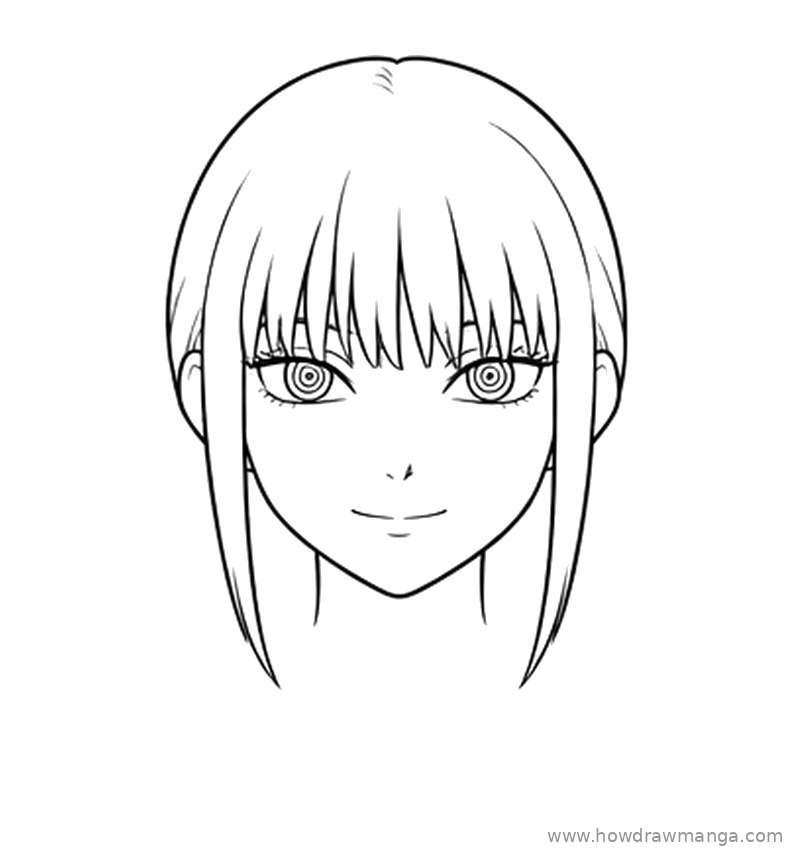
Step 10: Start the Braid
On the right side of the drawing, below the jaw, draw a braid that hangs over the shoulder. Build it from small, overlapping teardrop sections that get slightly narrower as they go down. Makima usually keeps her long hair in a single loose braid, so one braid is all you need.
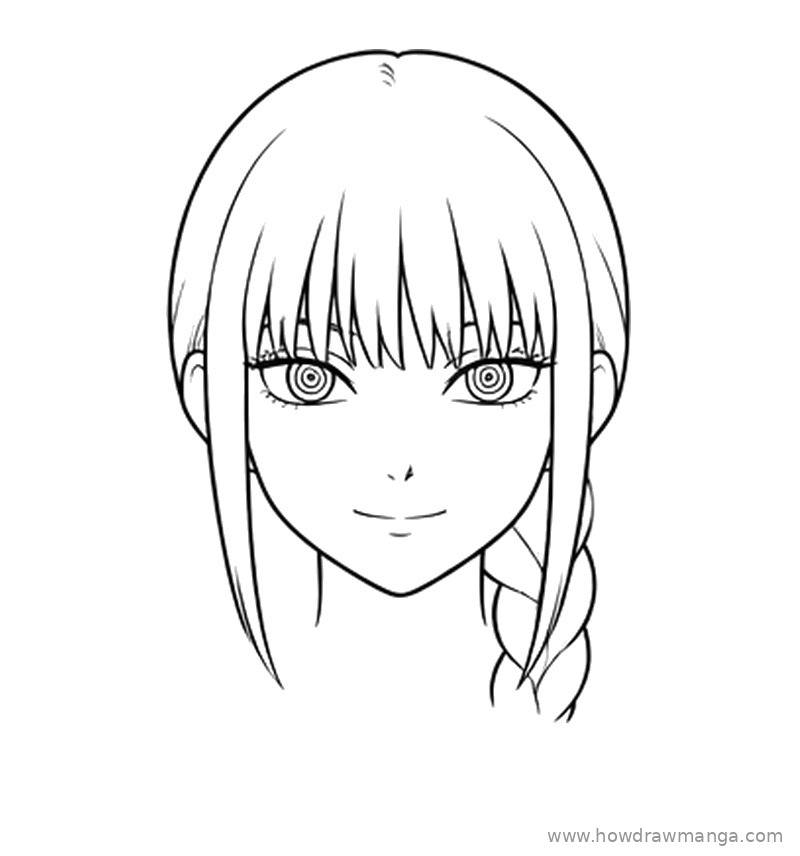
Step 11: Add Hair Strands and Braid Detail
Draw thin strand lines over the top of the head that follow the curve from the parting down to the sides. Add a few more inside the bangs and side locks. Split each braid section with one or two curved lines so the woven pattern reads clearly. This step is a small refinement, so keep these lines thinner than the outline.
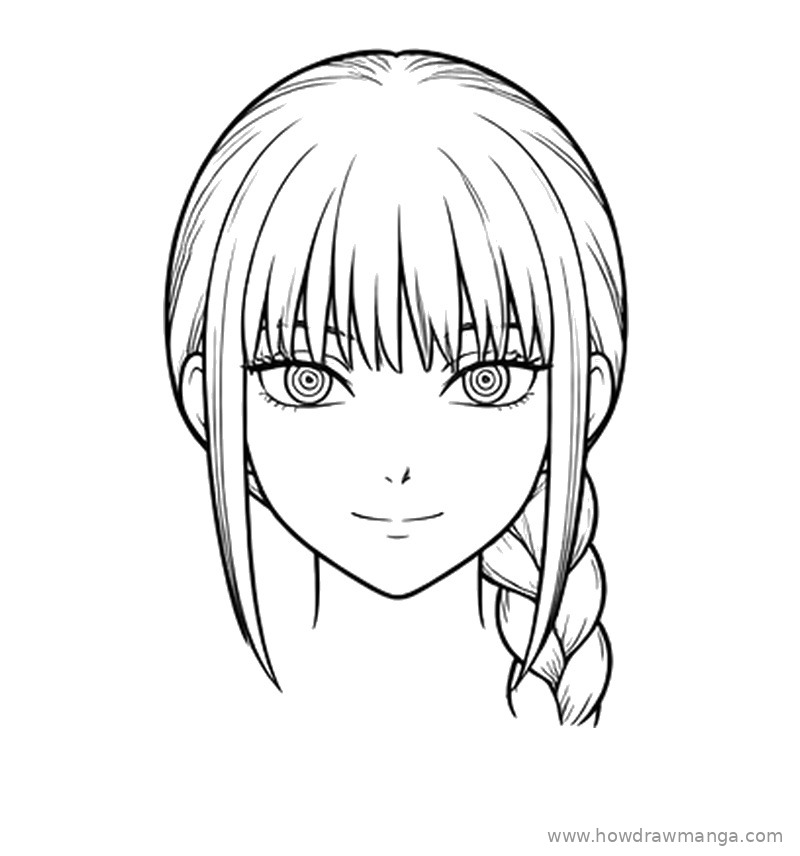
Step 12: Draw the Shirt Collar and Tie, Then Clean Up
Slope the shoulders out from the neck to the edges of the page. Add a pointed shirt collar on each side of the neck and a black tie with a small knot between them, matching her white shirt and black tie uniform. Ink the lines you want to keep, using bolder lines for the outer hair and face and thinner ones for strands and lashes. Erase any guideline that is still visible.
Key Pro Tips for Drawing Makima’s Face
- Get the eyes right first. The concentric rings are the most recognisable part of her design. Draw the outer iris circle, then work inward, and keep every ring centred on the same point.
- Keep the expression soft. A shallow smile and relaxed lids give her that composed look. A wide grin or raised brows will make her look like a different character.
- Let the bangs stop near the eyes. Her bangs reach just past the eyebrows. Bangs that are too short expose the forehead and change the whole face.
- Draw one braid, not two. Her long hair is gathered in a single braid behind her. Two pigtail braids are a common mistake.
- Colour tip. If you colour her, use a light red or pale auburn for the hair and yellow irises with red rings.
FAQ
What colour are Makima’s eyes?
They are yellow with red concentric rings inside, which is why this tutorial spends a full step on the irises.
What is Makima wearing in this drawing?
The collar and black tie follow her Public Safety uniform, which is a white long-sleeved shirt with a black tie. The exact angle of the collar and the braid position follow our reference drawing.
Character details checked against Wikipedia and the Chainsaw Man Wiki.