
Monkey D. Luffy, the rubber-bodied captain of the Straw Hat Pirates in One Piece, is easy to spot in any crowd: a battered straw hat, a mop of spiky black hair and a grin that seems to take up half his face. In this guide you will learn how to draw Monkey D. Luffy face with straw hat in 8 clear steps, starting from a plain head oval and ending with clean line art of his face, hat and open vest collar.
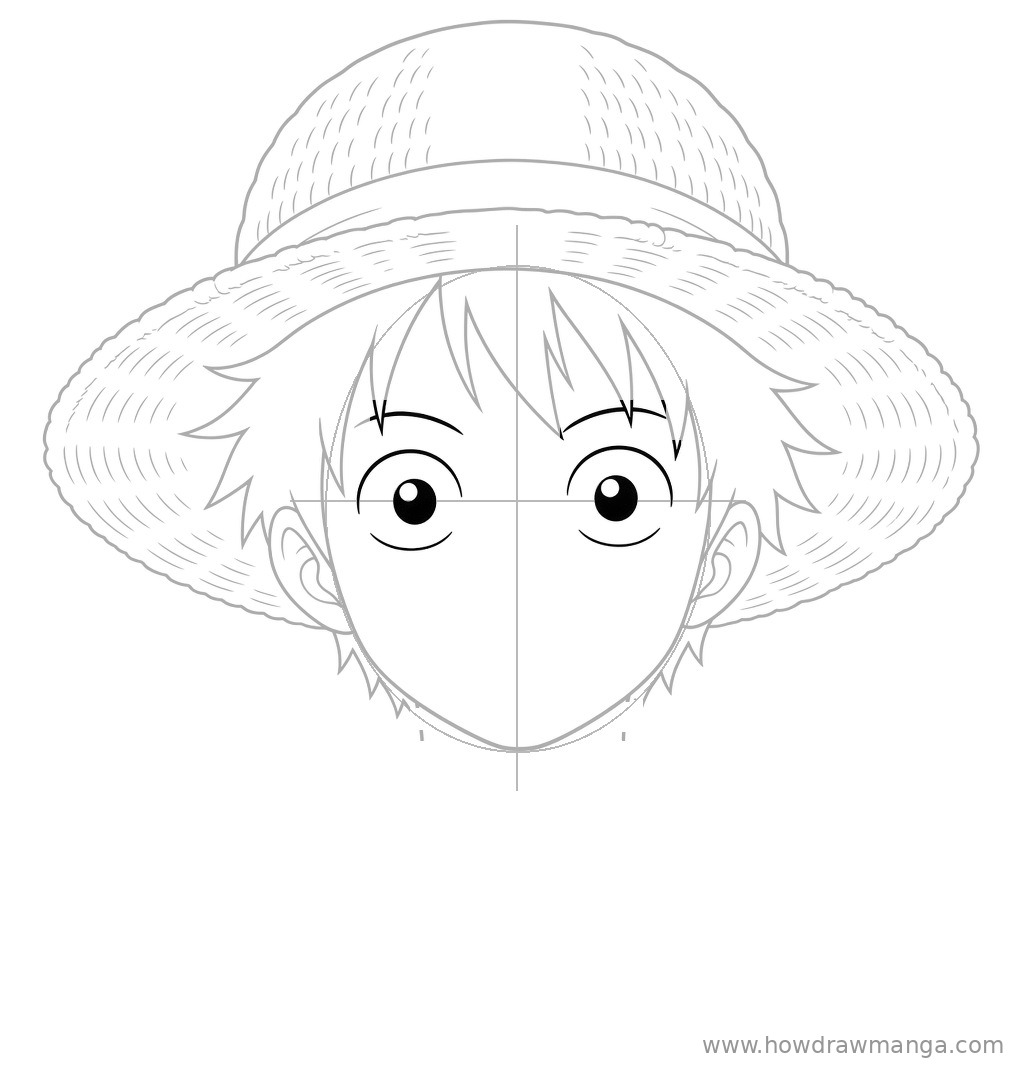
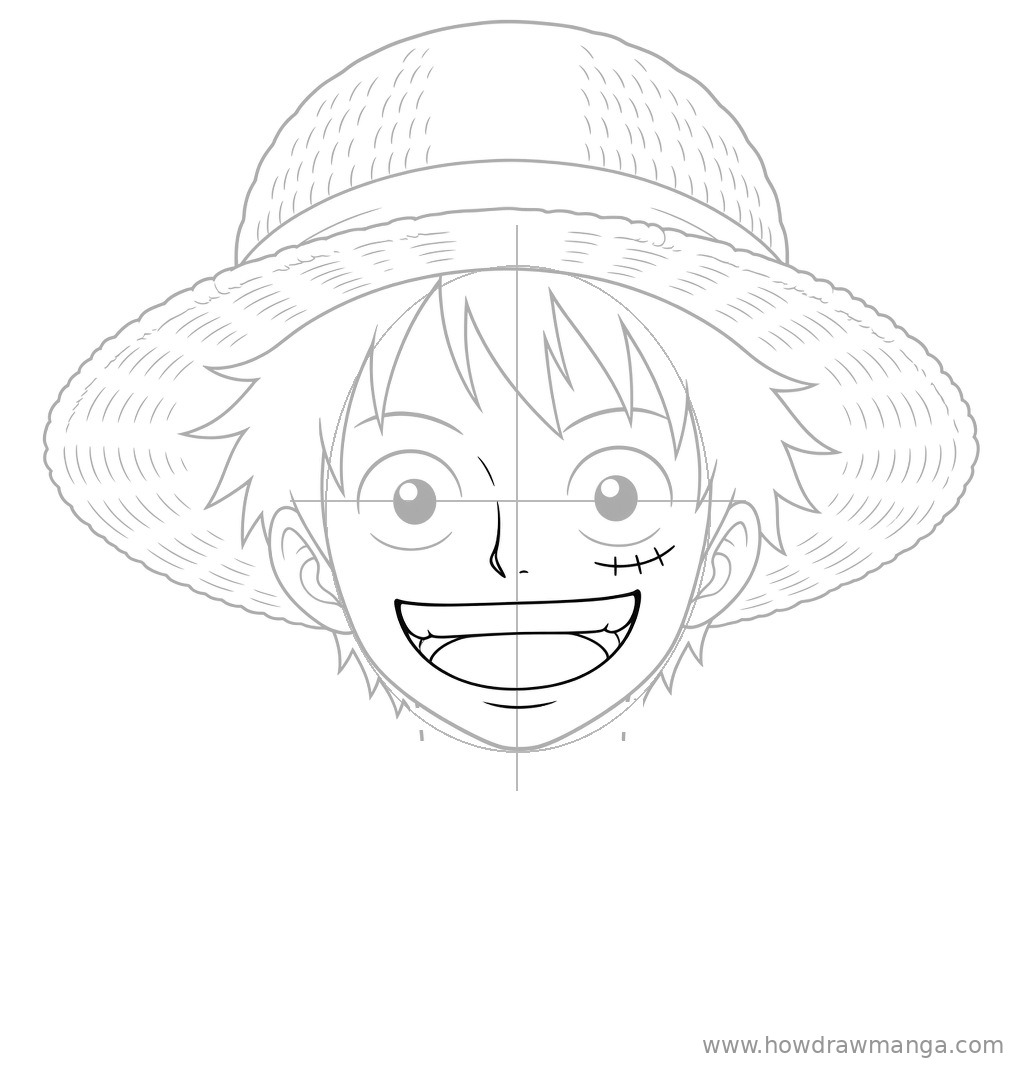
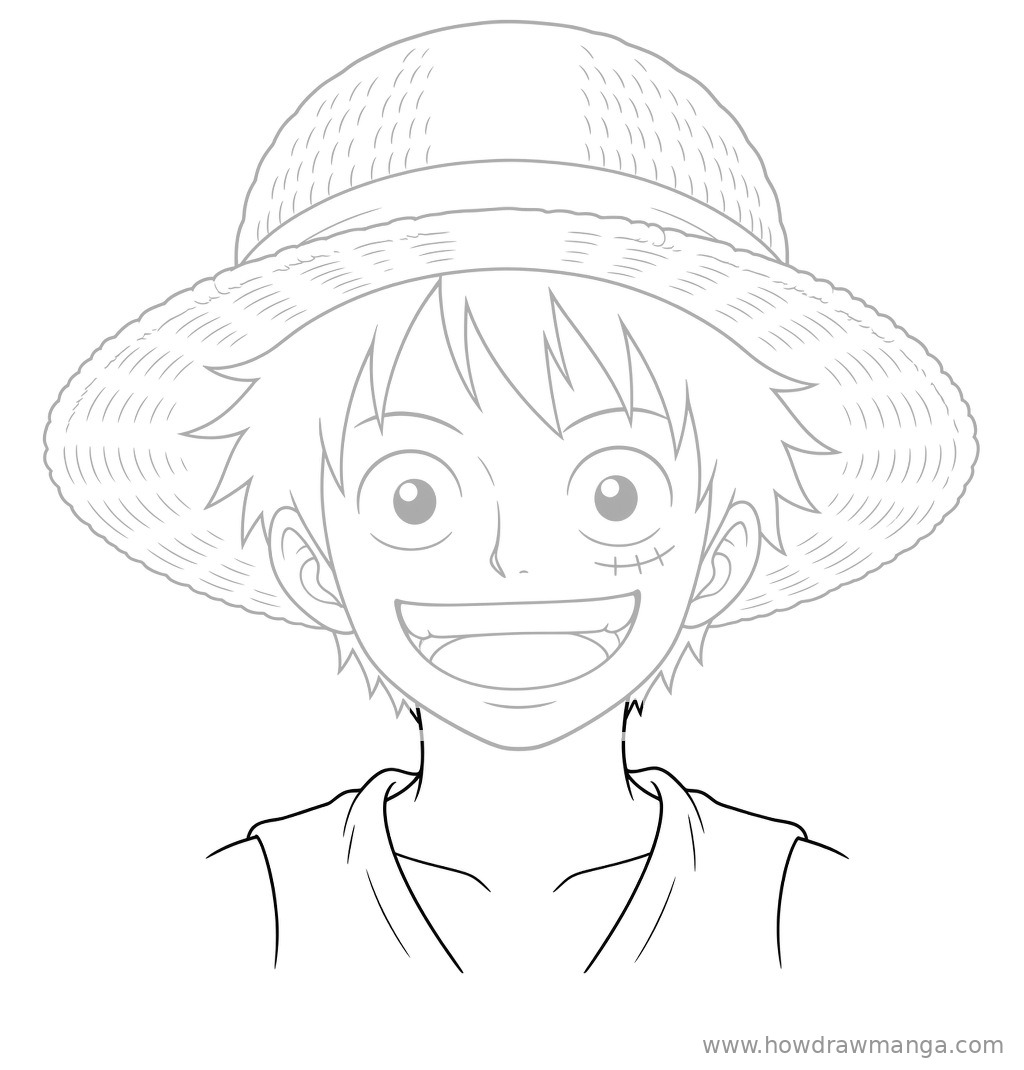
The hat is the heart of this drawing. Luffy received it from the pirate Shanks as a boy, and it has become his trademark, so we draw it early and build the hair and face underneath it. In every picture the new lines are black and the earlier lines are grey, so you can see exactly what changes from one step to the next.
Materials Needed
- Paper or a drawing tablet
- A light pencil (HB or 2H) for the guidelines
- A darker pencil (2B) or a fine liner pen for the final lines
- An eraser
- Optional: colored pencils or markers for a yellow hat, a red hat band, black hair and a red vest
How to Draw Monkey D. Luffy Face with Straw Hat: Step-by-Step Drawing Guide
Step 1: Draw the Head Oval and Guidelines
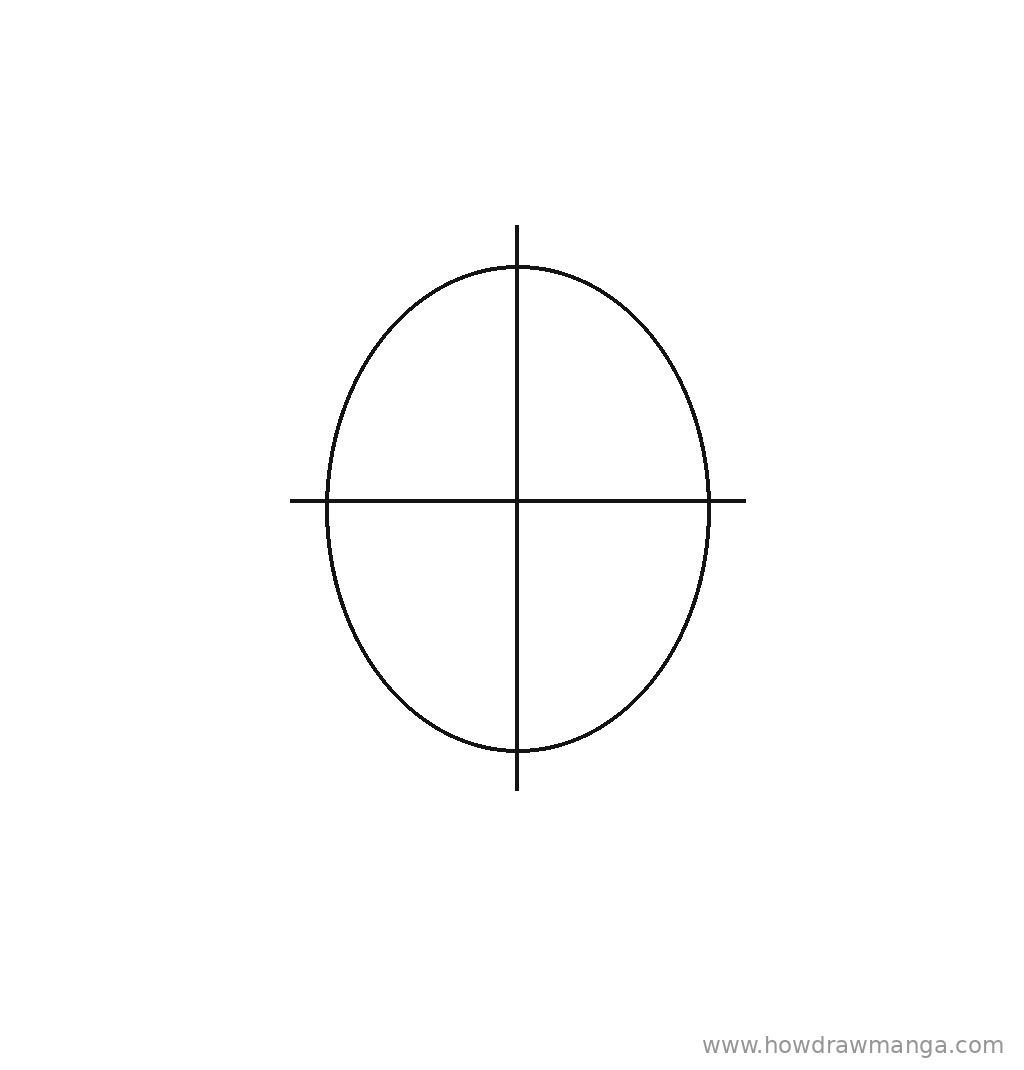
Draw an oval in the middle of the page, a little taller than it is wide, with the narrow end at the bottom. Leave lots of room above and to both sides, because the hat brim will stretch well past the head. Add a vertical center line through the oval and let it run a little below it for the neck. Then draw a horizontal eye line across the oval at about half its height. Keep these lines light so they are easy to erase later.
Step 2: Draw the Straw Hat
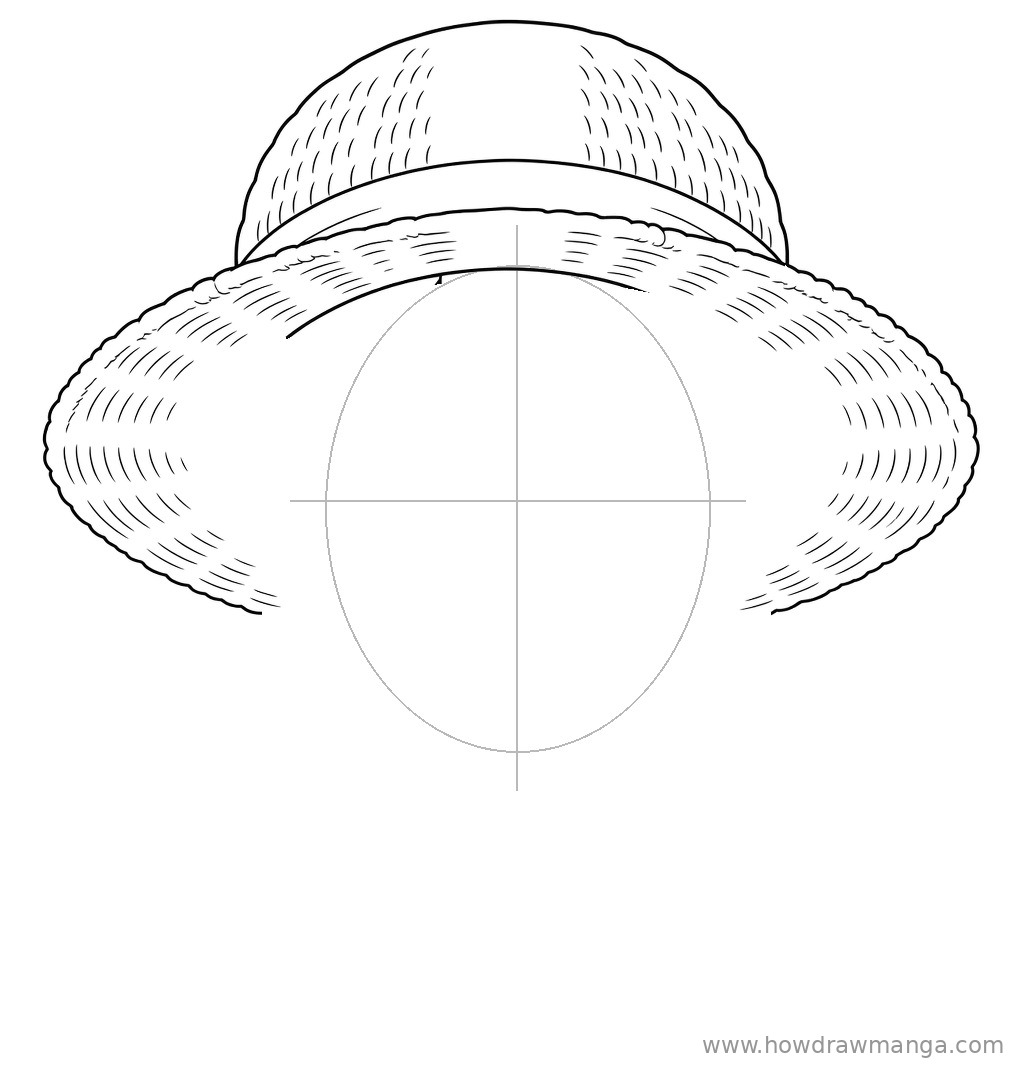
Start with the crown: a rounded dome that sits on the top of the oval and rises above it by about a quarter of the head’s height. Below the dome, draw a thick band that wraps around the head. Its lower edge arches upward in the middle and curves down toward each side, following the round top of the skull. Then add the brim as a wide, flattened oval that reaches far past both sides of the head. Fill the crown and brim with short, slightly curved strokes to suggest the woven straw. Leave the underside of the brim open where it meets the forehead and the sides of the head, because the hair will fill those spaces in the next step.
Step 3: Sketch the Spiky Black Hair
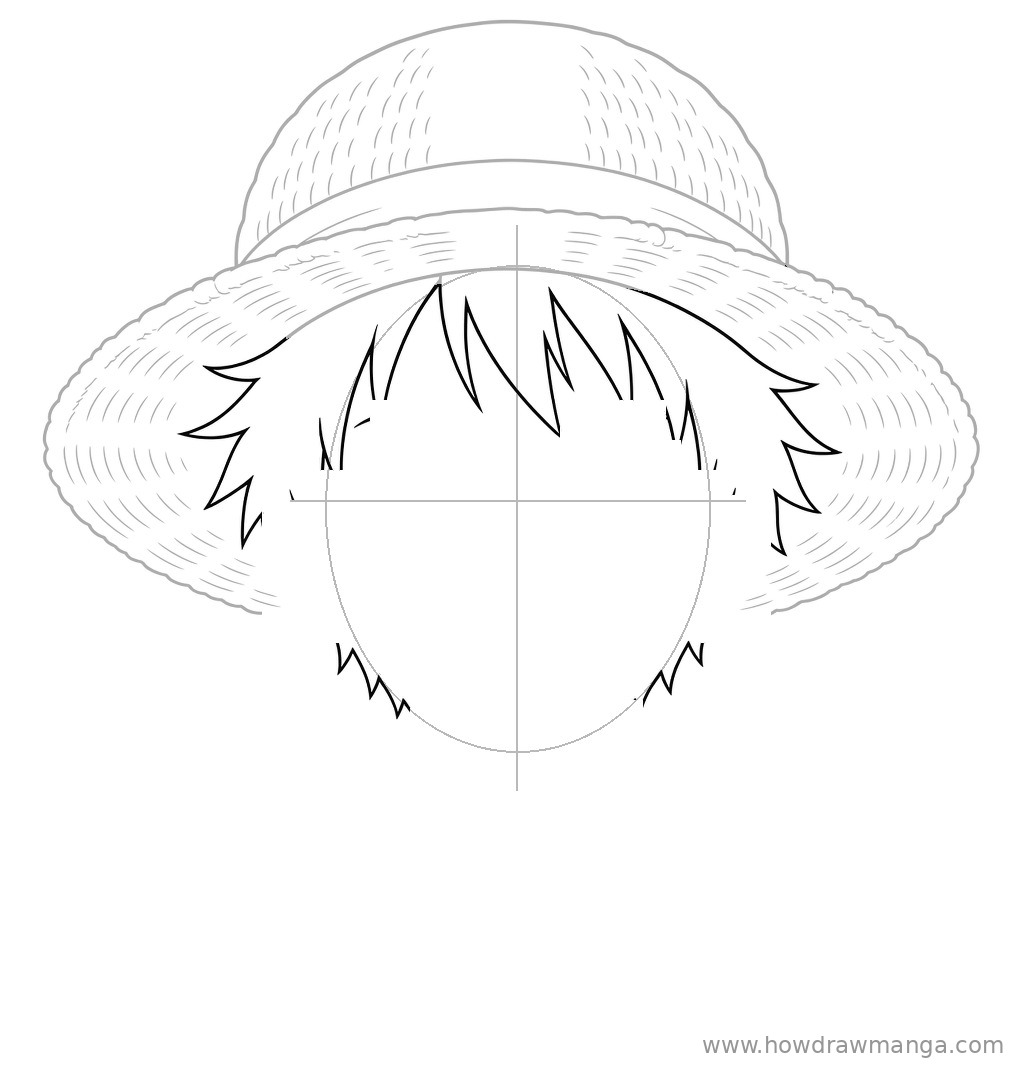
Under the brim, draw short, jagged bangs that hang over the forehead, ending a little above the eye line. Make the spikes uneven in length so the hair looks messy instead of combed. On each side of the head, add a cluster of pointed spikes that poke out from under the brim. Lower down, draw two or three short pointed locks beside each side of the jaw, below where the ears will go.
Step 4: Draw the Face Outline and Ears
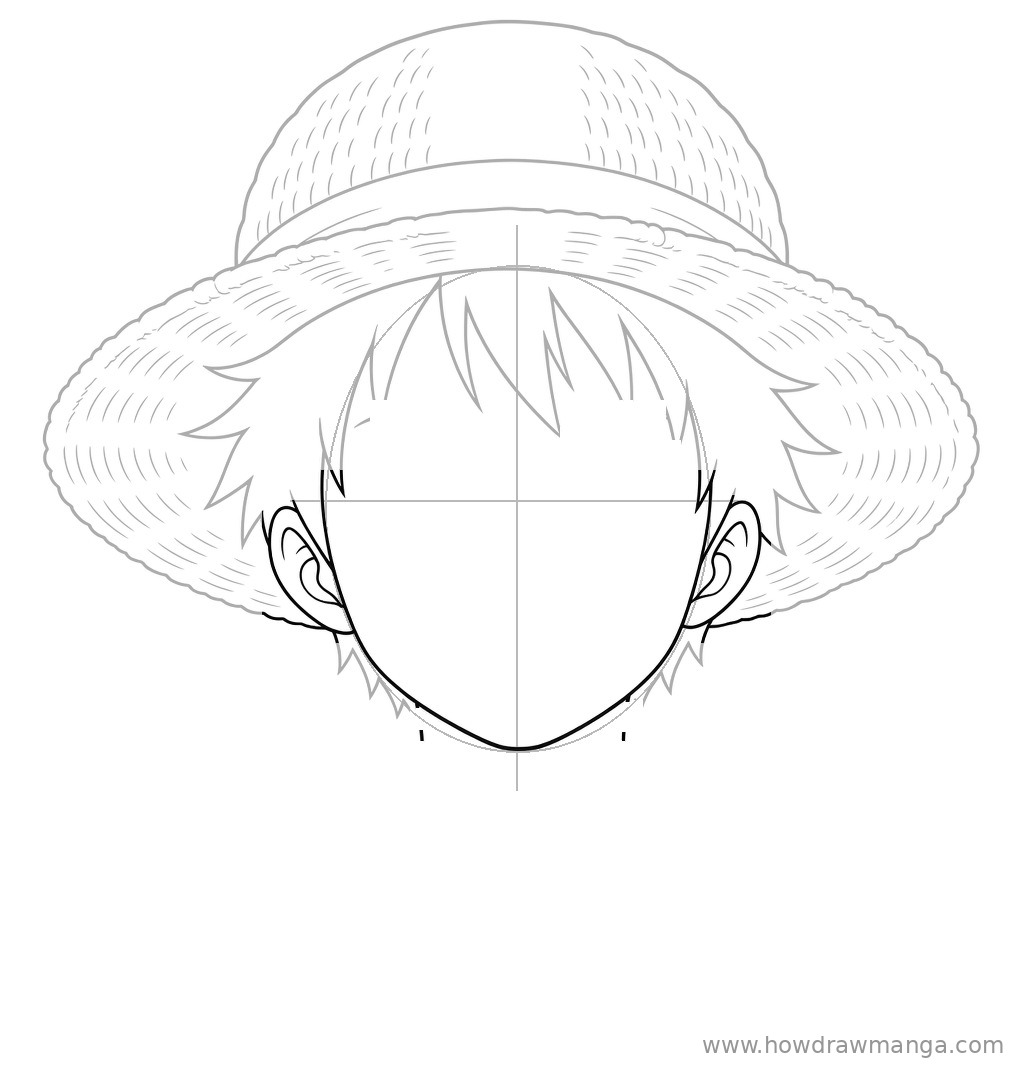
Draw the sides of the face from the hair down to the chin. The cheeks are full and rounded, and the lines curve in to a soft, slightly pointed chin near the bottom of the oval. Then add a C-shaped ear on each side of the head, with its top at the eye line, and draw a short curve inside each one for the inner fold.
Step 5: Draw the Big Round Eyes and Brows
On the eye line, draw two large round eyes, one on each side of the center line, with about one eye-width of space between them. Draw each eye as a round outline, then add a large dark pupil in the middle with a small white highlight left near its top. Just above each eye, draw a thin arched brow line. Big, open eyes give Luffy his cheerful, energetic look.
Step 6: Add the Nose, Grin and Scar
Halfway between the eye line and the chin, draw a short line for the nose. Below it, draw a very wide open mouth shaped like a slice of watermelon, stretching almost from cheek to cheek. Add a row of upper teeth along the top edge and a curved line inside for the tongue. Then, under his left eye (the eye on the right side of the picture when he faces you), draw a short curved scar with two small stitch marks across it.
Step 7: Add the Neck, Vest Collar and Erase the Guides
Below the chin, draw a short neck with two straight lines. From the base of the neck, draw the open collar of his sleeveless vest as two lines that fold out and down in a V shape, then add shoulder lines that slope out toward the edges of the picture. Now erase the head oval, the center line and the eye line.
Step 8: Ink the Final Line Art
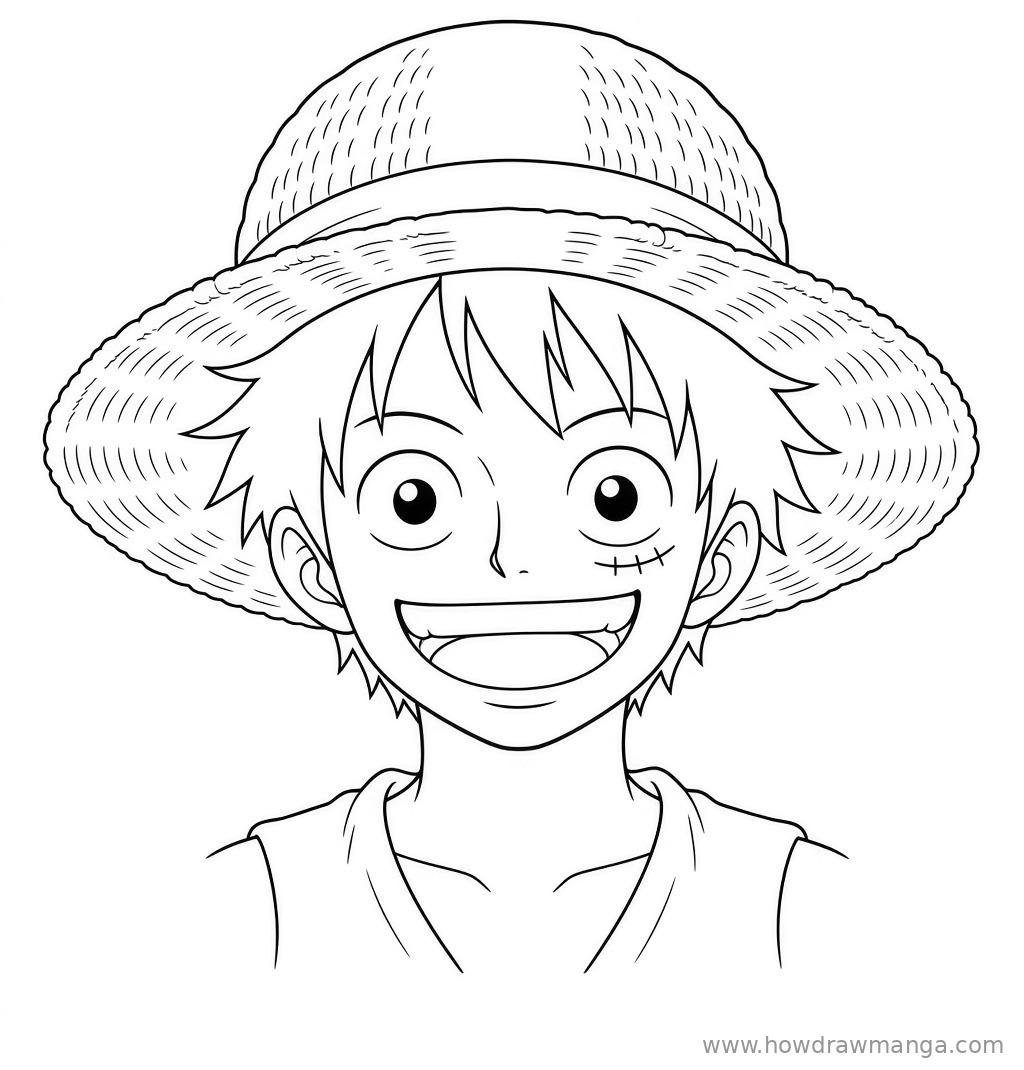
Trace over your best lines with a darker pencil or pen. Make the hat outline, the hair outline, the face outline and the collar the boldest lines, and keep the straw weave, the teeth, the scar stitches and the eye highlights thin. This step only cleans up what you already drew, so no new shapes are added. Once the ink is dry, erase any pencil marks that are left and your Luffy face is finished.
Key Pro Tips for Drawing Luffy
- Make the brim wider than you think. A small brim turns the straw hat into a cap. The brim should reach well past the head on both sides.
- Curve the band with the head. The band and brim follow the round shape of the skull, so they arch over the head when you look at him from the front. A flat, straight band makes the hat look pasted on.
- Push the grin. Luffy’s smile is much wider than a normal mouth. If it looks too big, it is probably right.
- Put the scar on the correct side. The scar sits under his left eye, which is on the right side of the picture when he faces you.
- Coloring tip: use a warm straw yellow for the hat with a red band, solid black for the hair, a medium brown or black for the eyes and red for his classic vest.
FAQ
Where did Luffy’s straw hat come from?
It belonged to the pirate Shanks, who left it with Luffy as a child and asked him to return it one day as a great pirate. That promise is why the hat matters so much to him.
How do I draw Luffy without the hat?
Skip step 2 and finish the top of the head with more short spikes so the hair forms a full, shaggy shape over the oval. Keep the bangs at the same length so his face still reads the same.