
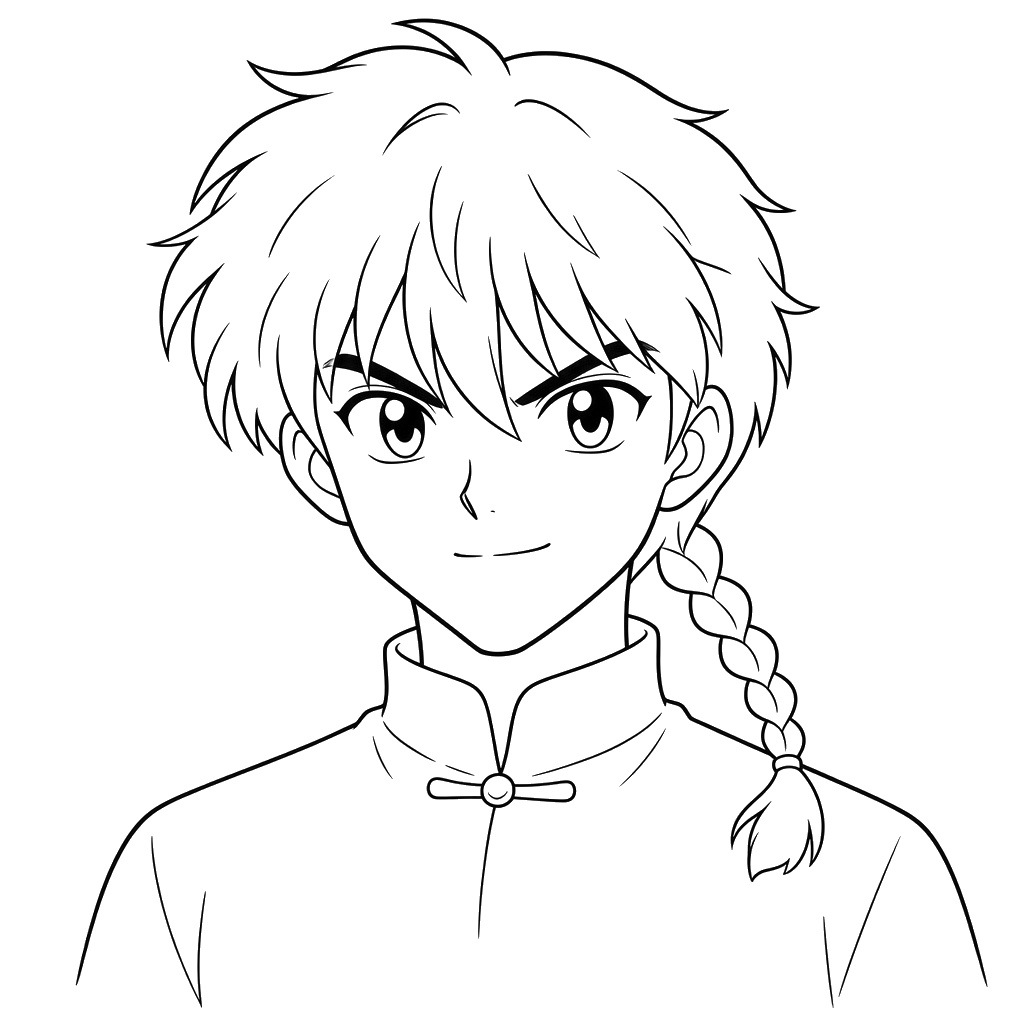
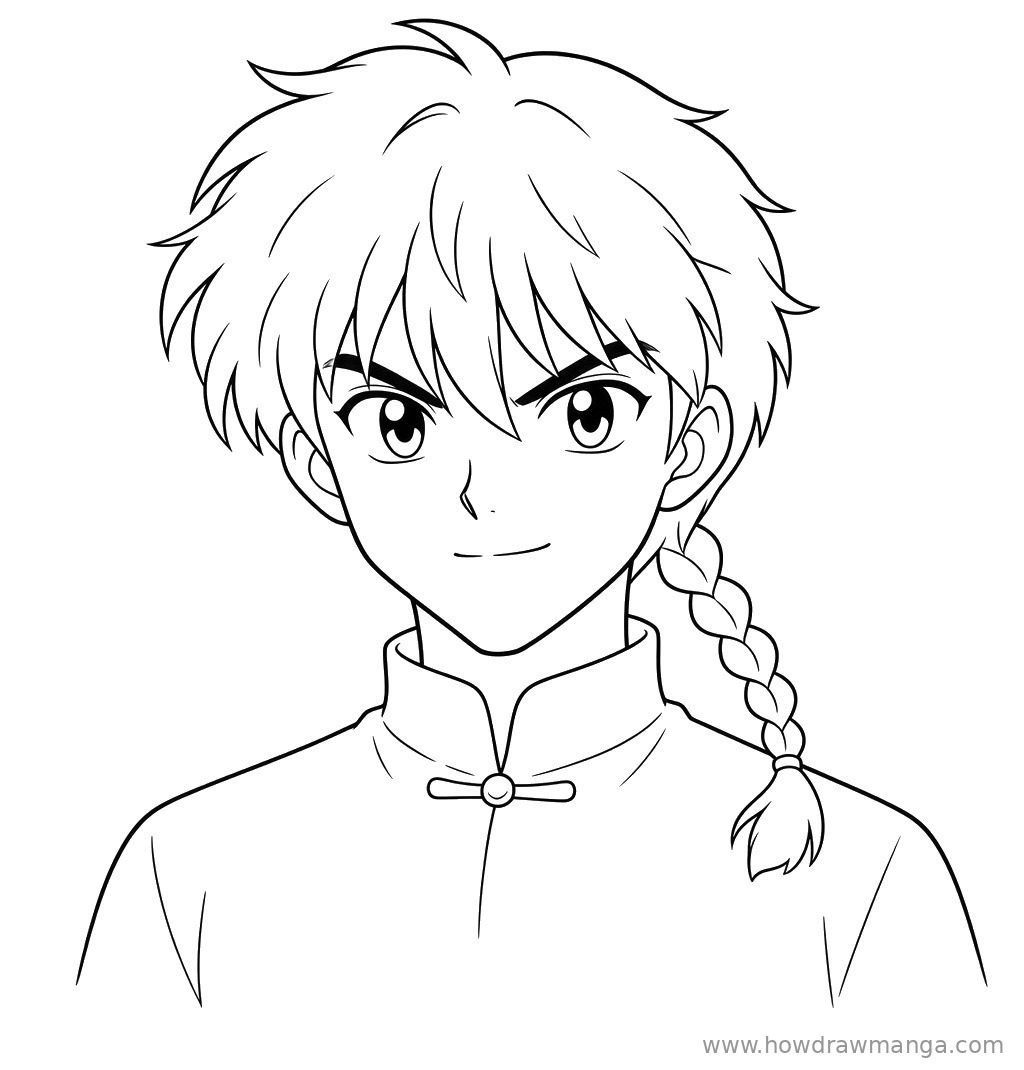
Ranma Saotome, the martial artist at the centre of Ranma 1/2, is instantly recognisable thanks to his braided pigtail and Chinese-style shirt. In this guide you will learn how to draw ranma saotome face in 8 steps, using his male form: messy black hair, a determined expression and the pigtail falling over his shoulder.
The design was built to be easy to identify in both of Ranma’s forms, which makes it a great practice subject. In each picture, the lines you add in that step are black and the earlier lines are grey, so you always know what comes next.
Materials Needed
- Paper or a drawing tablet
- A light pencil (HB or 2H) for the guidelines
- A darker pencil (2B) or a fine liner for the final lines
- An eraser
- Optional: black, red and grey-blue markers or coloured pencils
Step-by-Step Ranma Saotome Face Drawing Guide
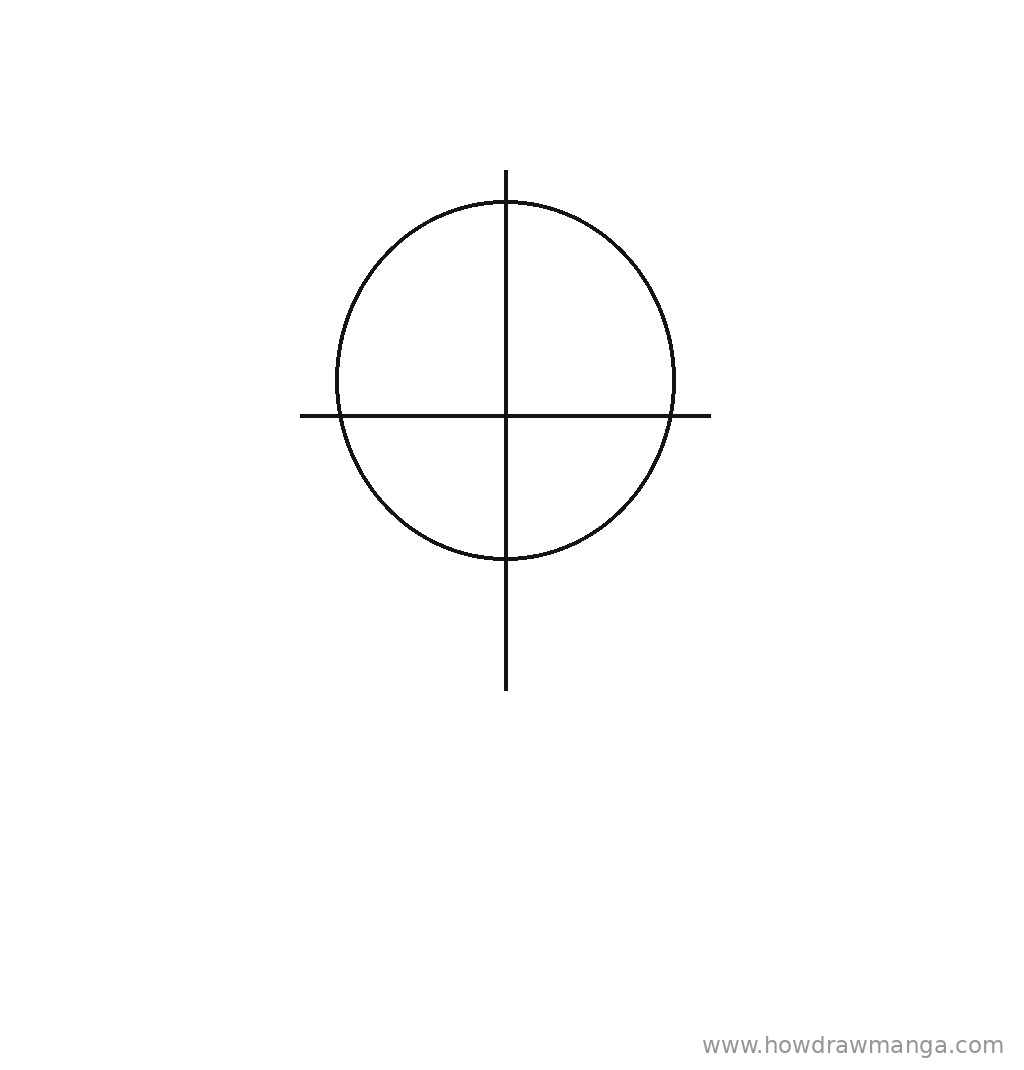
Step 1: Sketch the Head Circle and Guidelines
Draw a circle a little above the middle of the page, about one-third of the page wide. Add a vertical centre line through it and extend it below the circle by roughly a third of its height to mark the chin. Cross it with a horizontal eye line just above the middle of the circle, a bit wider than the circle on both sides. Keep these lines light so they are easy to erase later.
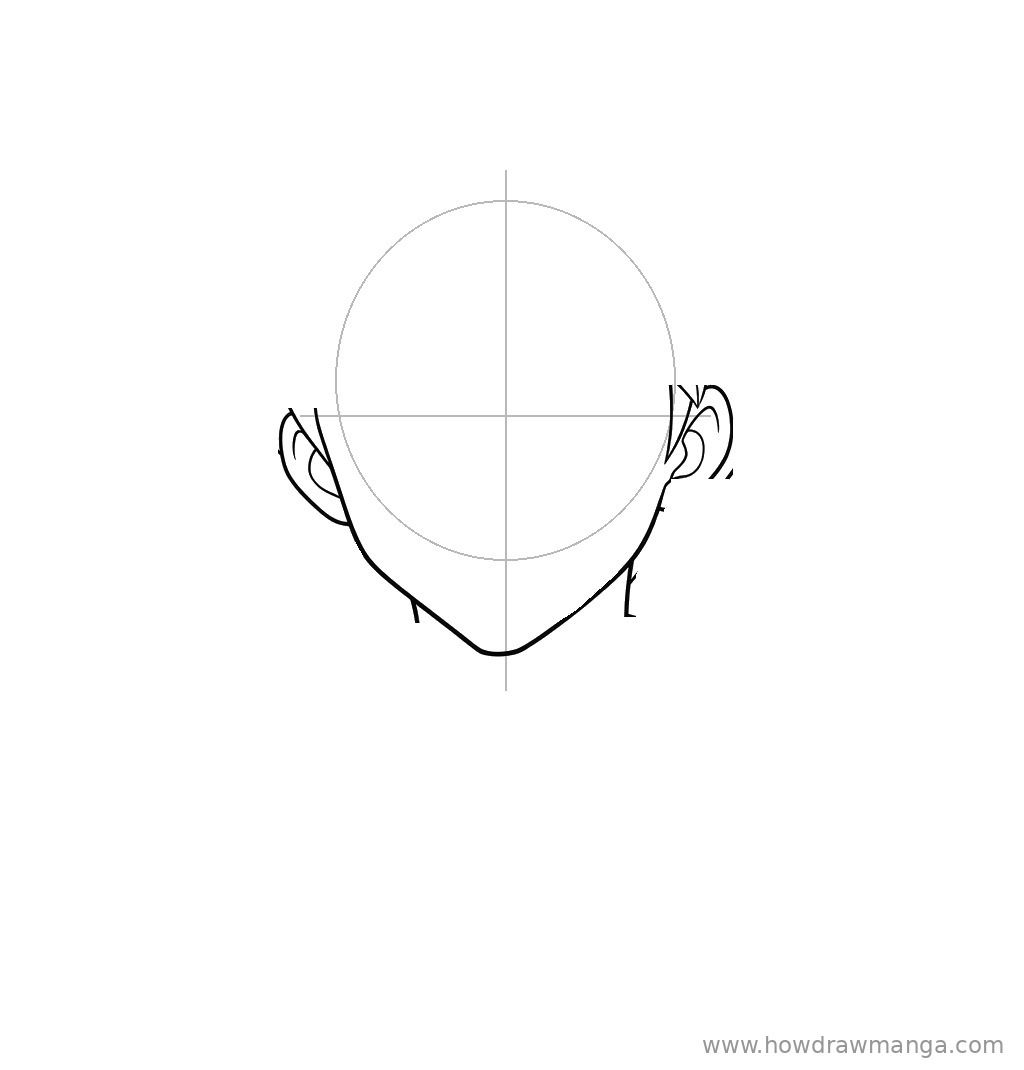
Step 2: Draw the Face Outline, Ears and Neck
Start the cheeks on the eye line at the edge of the circle and bring them down in a soft curve. Below the circle, angle both sides in toward the centre line and join them with a short, flat chin, so the face looks a little broader than a pointed anime chin. Place a C-shaped ear on each side, beginning at the eye line and ending about halfway down the cheek, with a small curve inside each one. Finish with two short, straight neck lines under the jaw.
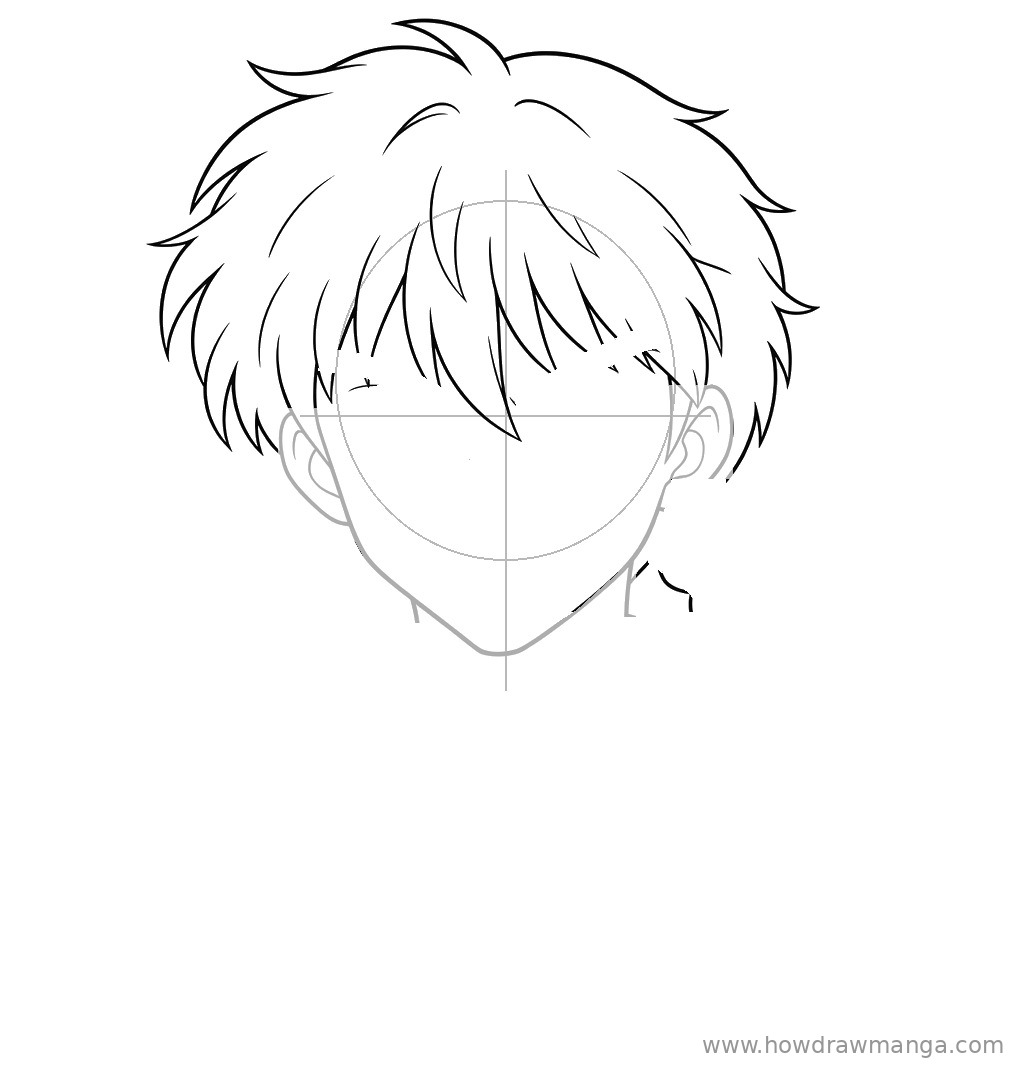
Step 3: Draw the Messy Hair and Pointed Bangs
Draw a big, rounded hair shape that rises well above the circle and spreads past it on both sides, with short tufts flicking outward at the edges. Fill the forehead with uneven, pointed bangs that come down to about eyebrow level. Let one long strand fall down the middle, between where the eyes will go. Bring the side hair down past the ears in a few loose, curved strands.
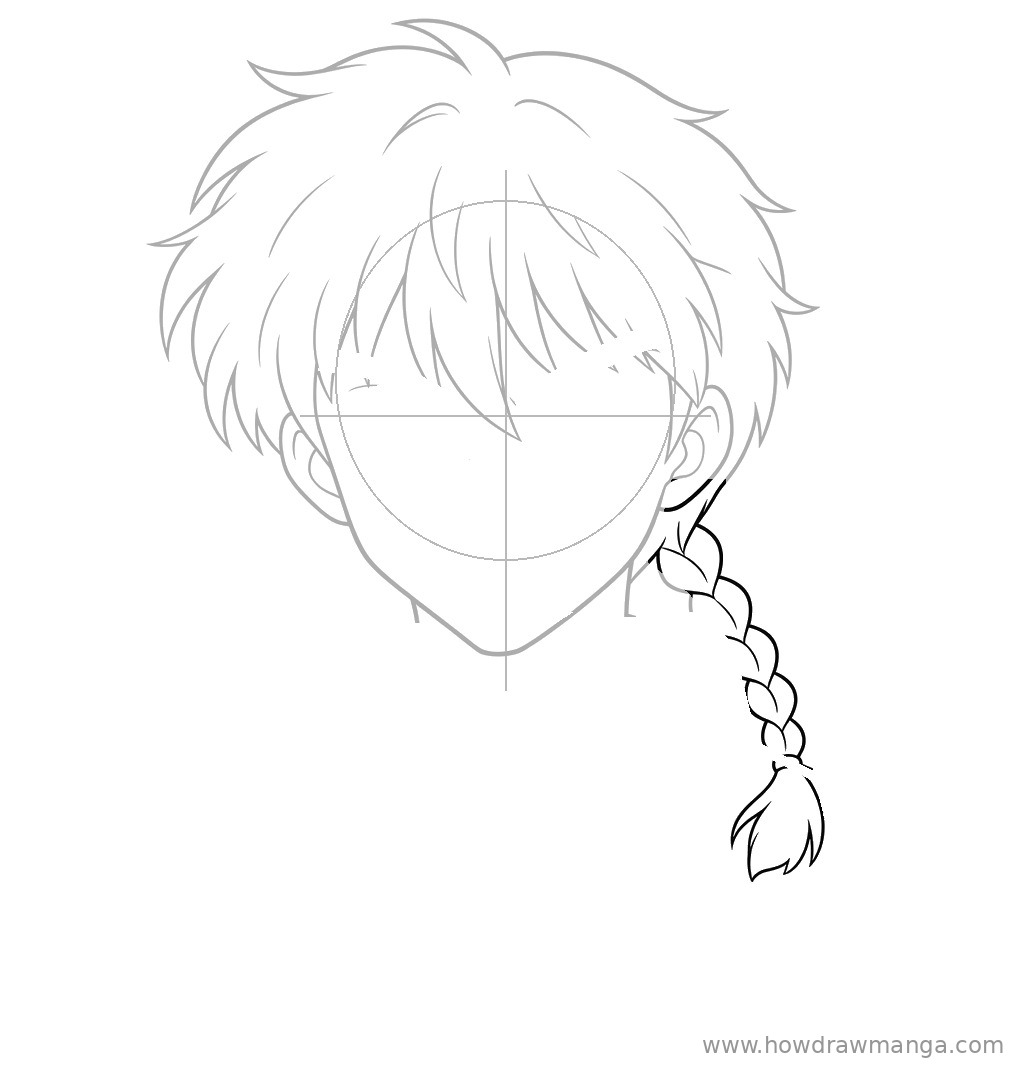
Step 4: Draw the Braided Pigtail
Behind the ear on the right side of the drawing, start a braid and let it fall over the shoulder. Build it from a chain of overlapping, leaf-shaped sections that get slightly smaller as they go down, alternating left and right like a zigzag. Close it with a narrow band, then add a short, loose tuft of hair below the band. The whole braid should be about as long as the face is tall.
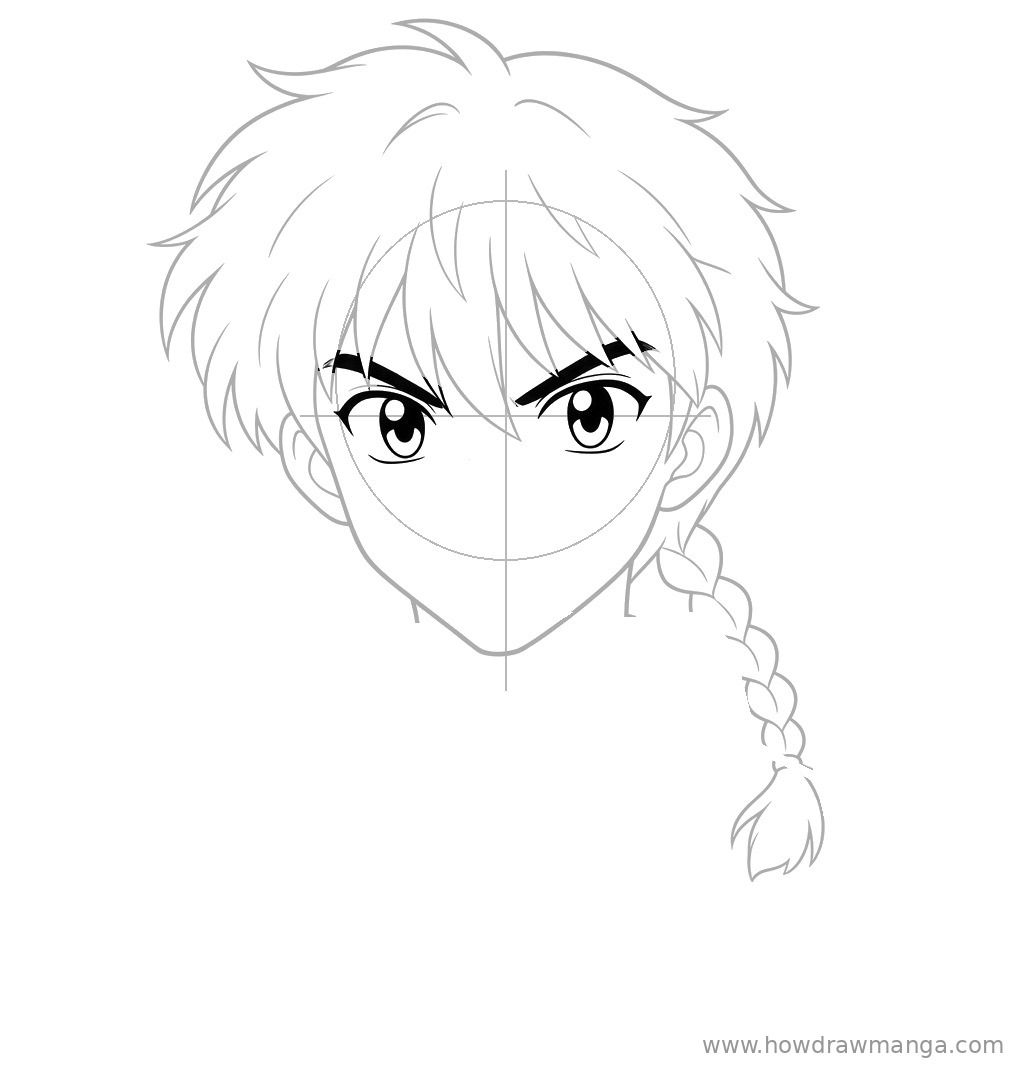
Step 5: Draw the Thick Eyebrows and Large Eyes
Draw two thick, angled eyebrows that slope down toward the centre line for a determined look, partly crossing the ends of the bangs. Under each brow, on the eye line, draw a large eye with a heavy, dark upper lash line and a short, thin lower lid. Inside, add a big round iris and pupil, and leave two white highlights in each one. Keep about one eye-width of space between the eyes.
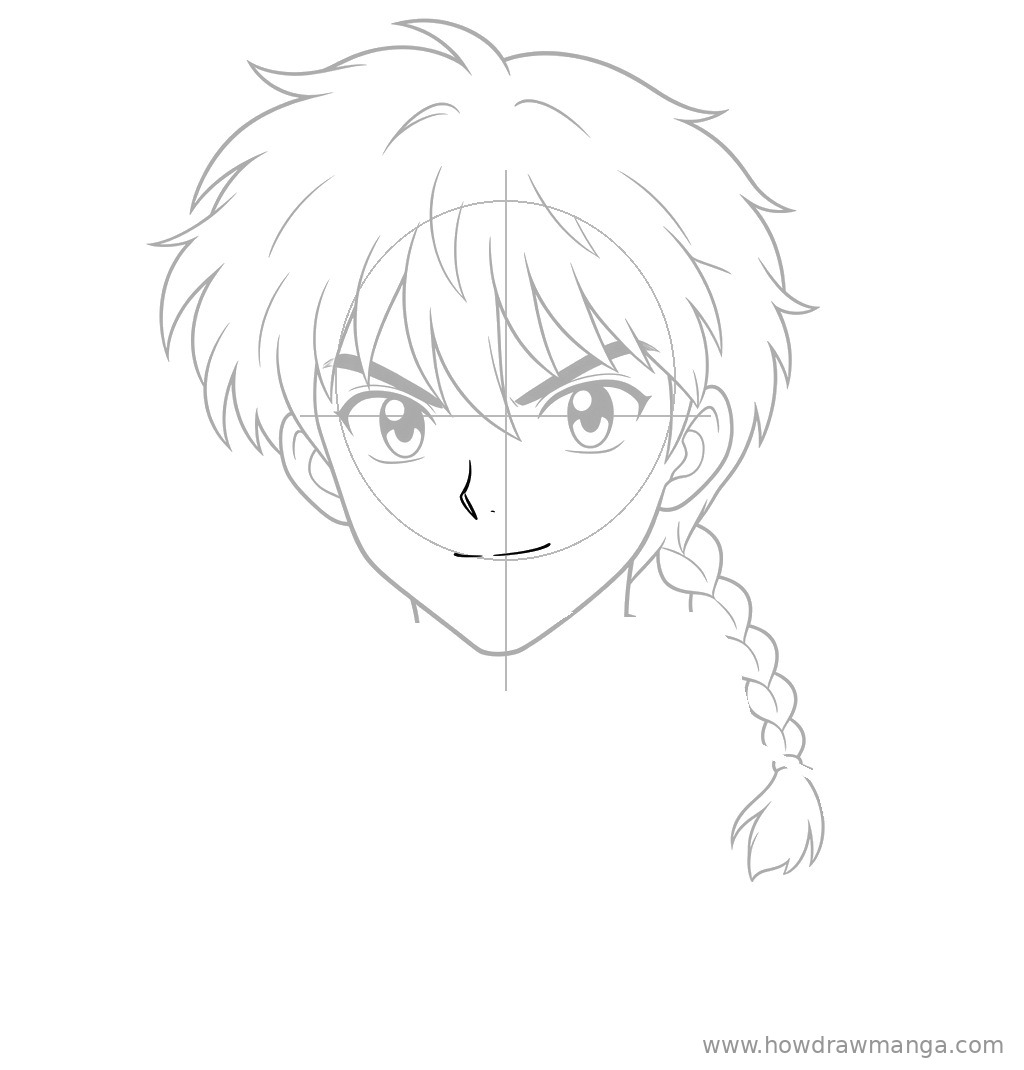
Step 6: Add the Nose and Smile
Draw the nose as a small, angular line just to one side of the centre line, about halfway between the eyes and the chin. Below it, add a thin, gently curved line for a confident half-smile, about as wide as one eye. Place a tiny dot under the nose if you want a little more shape.
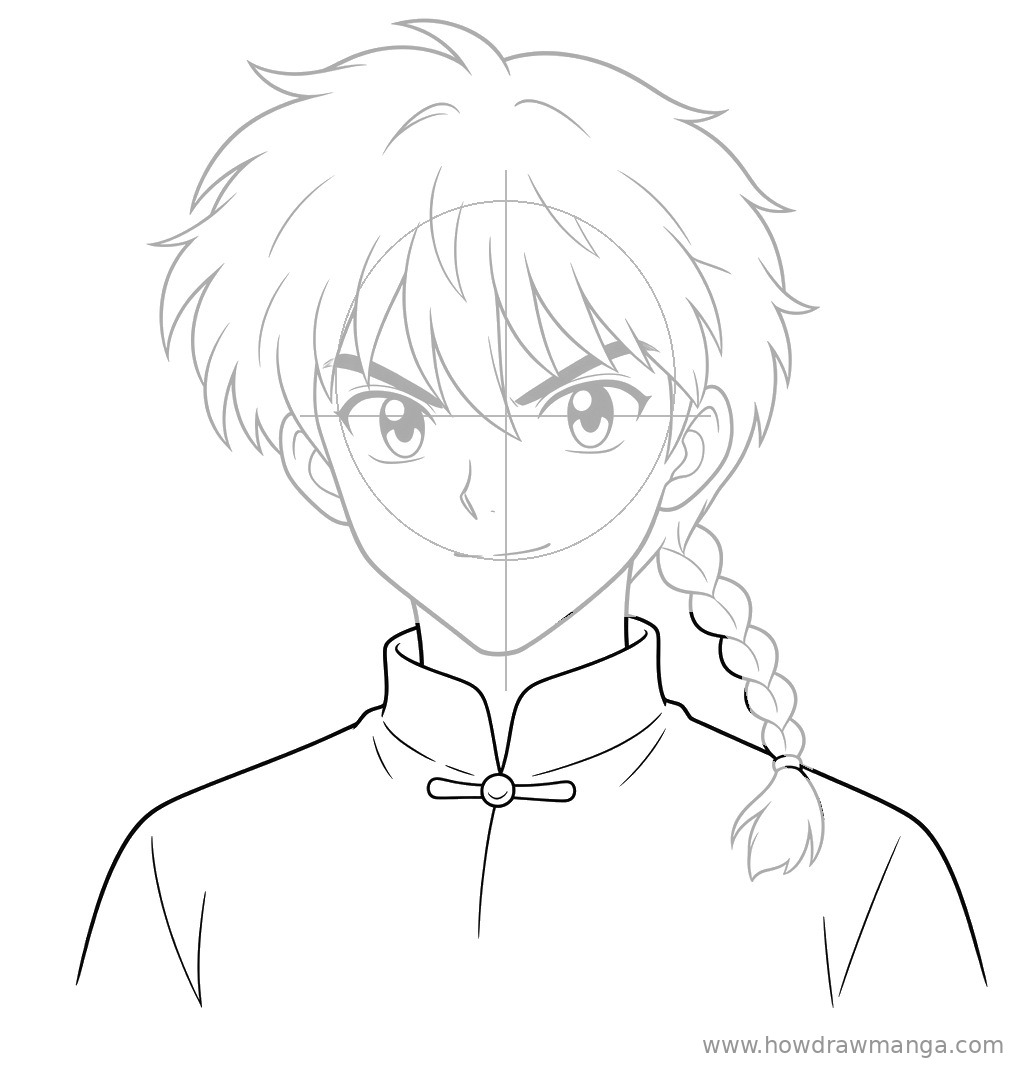
Step 7: Draw the Mandarin Collar and Chinese Shirt
Below the neck, draw a short standing collar that wraps around the neck and opens at the front in a narrow V. Under the opening, add the knot button: a small circle with a long, rounded loop on each side, set horizontally. Run a thin centre line down the chest from the button. Slope the shoulders out to the edges of the page and add a few light fold lines on the sleeves and under the collar.
Step 8: Ink the Final Line Art
Trace the lines you are keeping with a fine liner or a soft, dark pencil. Use bold strokes for the outer edge of the hair, the face outline, the braid and the shoulders, and thinner lines for hair strands, the inner ear and shirt folds. Fill the pupils solid, leaving the highlights white. Erase the circle and the guidelines once the ink is dry; nothing new is added in this step.
Key Pro Tips for Drawing Ranma’s Face
- Never forget the pigtail. Rumiko Takahashi gave Ranma the pigtail so he can be spotted in either form. Without it, he can look like any other shonen hero.
- Draw the braid as a zigzag. Overlapping leaf shapes that alternate sides read as a braid instantly. Keep them a similar size and shrink them only a little toward the end.
- Make the eyebrows bold. His thick, angled brows carry most of the confident attitude. Thin brows make him look much softer.
- Keep the collar simple. A short standing collar and one knot button are enough to suggest his Chinese-style shirt.
- Colour tips. In the anime, male Ranma has black hair. His Chinese shirt is often red, and the manga usually shows his eyes as grey or blue.
FAQ
Can I use this guide for Ranma’s female form?
Partly. The braided pigtail and Chinese-style shirt stay the same, but in the anime her hair is red rather than black, and the face and body are drawn smaller and softer. This guide covers the male form only.