
Kafka Hibino’s Kaiju No. 8 form hides a demonic skull behind coal-black plates: short thick horns, a hollow nose, sharp teeth that run down the neck, and cracked eyes with dark sockets. In this guide you will learn how to draw kafka hibino kaiju face in 7 clear steps, building the default controlled skull-mask head rather than his human look or the berserk elongated-horn form.
Every picture shows new lines in black and earlier lines in grey, so you can see exactly what changes from one step to the next. Keep construction lines light; you will erase them before the final ink pass.
Materials Needed
- Paper or a drawing tablet
- A light pencil (HB or 2H) for guidelines
- A darker pencil (2B) or a fine liner pen for final lines
- An eraser
- Optional: colored pencils or markers for bone white, coal-black plates and cyan eye glow
Step-by-Step Kafka Hibino Kaiju Face Drawing Guide
This sequence builds the recognisable Kaiju No. 8 head: exposed bone skull, short horns, dorsal plates, and serrated teeth that continue down the neck. Work in order so the left-eye mask damage and shoulder plates stay consistent.
Step 1: Sketch the Skull Construction Oval and Guidelines
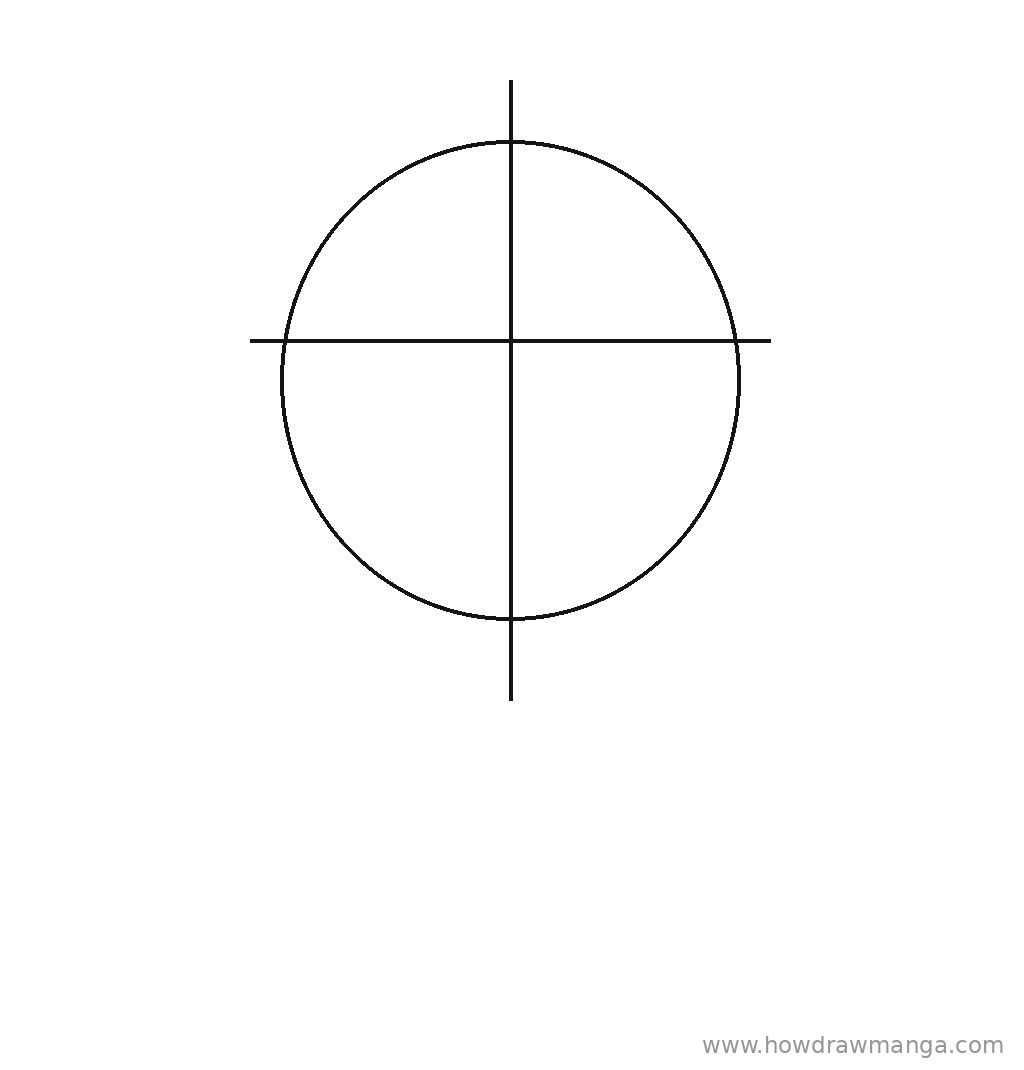
Draw a slightly tall oval in the middle of the page for the skull mass, a little higher than a normal face oval, with the cheek area a bit wider than a soft anime head. Leave empty space above about one-third of the oval’s height for the horns and top dorsal plate, and leave about half an oval’s height below for the neck and shoulders. Add a vertical centre line through the oval. Then draw a horizontal eye line a little above halfway up the oval. Press lightly so these guides erase cleanly later.
Step 2: Shape the Demonic Skull Outline
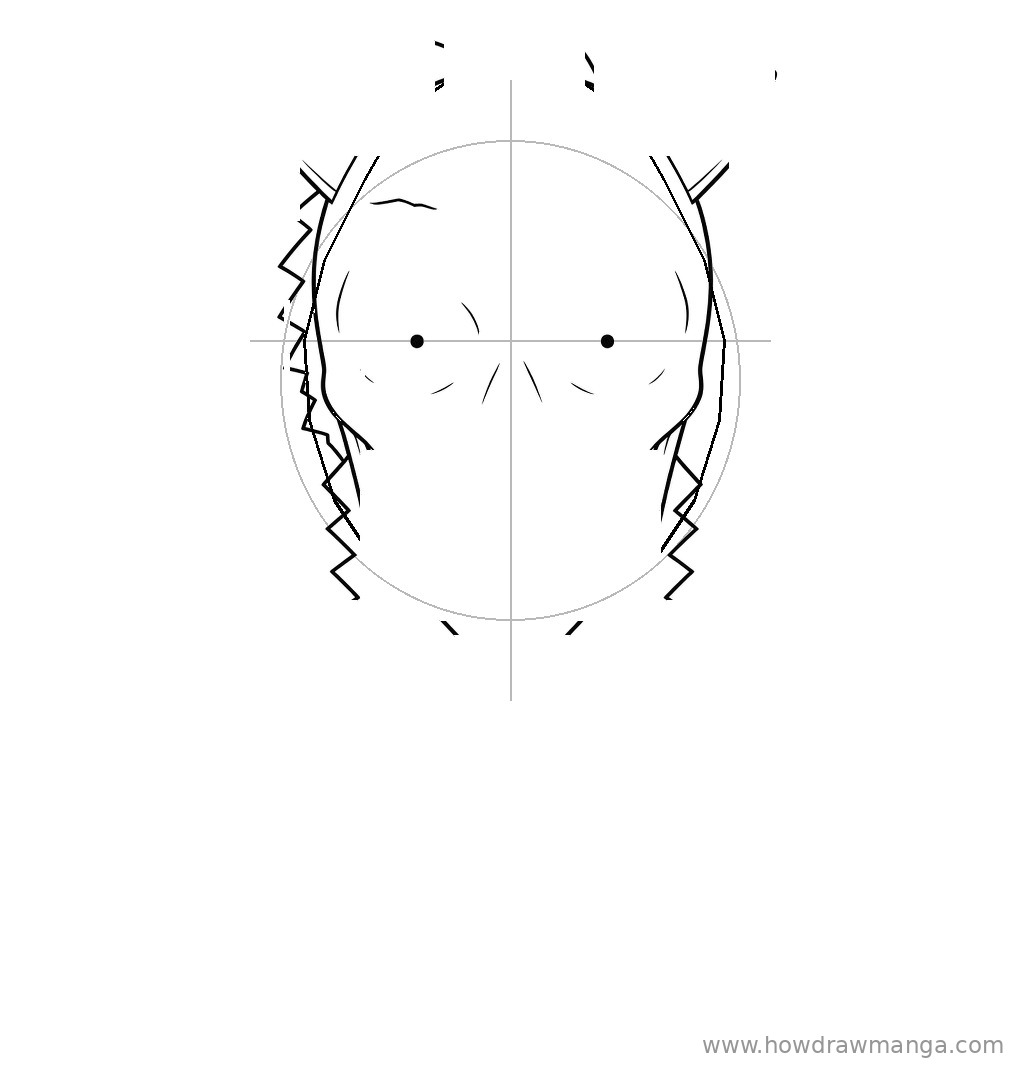
Harden the oval into a demonic skull silhouette. Flatten the crown slightly, push the cheekbones wide, and square the lower jaw into an open grin shelf that spans most of the jaw width. Trace a continuous outer skull rim from temple to jaw on both sides so the head reads as one bone mask. Keep the finished skull about as tall as your oval and a little wider at the cheeks. Leave the tooth points and eye sockets for later steps.
Step 3: Add the Short Thick Horns and Dorsal Head Plates
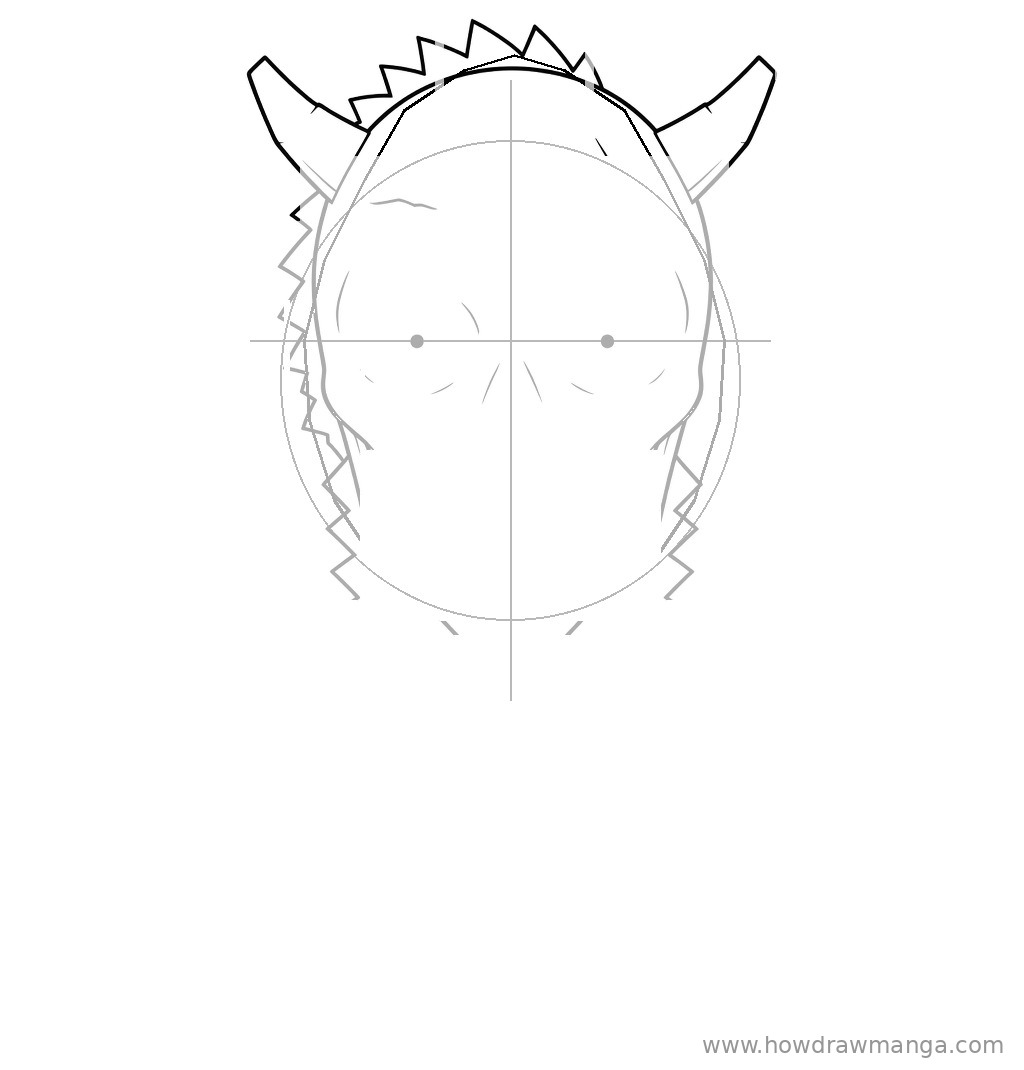
From the upper left and upper right of the crown, grow two short, thick horns. Each horn should rise only about one-fifth to one-quarter of the skull’s height and stay blunt rather than long and swept — this is the controlled form, not the berserk look. Between the horns, add a jagged dorsal crest along the top of the skull, and let a few plate edges peek behind the crown. Controlled form only: keep the horns short.
Step 4: Draw the Eyes and Mask Cracks
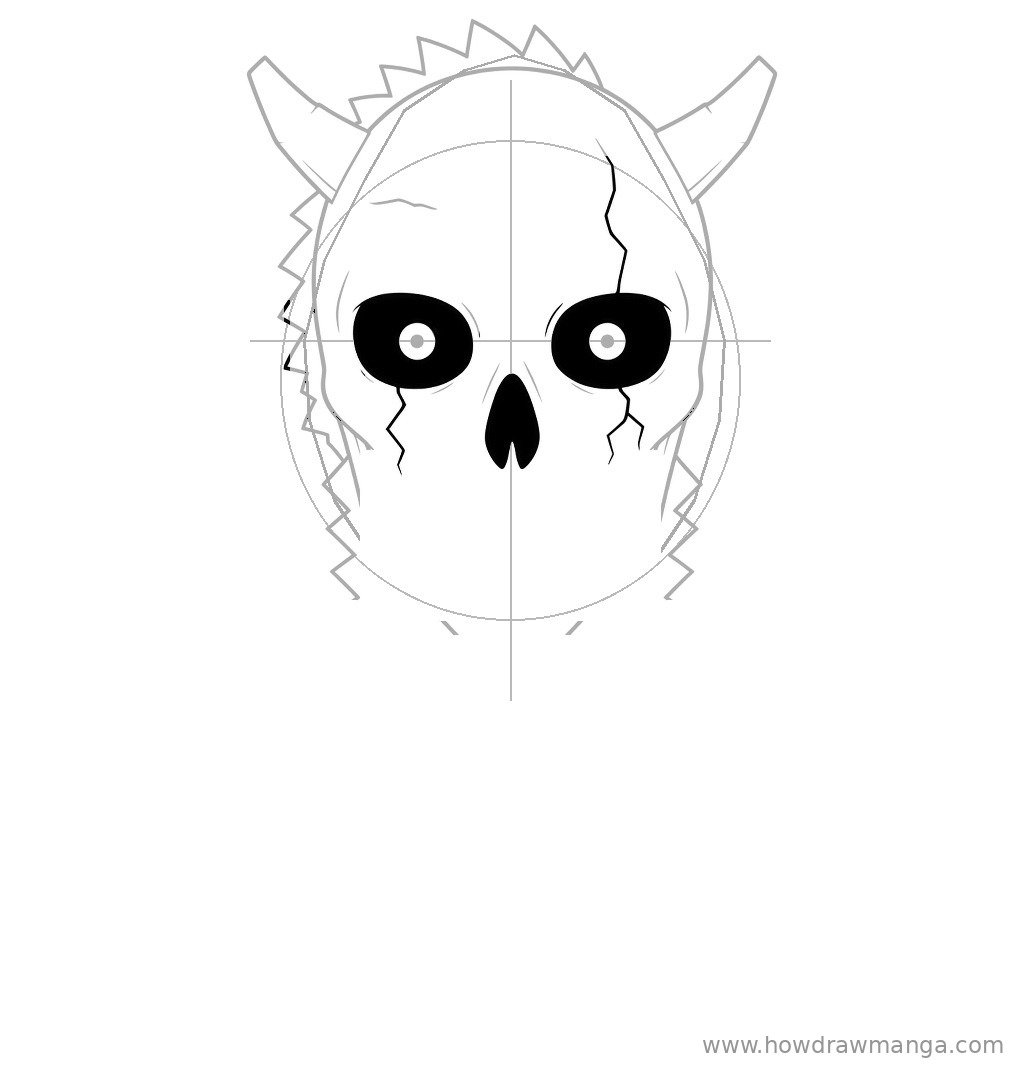
On the eye line, place two large round sockets about one socket-width apart, each roughly one-fifth to one-quarter of the skull width. Fill each socket with solid dark tone and leave a small bright pupil circle in the centre so the eye reads as black sclera with a cyan iris once you colour it. From each socket, send a few irregular crack lines into the surrounding mask. On Kafka’s left eye (the right side of your picture when the face looks at you), break the lower rim with missing chunks so that part of the mask looks shattered.
Step 5: Add the Nose Hole and Exposed Teeth
On the centre line, about halfway from the eye line down to the jaw shelf, cut a hollow nose opening — a dark oval or upside-down teardrop about one-third as wide as one eye socket. Along the open jaw shelf, hang a row of sharp pointed teeth. Make each tooth a tall triangle packed into a menacing grin. Keep the points even and fierce rather than cartoon-gappy; the exact official tooth count is not fixed, so aim for a clear, readable set.
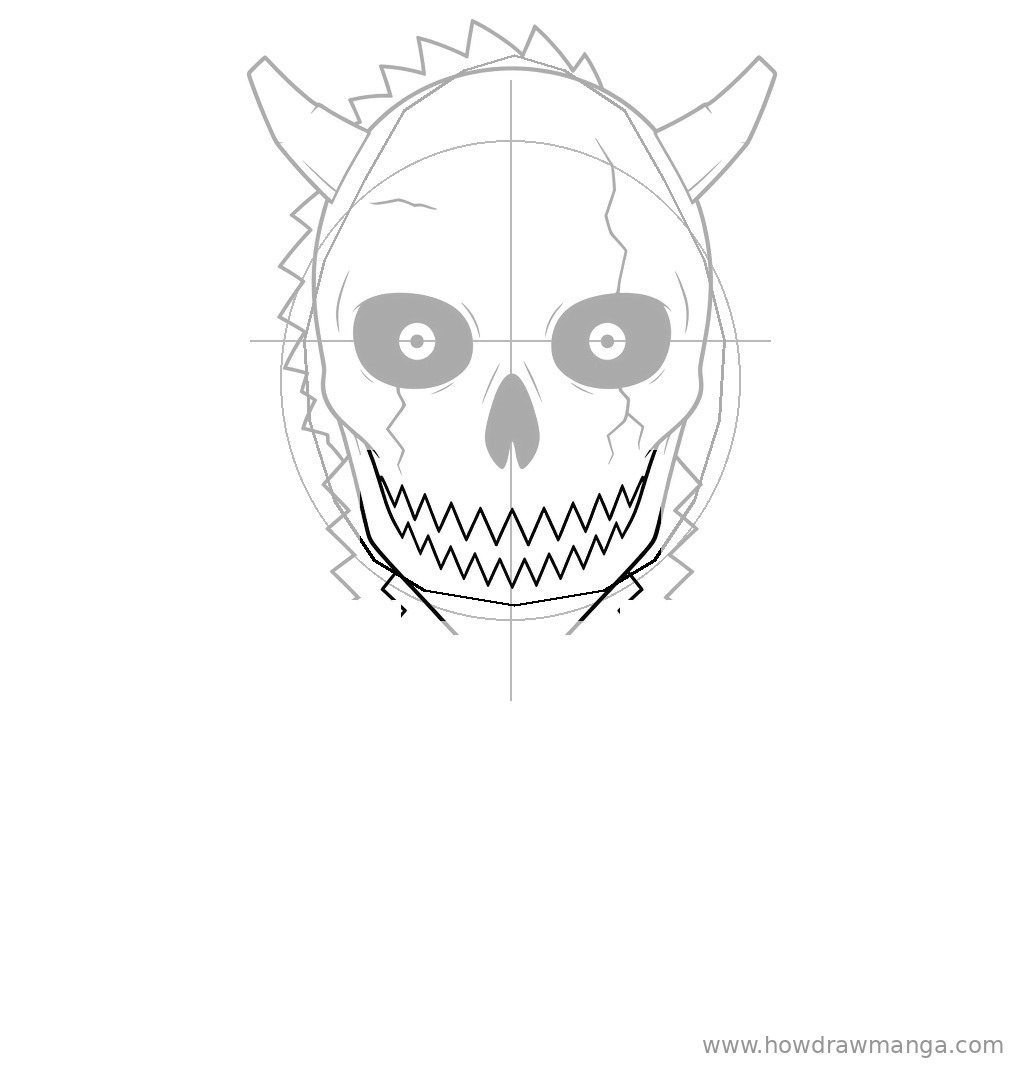
Step 6: Extend Serrations Down the Neck and Add Shoulder Plates
Under the jaw, continue saw-tooth serrations down both sides of the neck — and a centre column if you want extra menace — for about half to two-thirds of the skull’s height, with the points getting slightly smaller as they descend. At the base, add exposed clavicle and shoulder plates: angular overlapping shapes sloping out left and right, each about half the skull width. These finish the head-and-shoulders crop the way Kafka’s bone clavicles and coal-black scale plates read in his kaiju form.
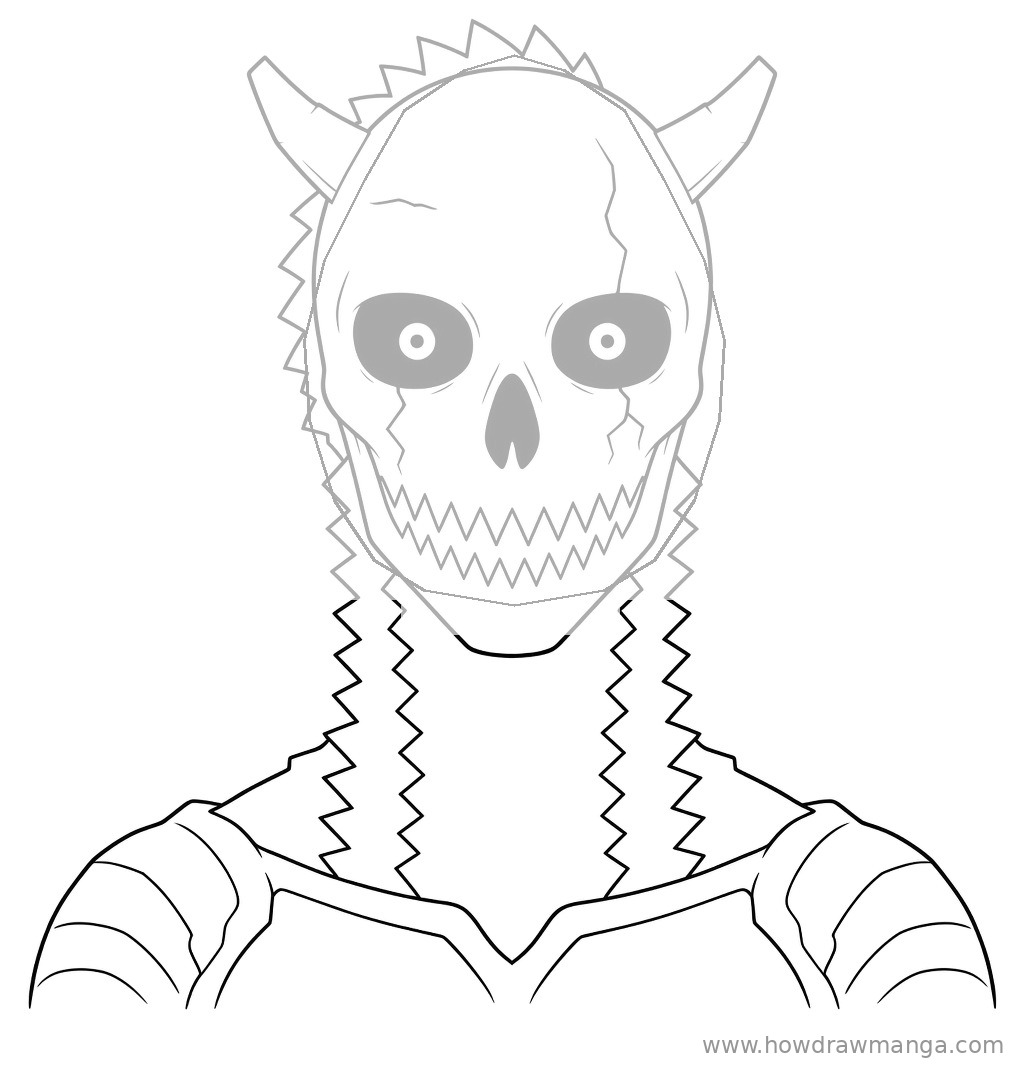
Step 7: Ink the Final Line Art
Trace your best lines with a darker pencil or pen. Make the skull outline, horns, dorsal crest, outer tooth row and shoulder plates the boldest strokes. Keep the eye sockets and nose hole filled dark with clear pupil circles, and keep the cracks and inner tooth edges thinner. Erase the construction oval, centre line and eye line once the ink is dry. Do not invent new shapes in this step — only clean up what you already drew. Your Kafka Hibino kaiju face is finished.
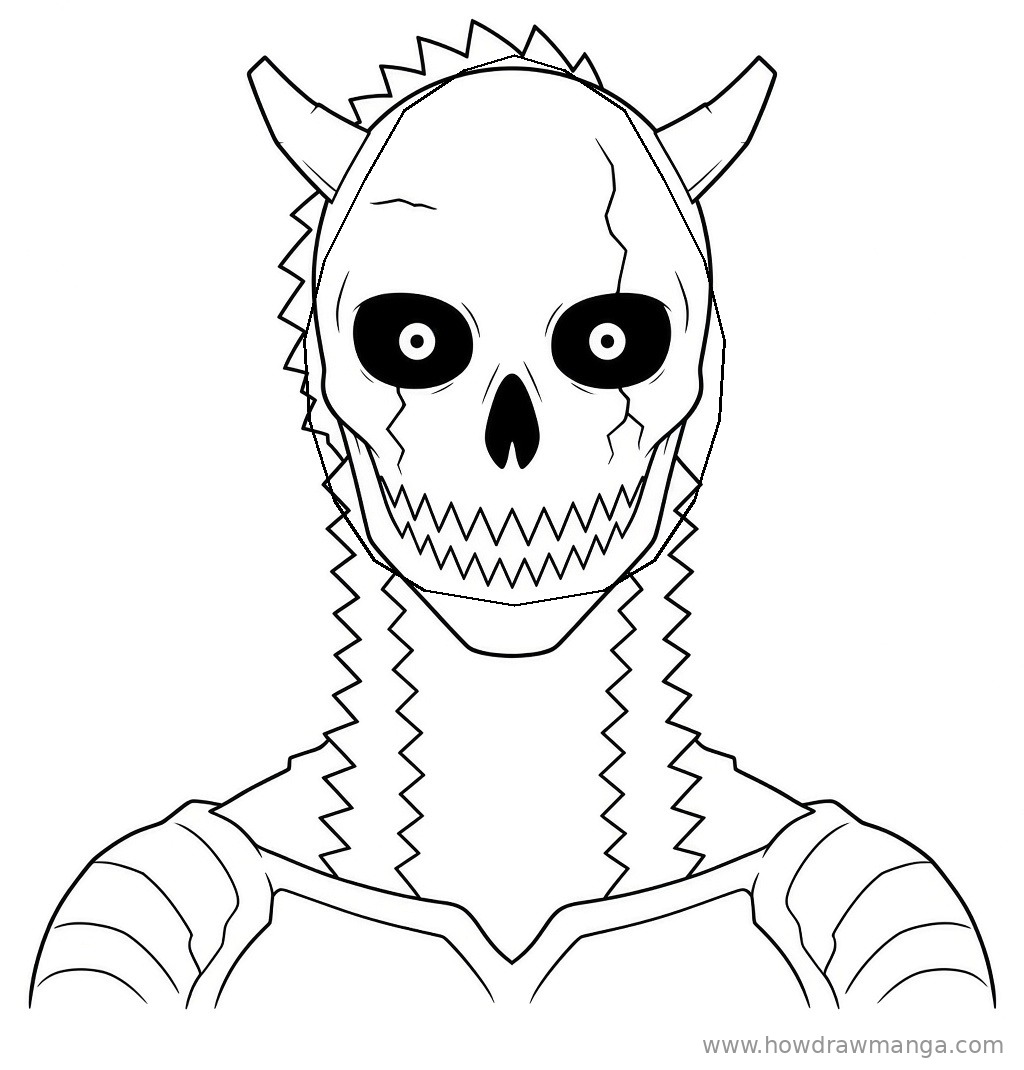
Key Pro Tips for Drawing Kafka Hibino’s Kaiju Face
- Keep the horns short and thick. Long swept horns belong to the berserk state. The default controlled head uses stubby horns that sit close to the crown.
- Damage the correct eye. Missing mask chunks sit on the lower area of Kafka’s left eye (right side of the picture when he faces you).
- Let the teeth run down the neck. Stopping the tooth row at the jaw turns the silhouette into a generic skull. Side serrations down the neck are part of the Kaiju No. 8 look.
- Separate bone from plates. The skull, horns, top dorsal crest and clavicles read as exposed bone; the shoulders are coal-black scale plates with seams.
- Coloring tip: leave bone areas near-white, fill scale plates near-black, drop cyan into the irises and optionally into the deepest cracks, and keep the top dorsal crest pale so it stays distinct.
FAQ
Is this the berserk Kaiju No. 8 form?
No. This tutorial covers the default controlled head with short thick horns and dark sockets with cyan irises. Skip the elongated horns, fully cyan eyes and red energy cracks used when Kafka loses control.
Should I draw human Kafka’s hair or goatee?
Not in this guide. Human Kafka has spiky dark brown hair and a mild goatee; the kaiju head replaces that face with the demonic skull mask.